Starting builds manually
Starting a build manually on Bitrise takes literally two clicks - if you leave everything on the default settings. If you do not wish to do that, or at least want to be sure what the default settings are, read on!
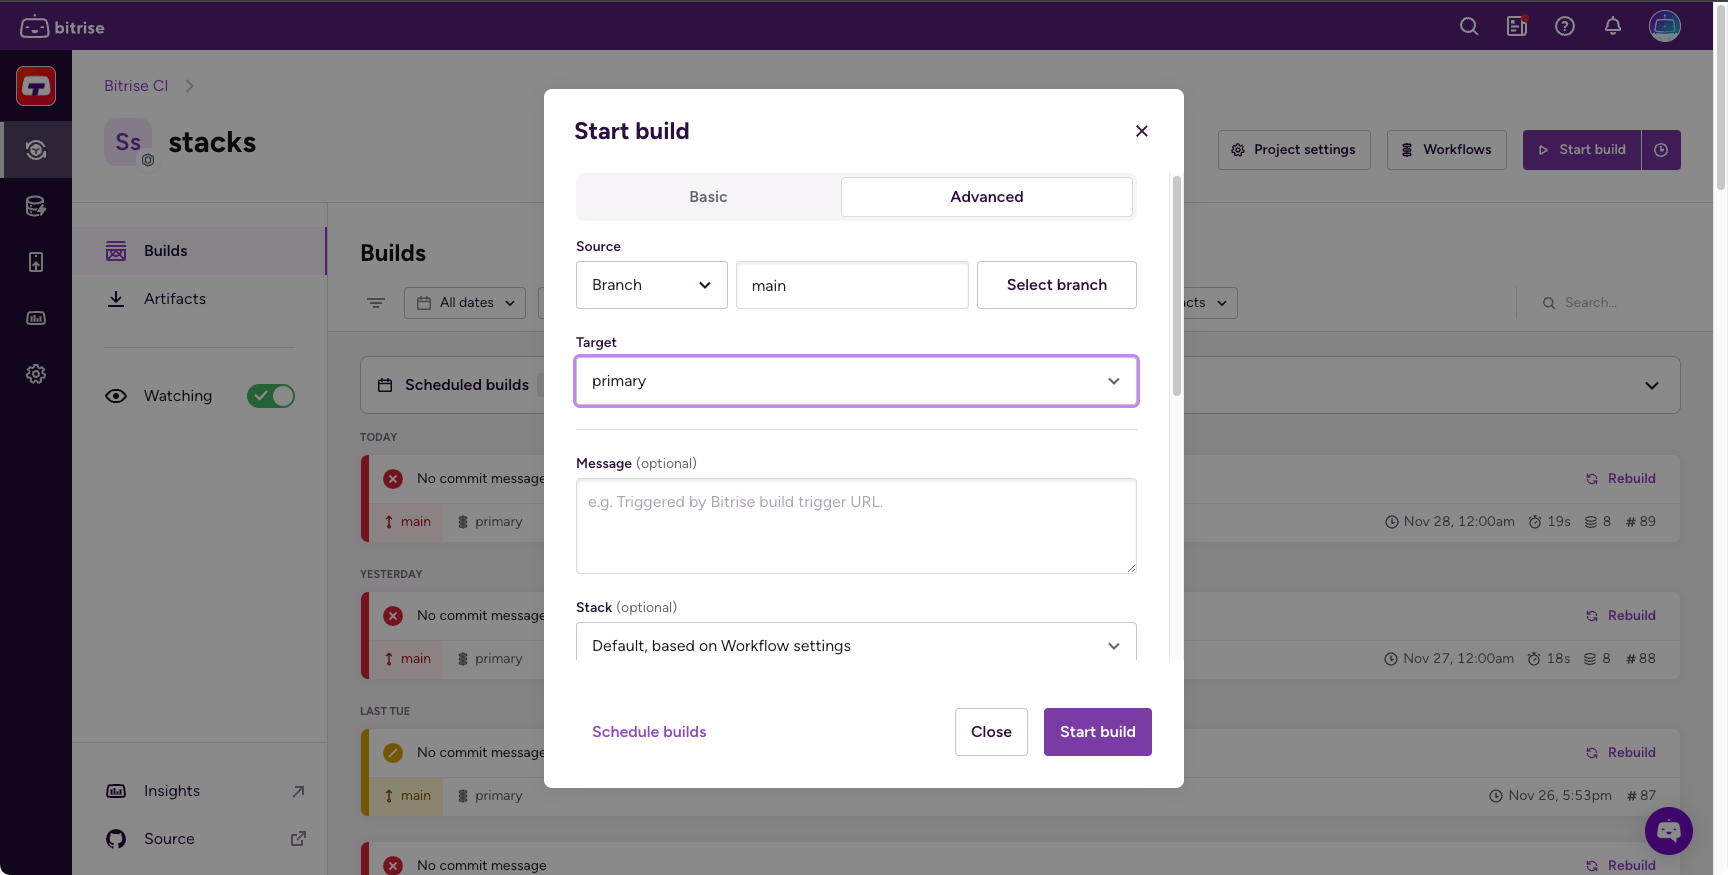
To start a build using the basic configuration options:
-
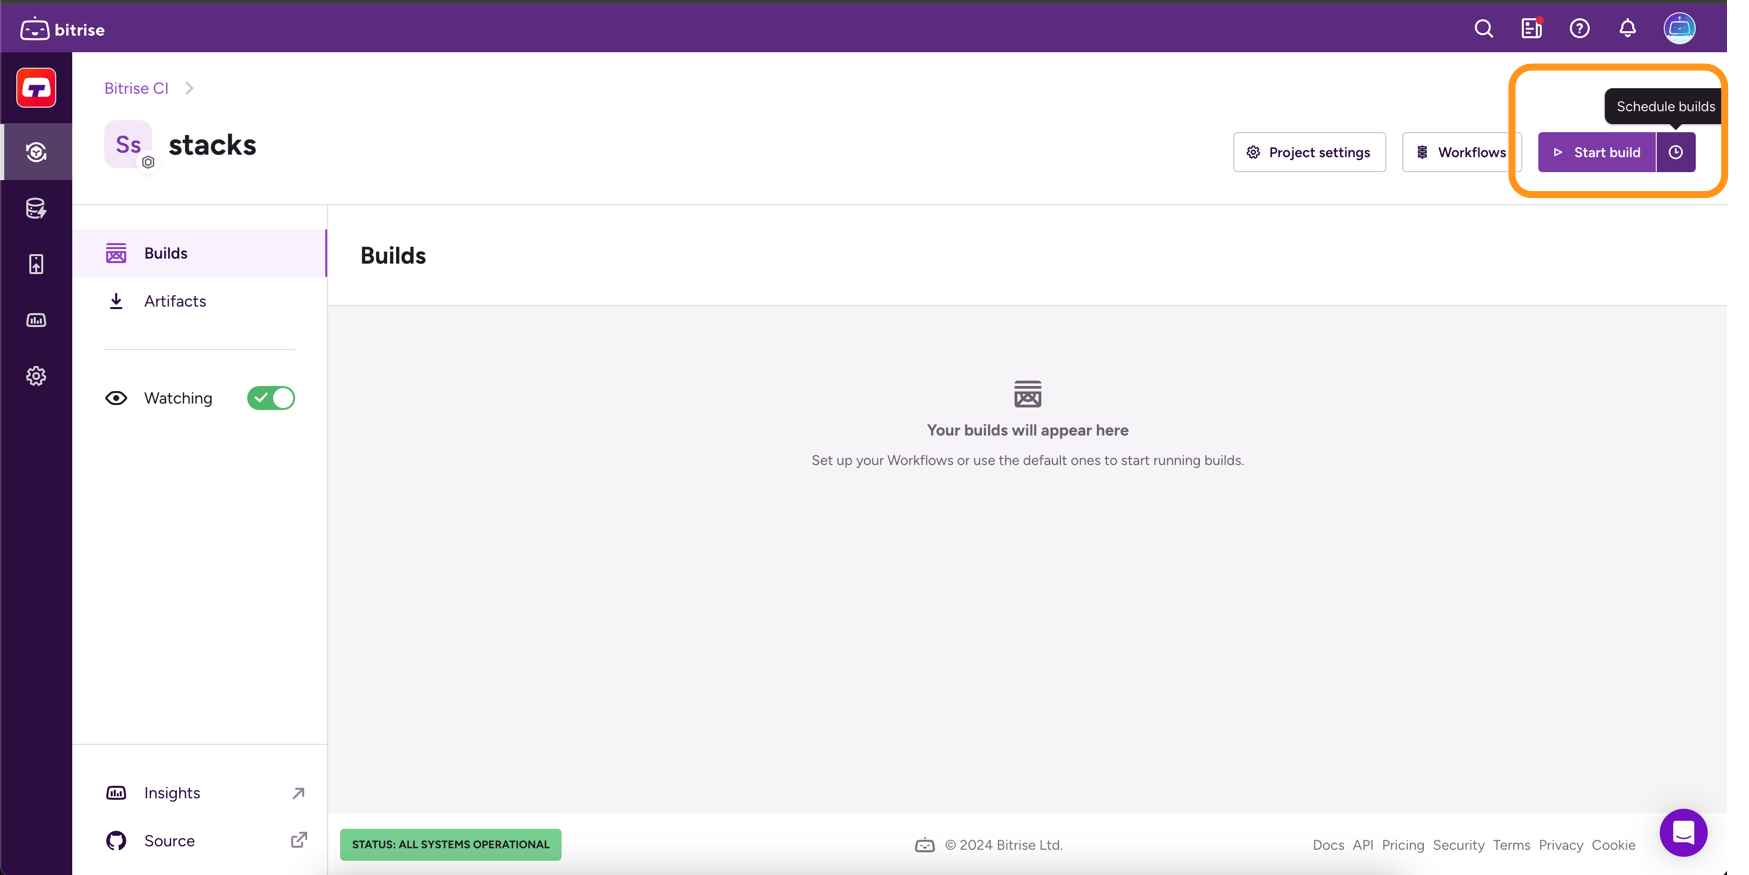
On the Bitrise CI page of your app, click the Start build button.
-
Enter the branch you want to run into the Source branch input field.
You can choose between typing the name or selecting it from a dropdown menu. Click Select branch to bring up the dropdown menu.
You can only set one branch. If a pull request to your repository is made from a forked branch, type the name of that branch to run a build of the pull request.
Pull request buildStarting a build of a pull request’s branch is NOT the same as a pull request build. The manually started build of a pull request branch will only build the state of the code on that branch. An automatically triggered pull request build, however, builds the state of the code as it will look like once you merged the pull request.
-
Optionally, enter a build message in the Message field.
Please note that entering the Git commit message of a specific commit doesn't trigger a build of that commit!
-
From the Target menu, select a Workflow or Pipeline.
If you don't select one, Bitrise will choose a Workflow or Pipeline based on your app's trigger setup.
The Schedule this build option allows you to configure builds to be triggered at specific times. Read more: Scheduling builds.
Running Workflows from the Workflow EditorClick to copy link
You can manually start a build by running a single Workflow from the Workflow Editor.
To do so:
-
Open your project on Bitrise and click the Workflows button to open the Workflow Editor.
-
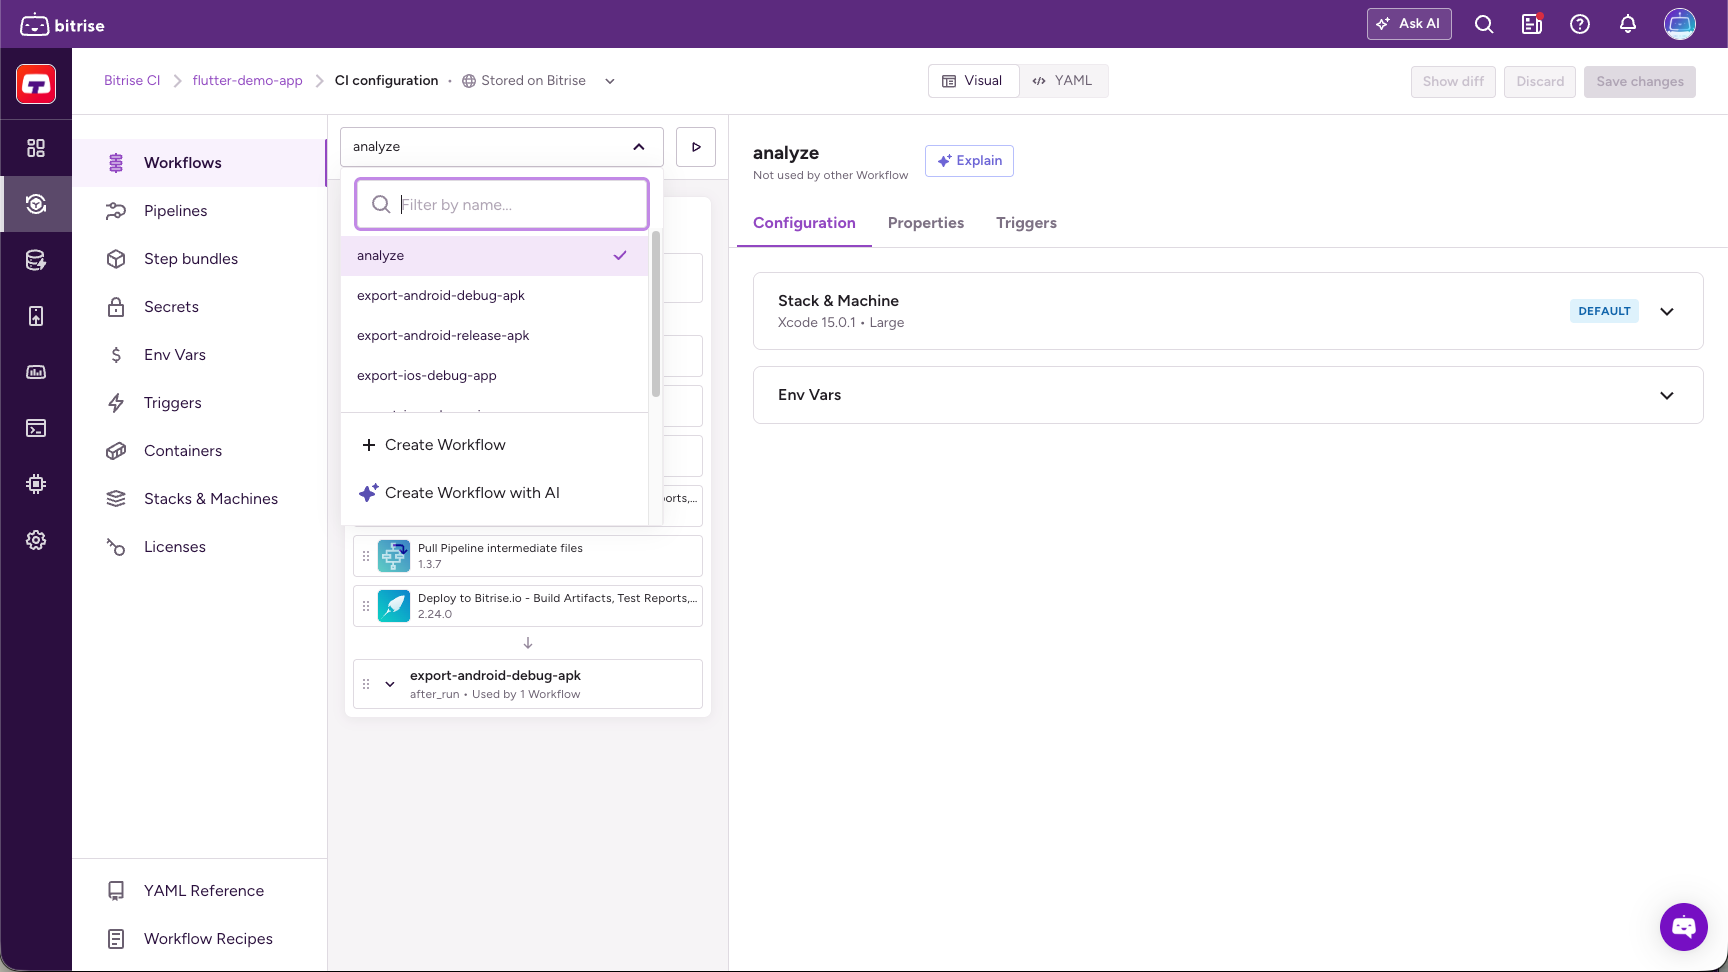
On the left, select Workflows, and use the dropdown menu to select the Workflow you would like to run.
-
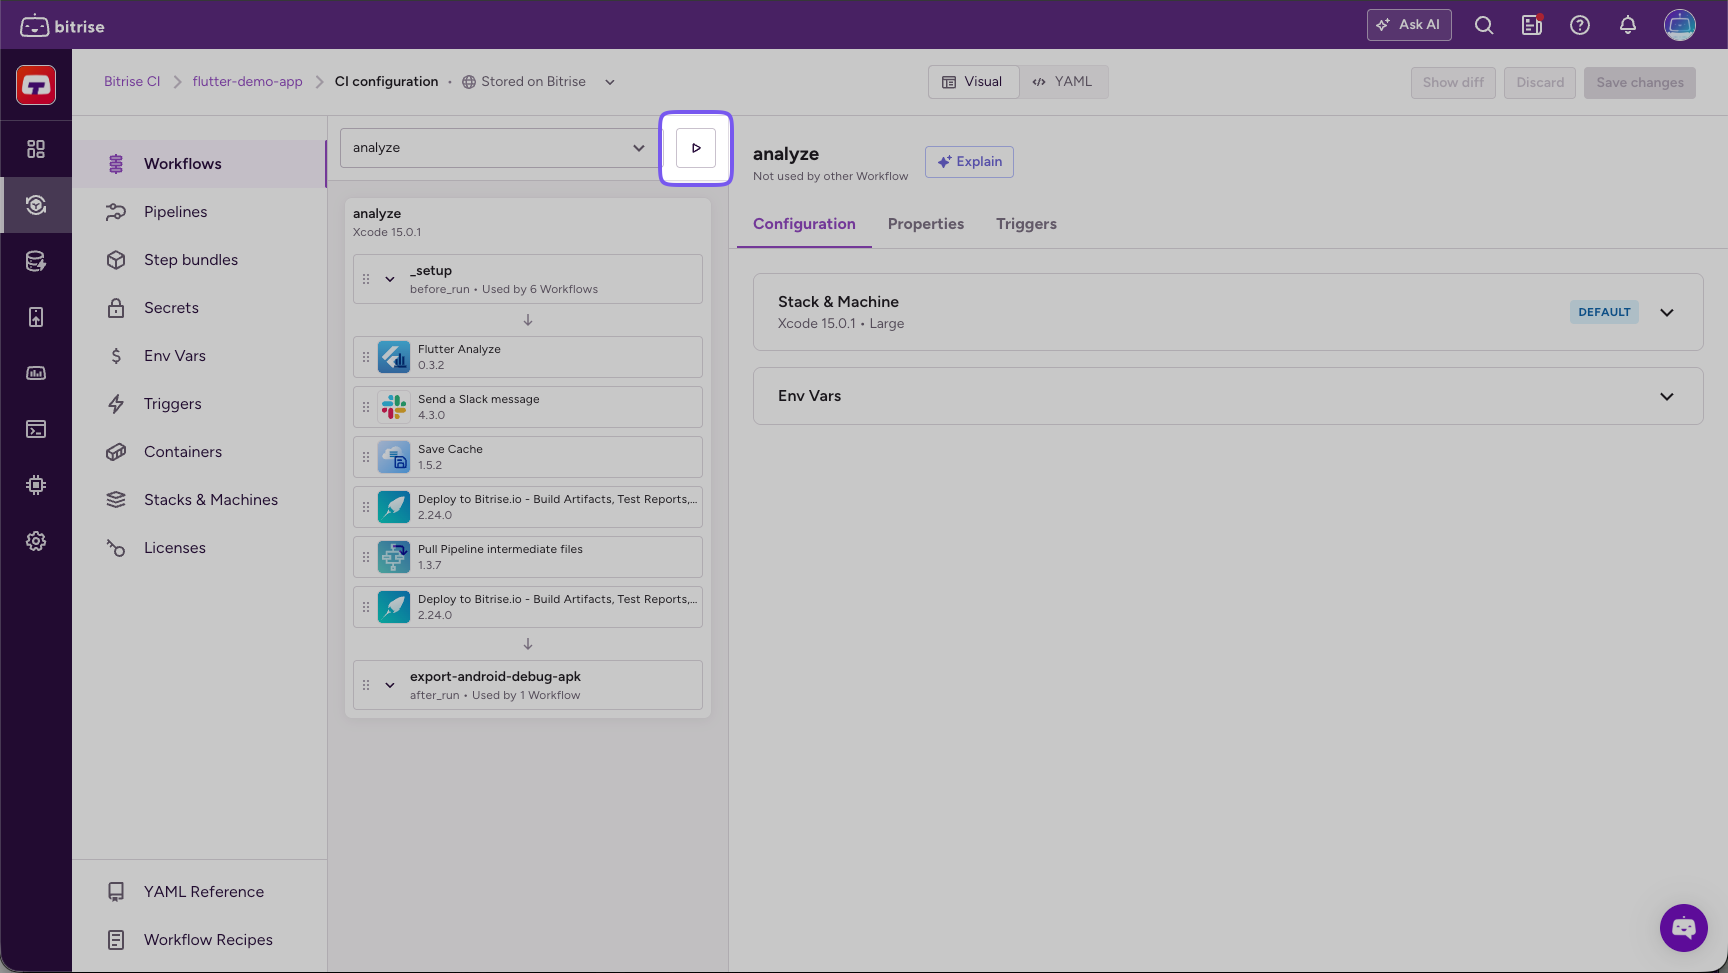
Click the Run Workflow button (the one with the play icon).
-
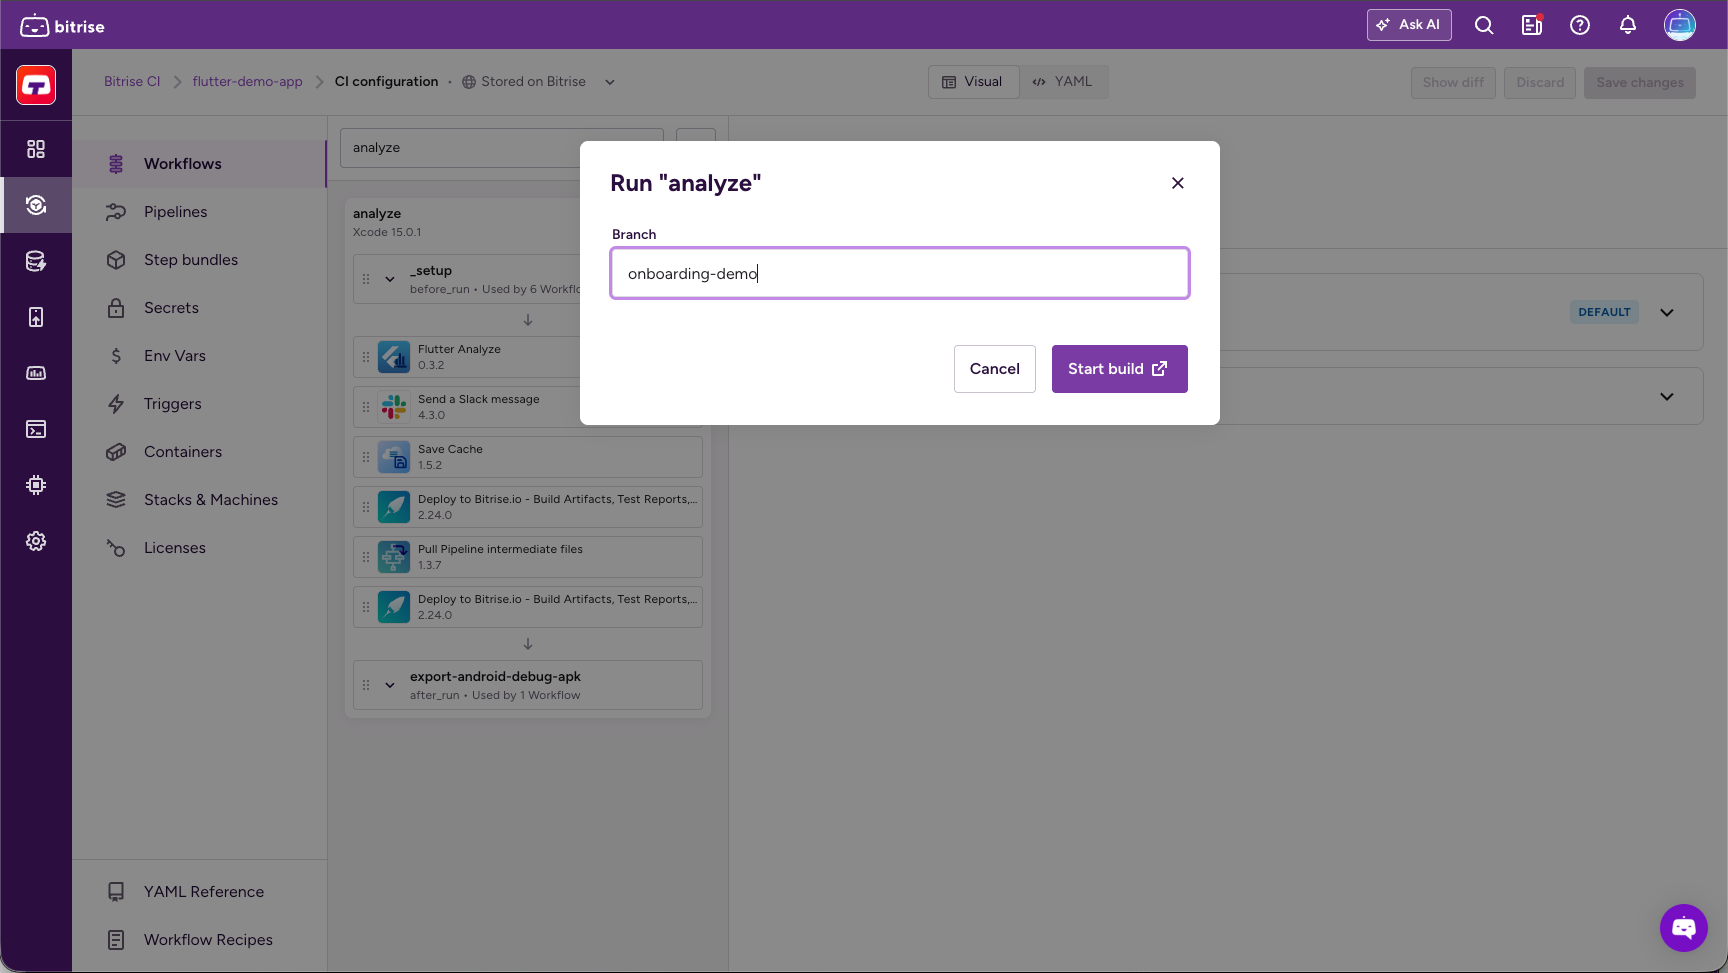
Specify the branch that you want to build in the Branch field.
-
Click Start build.
And that's it! As soon as you click the Start build button, your build will be kicked off, and the build's page will open in a new tab.
Advanced configuration options for starting/scheduling buildsClick to copy link
If you choose Advanced in the Build configuration window, you have all the options available with Basic, and a few more:
You can select a source type in the Source dropdown menu. In addition to the default Branch option, you can also select:
-
Git Tag: Builds a particular branch or commit that is tagged with the Tag you enter. If you set this, you can't set a commit hash.
Git Tags and commit hashes are conflicting optionsYou cannot specify both a Git Tag and a commit hash. When you set one, the other one will disappear. This ensures you cannot enter conflicting input values.
-
Commit Hash: Copy a specific commit’s hash here to build that particular commit. This option can even send a build status update to your git hosting service. If you set this, you can't set a Git Tag.
Commit hash takes precedence over the Branch optionIf the Branch option specifies a branch where the commit hash you chose doesn't exist, Bitrise will find the branch that does have the given commit and run a build with that branch.
In addition to different sources, you can also add:
- Priority: Determines the priority of your build in the build queue. The higher the number, the sooner your build will run. The priority must be an integer between -100 and 100. The default value is 0. For more information, check out Build priority.
- Custom Environment Variables: Create a custom Environment Variable that is used in the build. See Setting a custom Env Var when starting a build.
- Generated cURL command: Based on the options you set in the Build configuration window, we provide an automatically generated cURL command. This can be copied and pasted, and you can run it on any platform that has cURL installed.
Rebuilding failed buildsClick to copy link
Another way of starting a build manually is to rebuild a failed build. You can:
- Rebuild a Workflow build: Rebuilding a failed Workflow build.
- Rebuild a Pipeline, either the entire Pipeline or only unsuccessful Workflows: Rebuilding a failed Pipeline.
- Rebuild with remote access: Remote access.