Launching an EC2 instance for the Bitrise AMI
We offer a dedicated Bitrise Amazon Machine Image (AMI) to run the Bitrise agent on your own Amazon EC2 Mac or Linux instance.
This document guides you through launching an instance on the Amazon EC2 console UI. The process has three main phases but you can complete it in one sitting:
- Preparing your EC2 Mac or Linux instance.
- Configuring the instance on AWS.
- Connecting the instance to your Bitrise workspace.
Preparing your EC2 Mac and Linux instanceClick to copy link
- Mac instance
- Linux instance
- Configure a runner pool and copy the token required for authentication.
- Get the token from the process of adding the runner pool on Bitrise.
- Create an AWS Secrets Manager secret and store the token in the secret.
- Create an IAM role with permission to read the secret. You will need to attach it to the EC2 instance.
- Allocate a dedicated host on AWS. You will need the automatically generated host ID.
- Configure a runner pool and copy the token required for authentication.
- Get the token from the process of adding the runner pool on Bitrise.
- Create an AWS Secrets Manager secret and store the token in the secret.
- Create an IAM role with permission to read the secret. You will need to attach it to the EC2 instance.
Configuring the instanceClick to copy link
- Mac instance
- Linux instance
-
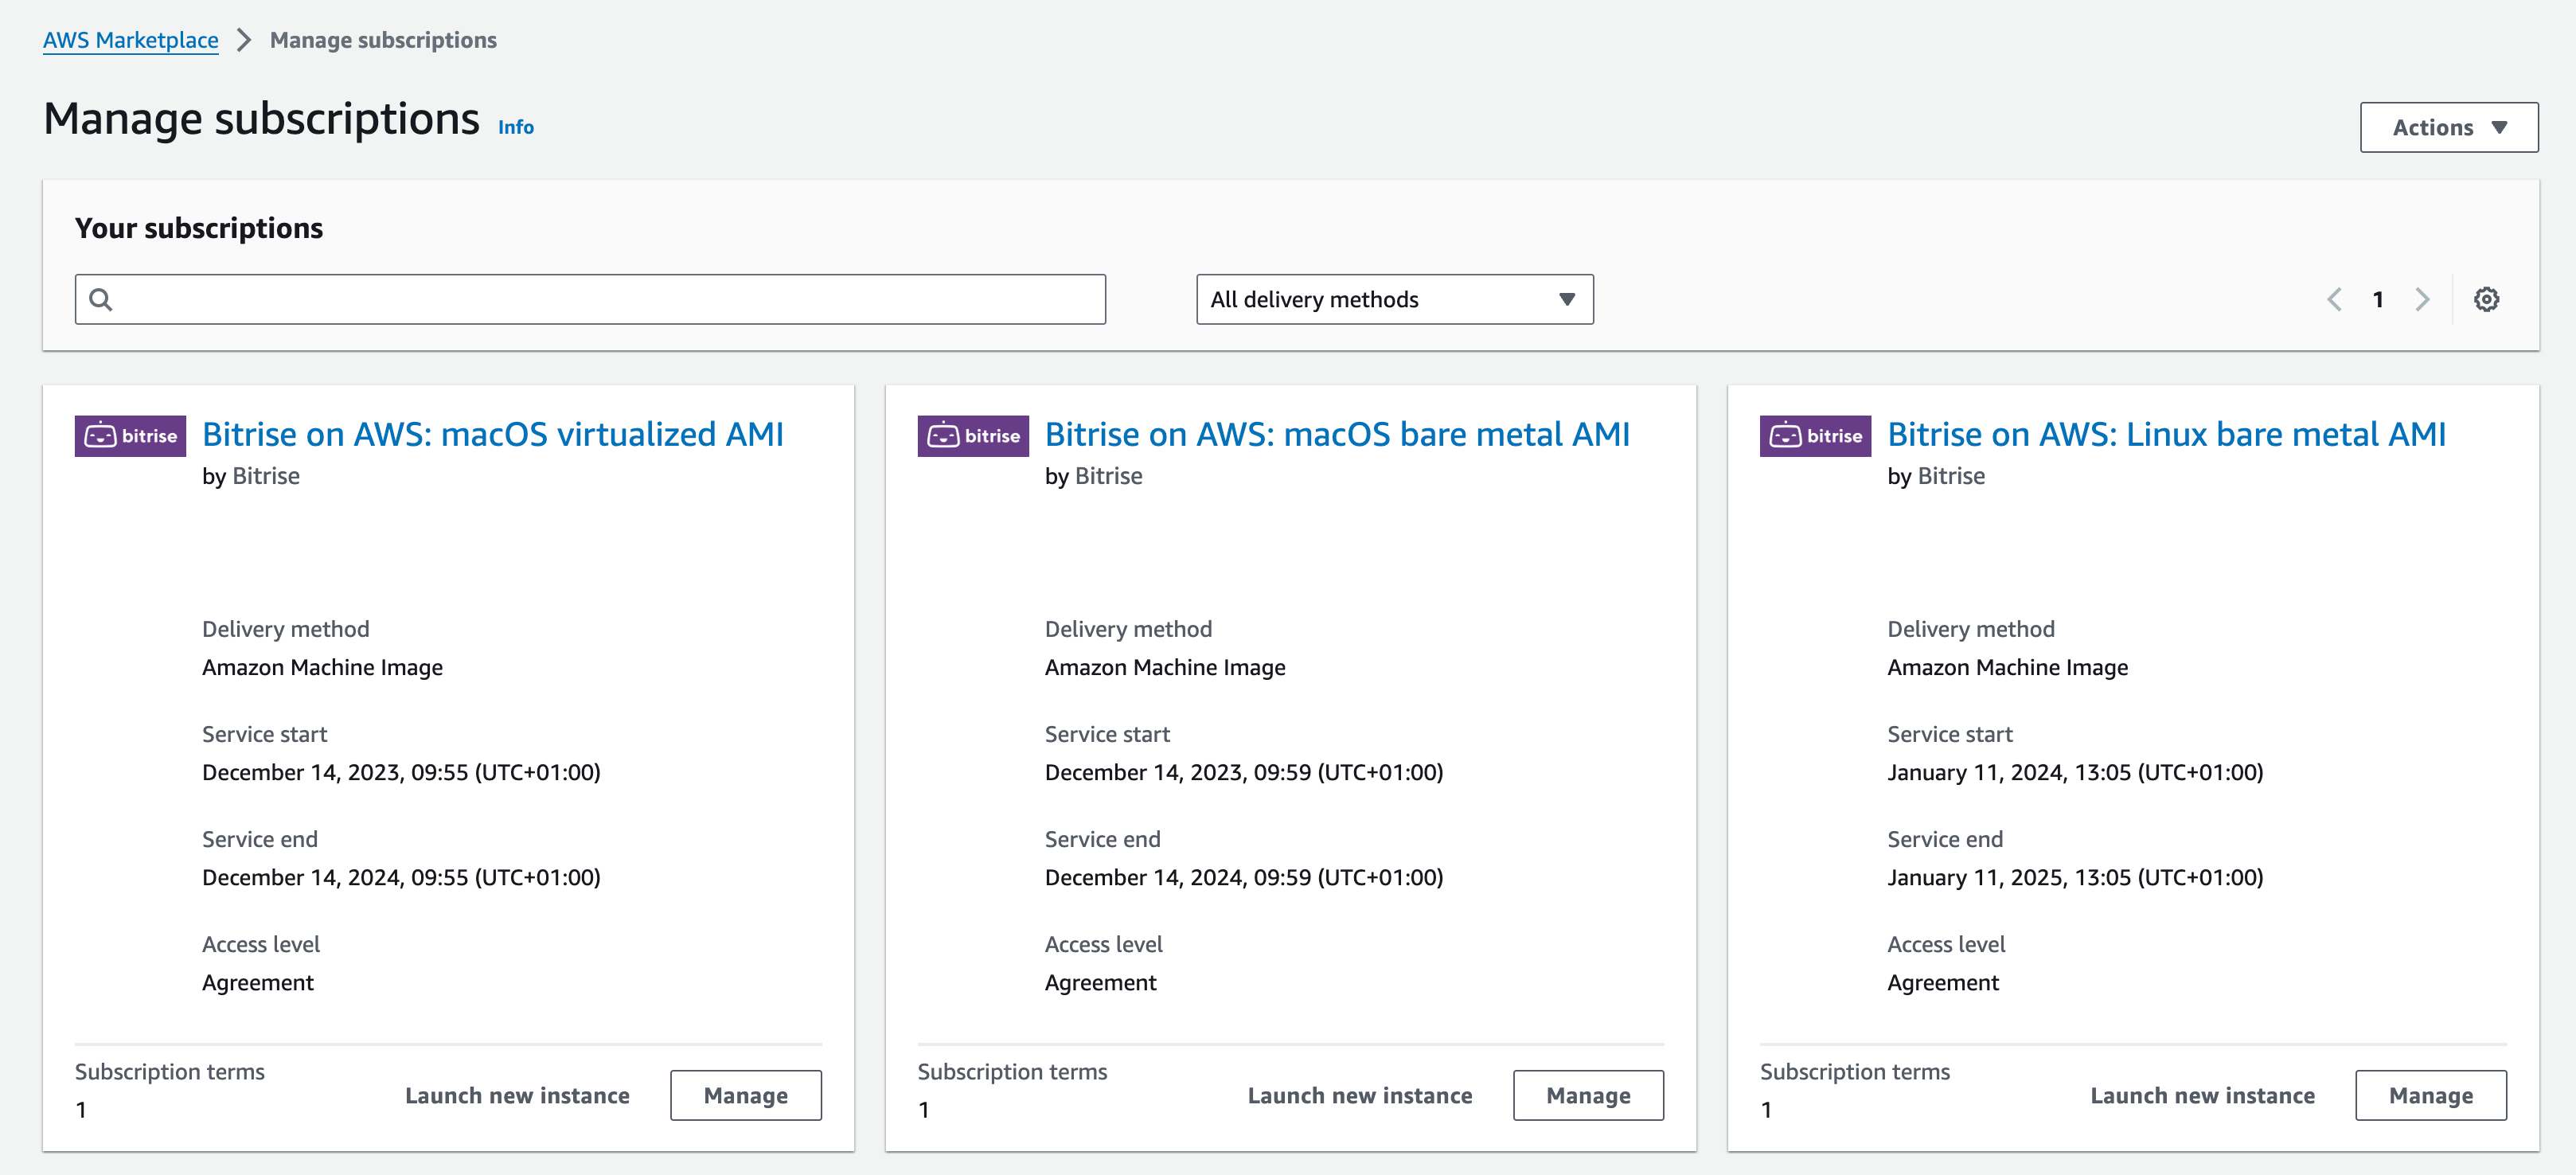
Go to the AWS Marketplace page, and on the left, select Manage subscriptions.
-
Choose the AMI you need, and select Launch new instance.
-
Make sure the software version and the region are correct, then click Continue to launch through EC2.
-
Fill out the required fields on the Launch an instance page:
Name and tags section:
- Name: The name of your instance.
Instance type section:
-
Instance type: The supported types are:
mac2.metal,mac2-m2.metal,mac2-m2pro.metal.Dedicated host typeThe selected instance type must match the type of the dedicated host!
Key pair (login) section:
- Key pair name - required:
Network settings section - click Edit to modify the settings:
- VPC - required: Select a virtual private cloud from the dropdown menu.
- Subnet: Select your preferred subnet from the dropdown menu, or leave it on No preference.
- Firewall (security groups): Create a new security group or select an existing one.
Configure storage section:
-
Set the size of the storage volume in gigabytes:
For the bare metal macOS AMI, the minimum number is 400 GB but we recommend at least 450 GB.
For the virtualized macOS AMI, we recommend 700GB with 1 VM per host and 1000GB with 2 VM per host.
Increasing the disk sizeIf you need to increase the disk size from the default 400 GB, re-partition the disk so macOS can use all the allocated storage. You can do this when setting up the instance by adding a script to User data in the Advanced details section: Increasing disk size on a Mac instance.
-
Select a root volume type from the dropdown menu.
Storage typeWe recommend using at least the gp3 root volume, the higher the IOPS the better.
Advanced details section:
- Tenancy: Select the Dedicated host - launch this instance on a dedicated Host option from the dropdown menu.
- Target host: Select the Host ID option from the dropdown menu.
- Tenancy host ID: Select the host ID of the previously created dedicated host.
-
Configure a runner pool and copy the token required for authentication.
-
Navigate to the EC2 Dashboard.
-
Go to the AWS Marketplace page, and on the left, select Manage subscriptions.
-
Choose the AMI you need, and select Launch new instance.
-
Make sure the software version and the region are correct, then click Continue to launch through EC2.
Service quotasMake sure you have enough service quotas in your selected region to be able to launch as many instances as you need.
-
Fill out the required fields on the Launch an instance page:
Name and tags section:
- Name: The name of your instance.
Instance type section:
- Instance type: Select an x86_64 Linux metal instance.
Key pair (login) section:
- Key pair name - required:
Network settings section - click Edit to modify the settings:
- VPC - required: Select a virtual private cloud from the dropdown menu.
- Subnet: Select your preferred subnet from the dropdown menu, or leave it on No preference. The subnet must be able to access the internet either via a NAT Gateway or an Internet Gateway.
- Firewall (security groups): Create a new security group or select an existing one.
Configure storage section:
- Set the size of the storage volume in gigabytes. The minimum value is 450 GB.
- Select a root volume type from the dropdown menu.
Connecting the EC2 Mac or Linux instance to your Bitrise WorkspaceClick to copy link
- Mac bare metal instance
- Mac virtualized instance
- Linux instance
-
Make sure that your instance can access the following endpoints:
-
Modify the User data of the instance: add the command to launch the Bitrise runner, using the Secret you created in the AWS Secrets Manager:
importantWhen modifying the user data scripts for an EC2 Mac instance, make sure that there is no empty space before the start of the script. The first line should always be
#!/bin/bash. If there is empty space before this line, the instance won't work.TOKEN=$(aws secretsmanager get-secret-value --secret-id MY_SECRET | jq -r '.SecretString | fromjson | .["MY_SECRET"]')sudo sed -i '' "s/BITRISE_AGENT_TOKEN/$TOKEN/" /Users/ec2-user/Library/LaunchDaemons/io.bitrise.self-hosted-agent.plistsudo launchctl load -w /Users/ec2-user/Library/LaunchDaemons/io.bitrise.self-hosted-agent.plist -
You can also set shell scripts or other custom data in the User data section.
In the Advanced options for EC2 Mac and Linux instances section, you can find recommendations for optimizing your instance with user data:
-
Make sure that your instance can access the following endpoints:
-
Modify the User data of the instance: add the command to launch the Bitrise runner, using the Secret you created in the AWS Secrets Manager. You also need to provide the number of concurrencies and the stack you wish to run.
importantWhen modifying the user data scripts for a macOS instance, make sure that there is no empty space before the start of the script. The first line should always be
#!/bin/bash. If there is empty space before this line, the instance won't work.You can get the list of available stacks with the following command:
/opt/virtualization-cli/bin/virtualization-cli listThe allowed values for your concurrency preference are 1 or 2.
- With 1 CC, the runner will schedule 1 VM with 8 vCPU and 12 GB RAM.
- With 2 CC, the runner will schedule 2 VMs with 4 vCPU and 6 GB RAM each.
TOKEN=$(aws secretsmanager get-secret-value --secret-id MY_SECRET | jq -r '.SecretString | fromjson | .["MY_SECRET"]')sudo sed -i '' 's/BITRISE_AGENT_CC/<YOUR_CONCURRENCY_PREFERENCE>/' /Users/ec2-user/Library/LaunchDaemons/io.bitrise.self-hosted-agent.plistsudo sed -i '' 's/BITRISE_AGENT_STACK/<YOUR_DESIRED_STACK>/' /Users/ec2-user/Library/LaunchDaemons/io.bitrise.self-hosted-agent.plistsudo sed -i '' "s/BITRISE_AGENT_TOKEN/$TOKEN/" /Users/ec2-user/Library/LaunchDaemons/io.bitrise.self-hosted-agent.plistsudo launchctl load -w /Users/ec2-user/Library/LaunchDaemons/io.bitrise.self-hosted-agent.plist -
You can also set shell scripts or other custom data in the User data section.
In the Advanced options for EC2 instances section, you can find recommendations for optimizing your instance with user data:
-
Make sure that your instance can access the following endpoints:
-
Modify the User data of the instance: add the command to launch the Bitrise runner, using the Secret you created in the AWS Secrets Manager:
TOKEN=$(aws secretsmanager get-secret-value --secret-id MY_SECRET | jq -r '.SecretString | fromjson | .["MY_SECRET"]')/opt/bitrise/releases/bitrise-den-agent-configure.sh $TOKENLinux image versionIf your Linux image version is EARLIER than
v2025W10, the required command is slightly different:TOKEN=$(aws secretsmanager get-secret-value --secret-id MY_SECRET | jq -r '.SecretString | fromjson | .["MY_SECRET"]')sudo sed -i “s/BITRISE_AGENT_TOKEN/$TOKEN/” /etc/systemd/system/bitrise-den-agent.servicesudo systemctl start bitrise-den-agent.service -
You can also set shell scripts or other custom data in the User data section.
In the Advanced options for EC2 instances section, you can find recommendations for optimizing your instance with user data: