Installable artifacts
Artifacts, including build logs, build files, installable artifacts, or CodePush packages, are only stored for a limited amount of time. For details, see Artifact retention policy.
There are two ways to upload installable artifacts to Release Management so they can be used as release candidates:
- Generating them via a Bitrise build of a connected app.
- Using our API endpoint. This is particularly useful if you use a different CI service instead of Bitrise.
- Use our premade bash script to use the API endpoint.
Using a Bitrise buildClick to copy link
If you use Bitrise CI, getting an installable artifact is only a matter of running a build that generates one:
- Make sure you have a connected app in Release Management.
- Make sure you have the Deploy to Bitrise.io Step in the Bitrise Workflow that generates the installable artifact (IPA, APK or AAB).
- Run a build.
All installable artifacts from successful builds will be available on the Artifacts page and can be selected as a release candidate.
Using the APIClick to copy link
The API requires two requests to upload an installable artifact:
-
The first request is to get the upload information. This request must contain:
- Your API authentication token. Workspace tokens and personal access tokens are both accepted.
- The slug of the connected app. This is automatically filled in if you get the request from the Release Management UI.
- The file name and the file size in bytes.
-
The second request is to upload the file to the artifact storage. The request must be built using the response from the previous request's response. It returns:
- The necessary HTTP headers.
- The HTTP method for the upload.
- The URL to send the request (containing all required information) to.
-
Optionally, you can use a third request to check the status of the upload.
You can check the relevant endpoints in the official API documentation.
You can get the API requests from the Release candidate stage or the Artifacts page.
- RC stage
- Build distribution page
- Artifacts page
-
Make sure you have a connected app in Release Management.
-
Open your connected app.
-
Select your release and go to the Release candidate stage.
-
In the source card, click Configure.
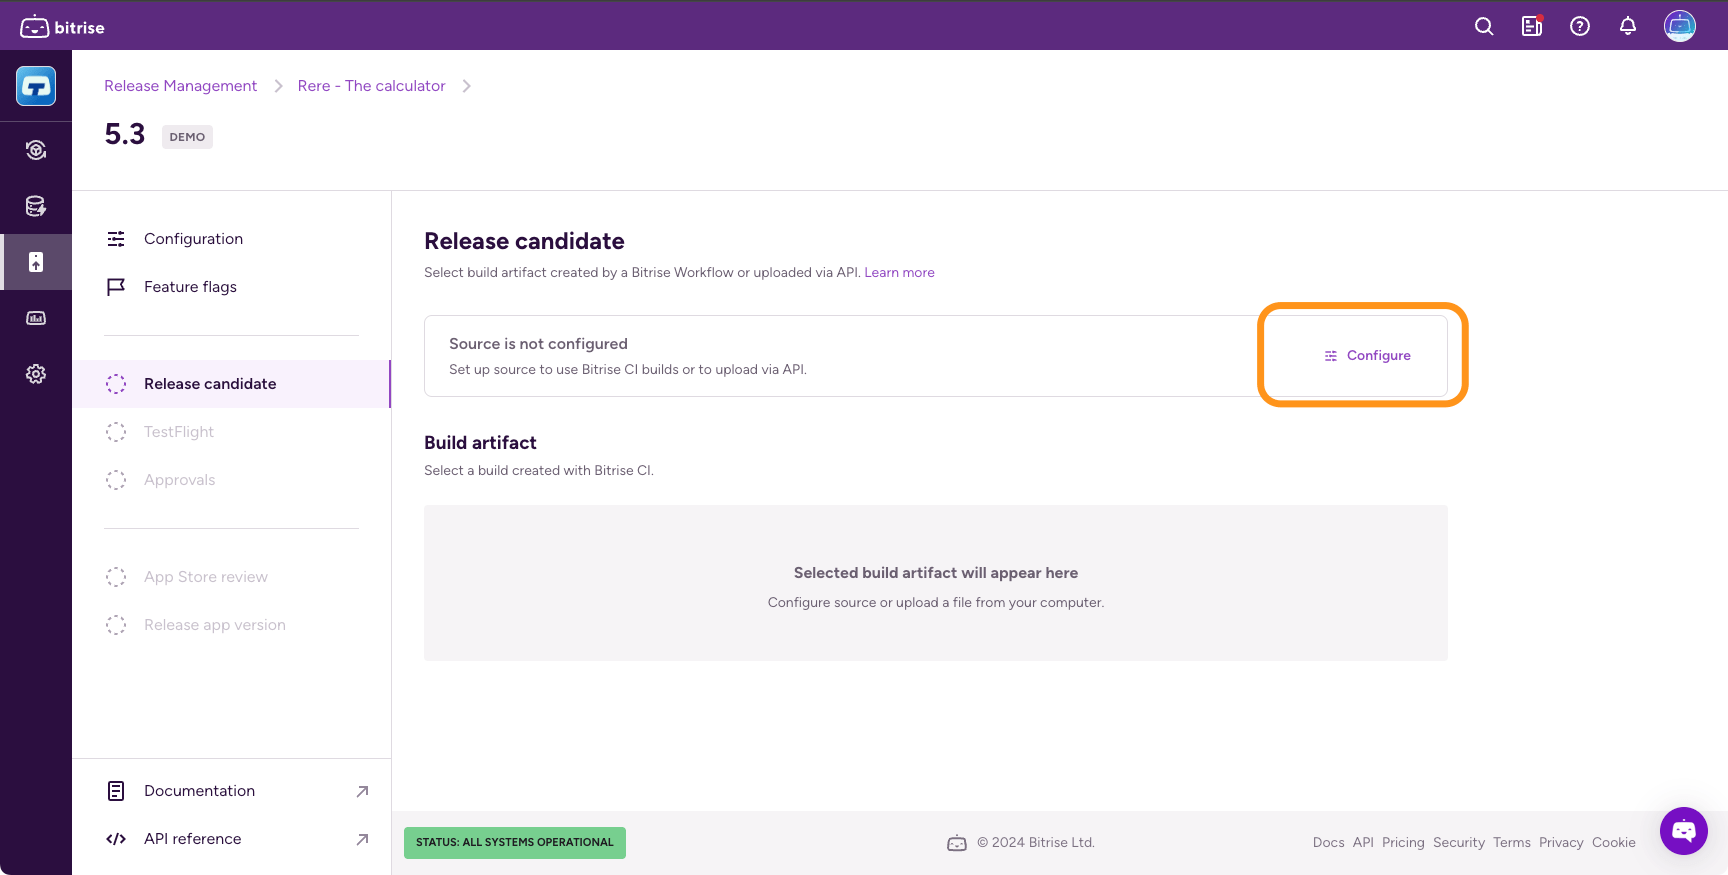
-
In the dialog, select Upload via API.
-
Get the curl command for the upload URL and then the curl command for the upload file. Replace
[AUTH_TOKEN],[FILE_NAME],[FILE_SIZE]and[UPLOAD_URL]placeholders with the actual values. Bash script available
You can also find a link to a bash script that you can use to set up your API calls easily.
-
Optionally, check Automatically select after successful upload to make sure that your binary is automatically selected as a release candidate once the upload is successful.
If you do not check this, you can select your release candidate from a list of artifacts.
-
Click Save changes.
-
Use the API requests to upload your artifacts.
-
Make sure you have a connected app in Release Management.
-
Open your connected app.
-
Select Build distribution from the left navigation menu and select the Builds tab.
-
Click Upload via API.
-
Get the curl command for the upload URL and then the curl command for the upload file. Replace
[AUTH_TOKEN],[FILE_NAME],[FILE_SIZE]and[UPLOAD_URL]placeholders with the actual values.Bash script availableYou can also find a link to a bash script that you can use to set up your API calls easily.
-
Click OK, got it when you are ready.
-
Use the API requests to upload your artifacts.
-
Make sure you have a connected app in Release Management.
-
Open your connected app.
-
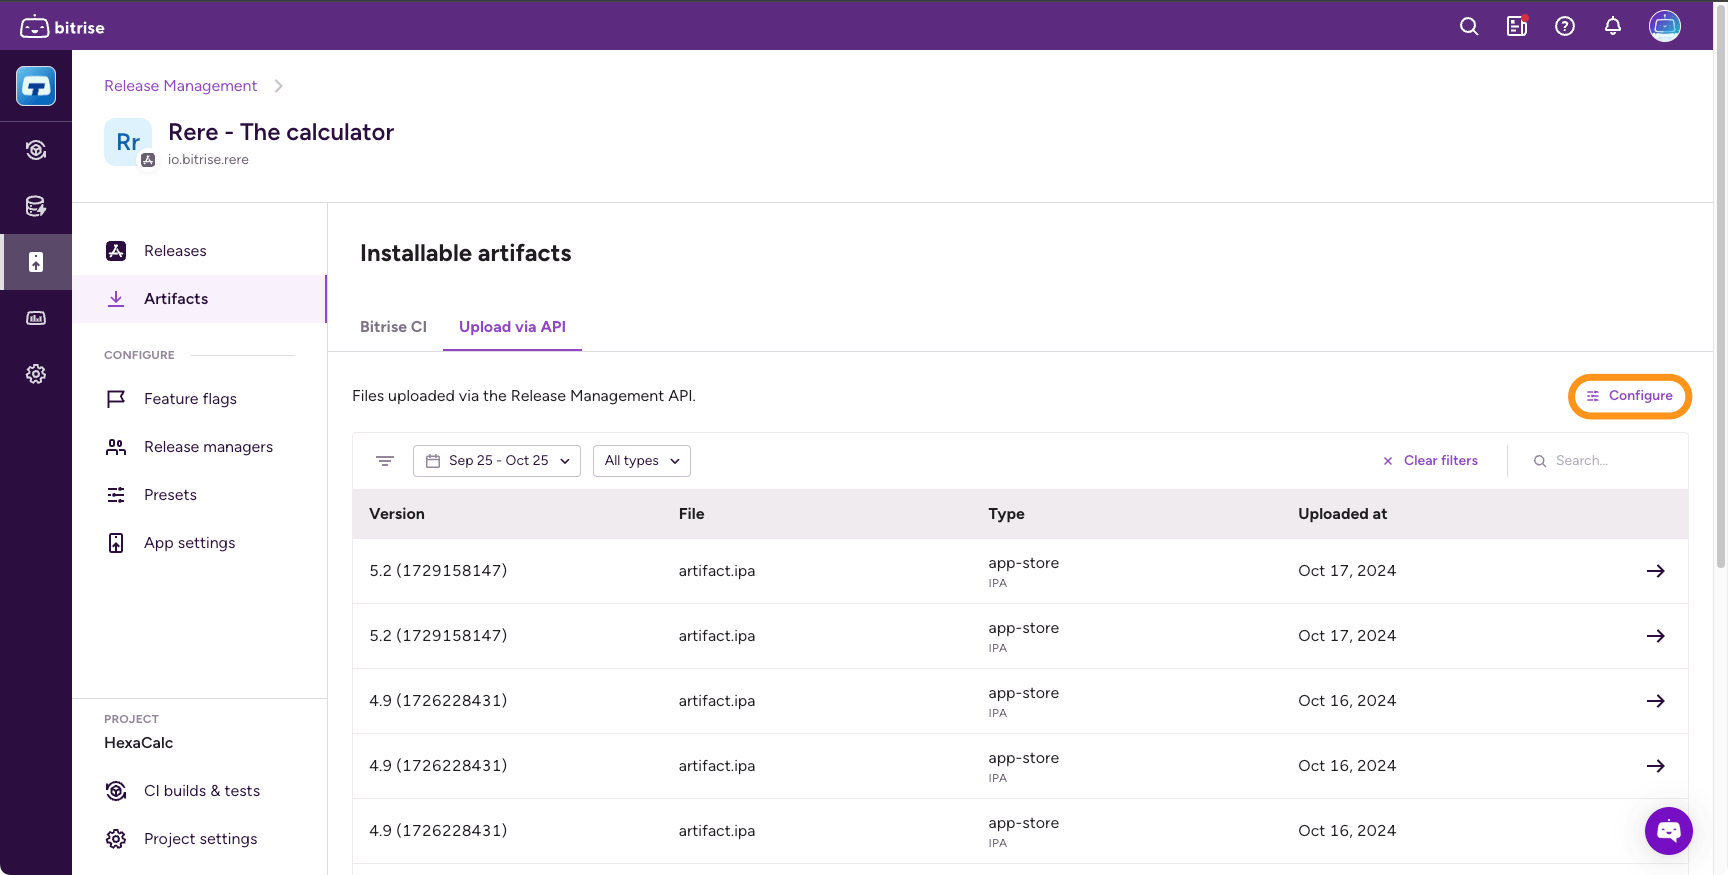
Select Artifacts from the left navigation menu and go to the Upload via API tab.
-
Click Configure.
-
Get the curl command for the upload URL and then the curl command for the upload file. Replace
[AUTH_TOKEN],[FILE_NAME],[FILE_SIZE]and[UPLOAD_URL]placeholders with the actual values.Bash script availableYou can also find a link to a bash script that you can use to set up your API calls easily.
-
Click OK, got it when you are ready.
-
Use the API requests to upload your artifacts.
Using the bash scriptClick to copy link
To make using the API more convenient, we've created a bash script that simplifies the upload process. It supports Linux distributions (alpine, arch, centos, debian, fedora, rhel, ubuntu) and macOS. The script checks your system and then attempts to upload installable artifacts to Release Management.
To use the script:
-
Get the script from GitHub.
-
Make sure you have
sudoprivileges on your system ORjqandopensslpackages installed. -
Set up the following Environment Variables in your system:
- ARTIFACT_PATH: Local path of the artifact to be uploaded.
- AUTHORIZATION_TOKEN: The access token for the Bitrise Release Management API. You can use a Bitrise personal access token or a Workspace token.
- CONNECTED_APP_ID: The app ID of the connected app the artifact will be uploaded to. You can get the ID from the URL of the app's page on bitrise.io: https://app.bitrise.io/release-management/workspaces/WORKSPACE_ID/connected-apps/CONNECTED_APP_ID.
-
Run the script.