Selecting a release candidate
In the release candidate stage you select an installable artifact that will be used during the release process. You have two possible sources of installable artifacts:
- A Bitrise CI build. If you use this source, you select a branch and a Workflow and then select an artifact generated by a build using those. By default, the artifact of the latest build is used but you can change this.
- Upload an installable artifact via API. This is particularly useful if you use a different CI service instead of Bitrise.
The installable artifact must be a SIGNED artifact (IPA or AAB). Check out our code signing guides:
To select a release candidate:
-
Open your release.
-
Select Release candidate on the left navigation bar.
-
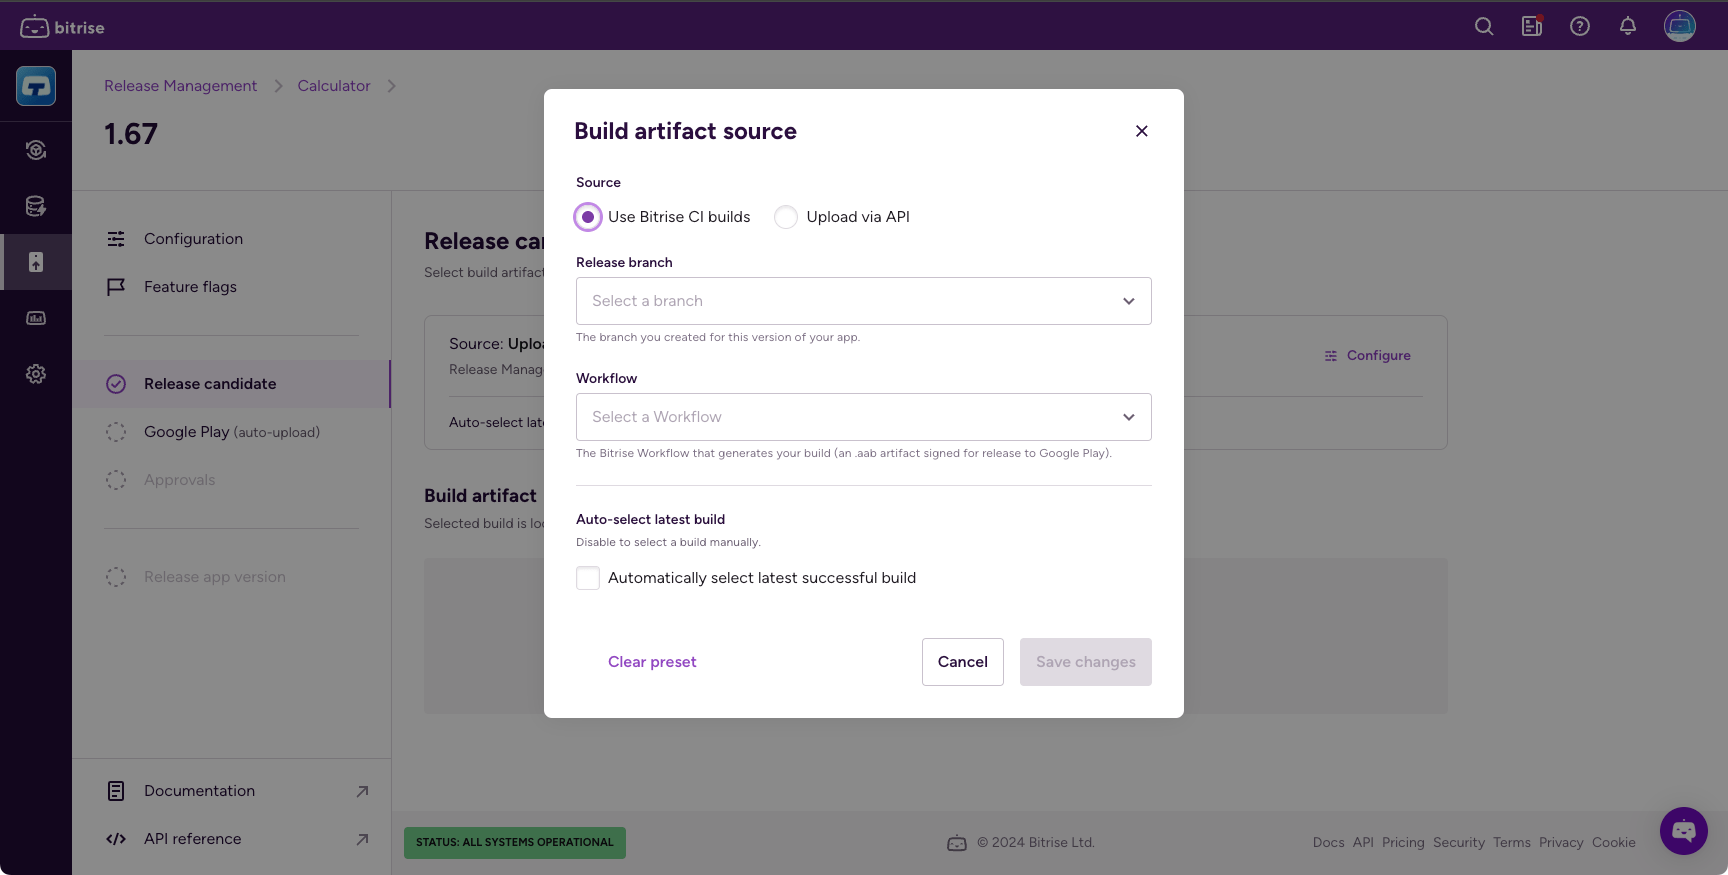
Configure the source of the build artifact: under the Configuration section, click Configure.
This will open up the Build artifact source dialog.
-
Select from one of two options:
- Use Bitrise CI builds: Select a branch and a Workflow to use artifacts generated by a Bitrise CI build.
- Upload via API: To be able to select an artifact from this source, upload one using the API.
-
Check the Automatically select checkbox to use either the latest generated artifact or the latest file uploaded via the API.
Either way, the artifact must be a signed artifact.
-
Click Save changes.
-
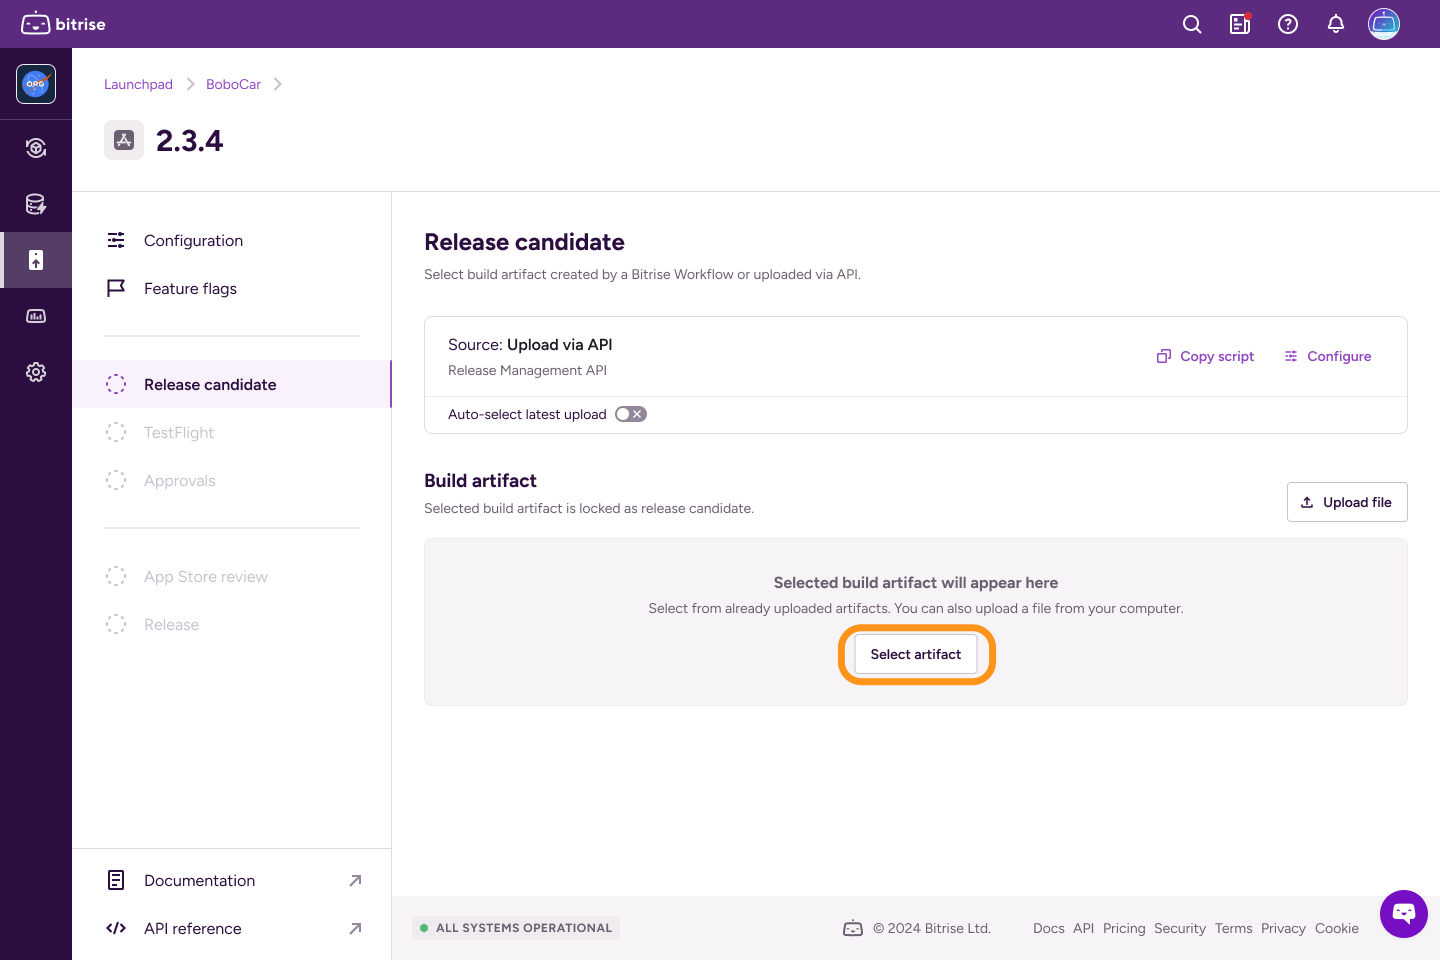
If you didn't check automatic selection, go to the Build artifact section and click Select artifact. You will only be able to select from signed artifacts.
-
Select a build artifact in the dialog and click Select artifact.
Once you selected a release candidate, you will see the details of the artifact that will be used under Build artifact:
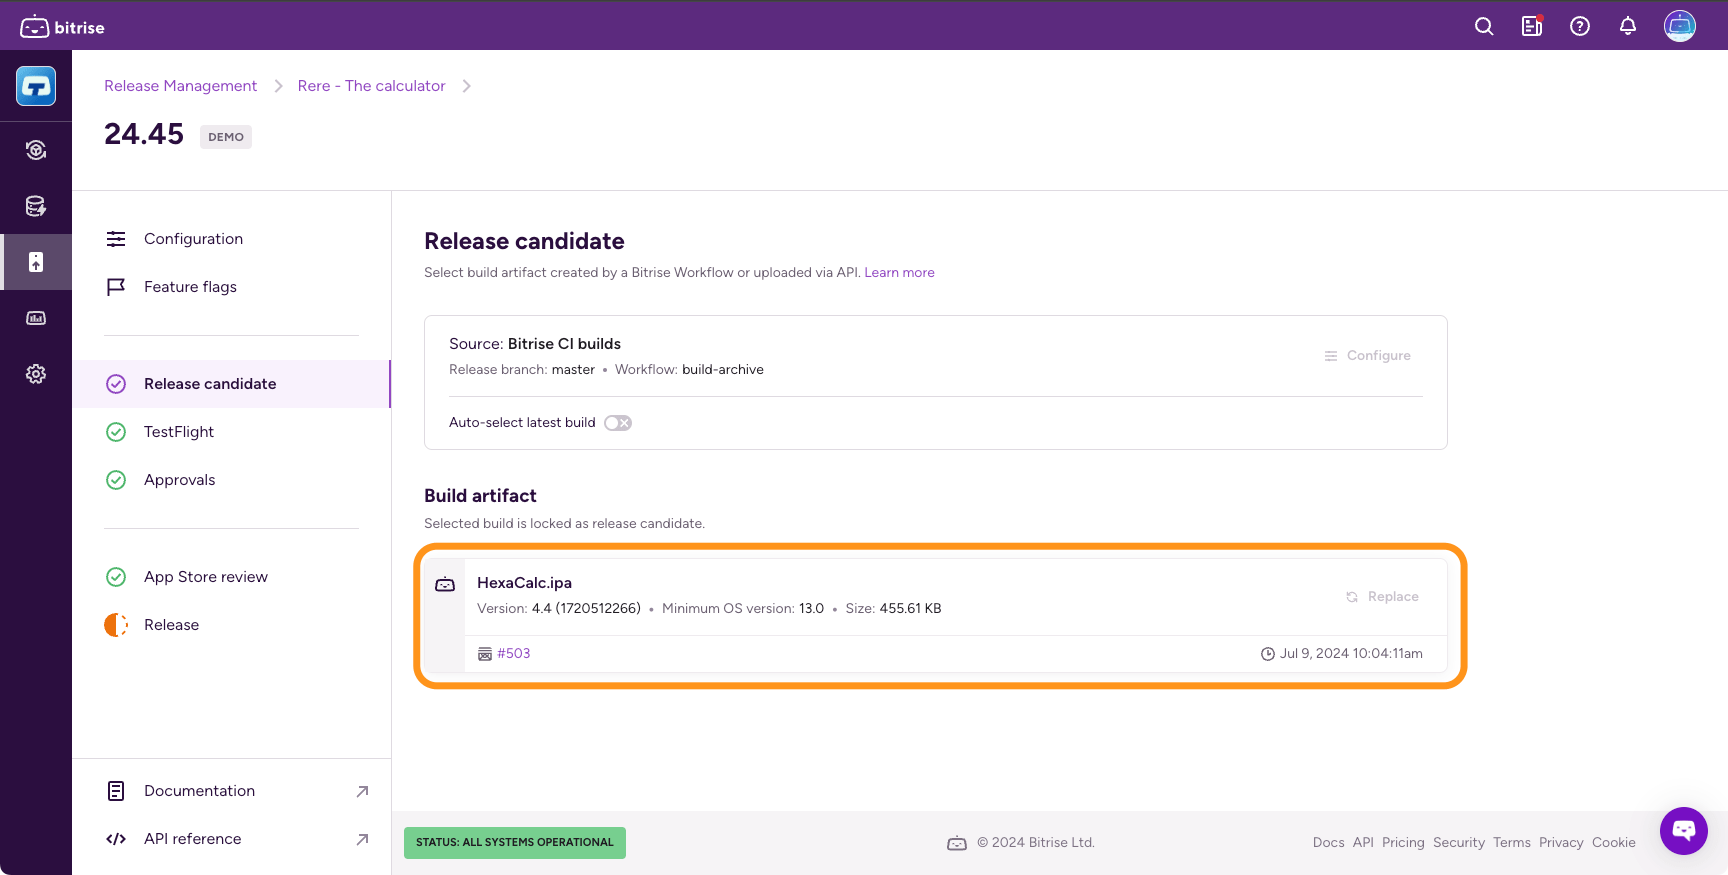
You can proceed to:
- The TestFlight upload stage for iOS apps.
- The Google Play upload stage for Android apps.