OIDC for Bitrise
Create an Open ID Connect (OIDC) trust policy and send an OIDC token with app.bitrise.io as the audience for an OIDC credential exchange. This allows third-party services to authenticate to your Bitrise workspace and access Bitrise resources.
For more information on how OIDC works, see Authentication to Bitrise with OIDC.
Creating a trust policy on BitriseClick to copy link
Create an OIDC trust policy to grant external services access to Bitrise resources via an OIDC token exchange.
-
Log in to Bitrise and hover over the left navigation bar.
-
Make sure you have the right workspace selected in the Workspace menu.
-
Select Settings.
-
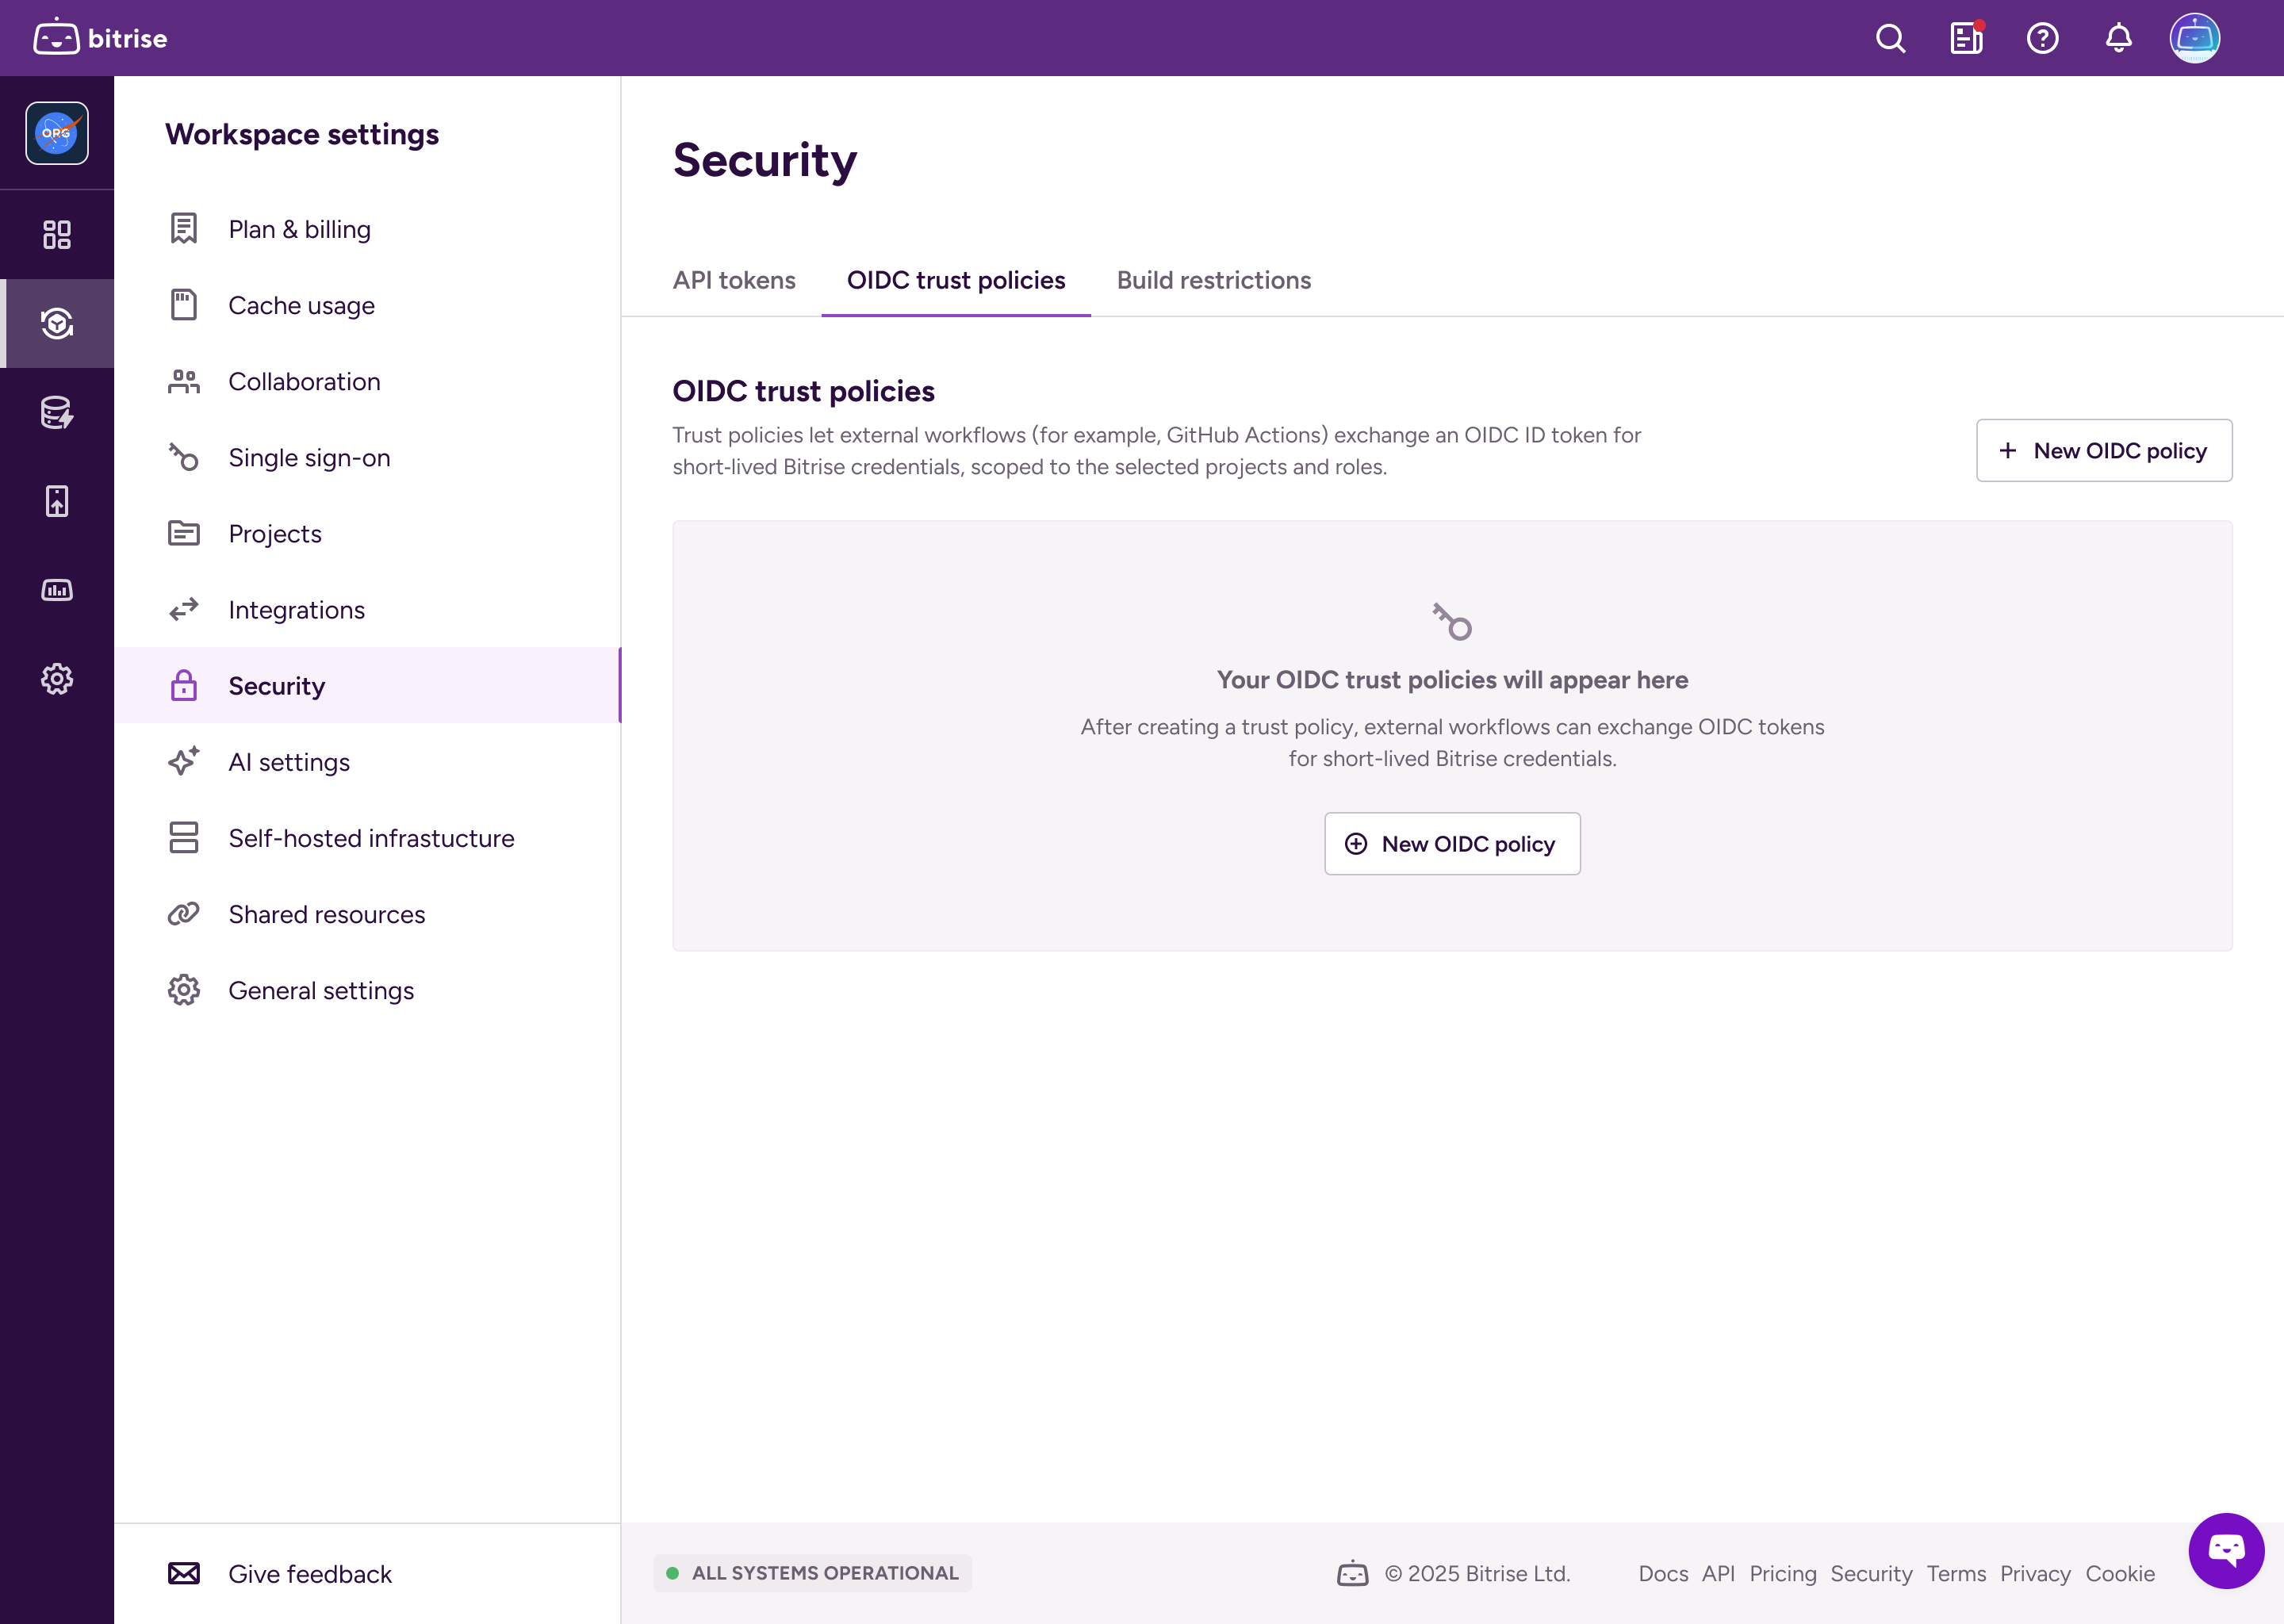
Select Security and then go to the OIDC trust policies tab.
-
Click New OIDC policy.
-
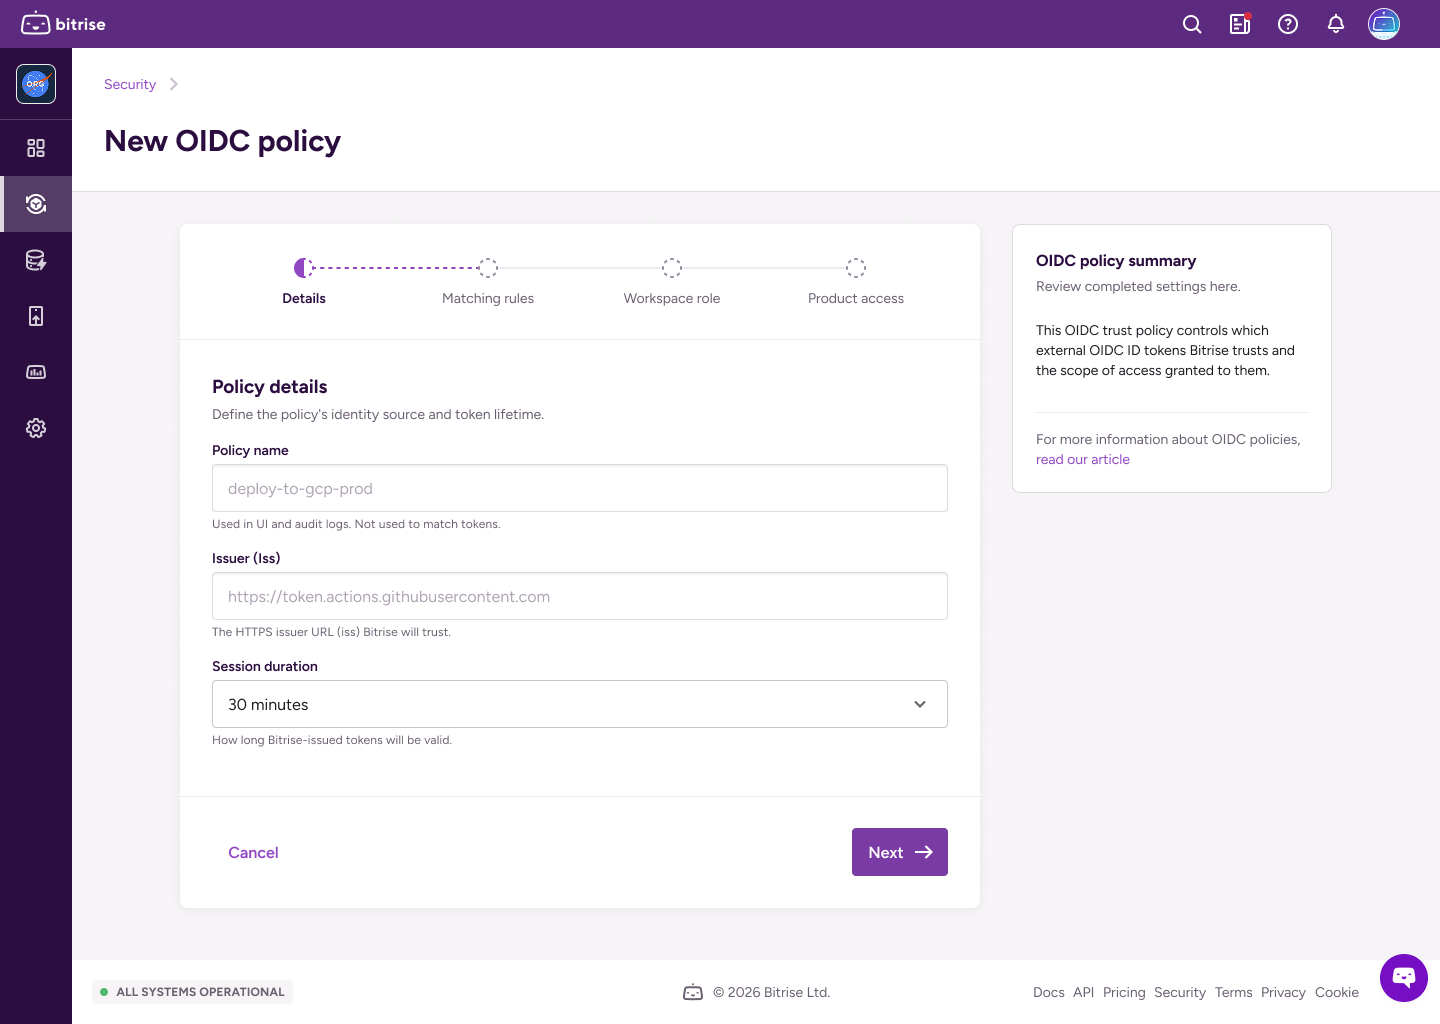
Fill out the policy details:
- Policy name: The policy identifier.
- Issuer: The HTTPS URLs for identity providers that Bitrise will trust.
- Session duration: How long the token will be valid.
-
On the next page, set matching rules in a JSON format.
Matching rules define which claims Bitrise must see in the token to match the trust policy.
importantYou must have at least one matching rule. The
subclaim is mandatory: it identifies the subject that triggered the token exchange.For example, you can create matching rules for a specific branch of a repository and names a Workflow:
{"sub": "repo:my-org/my-repo:environment:prod","workflow": "CI","ref": "refs/heads/main","repository": "my-account/my-repo"} -
On the next page, set up a workspace role for the short-lived token.
The workspace role determines the access level of the token. Read more: Roles and permissions in workspaces.
-
On the next page, configure product access. Grant full admin access to all products, or grant granular access to either Bitrise CI or Release Management or both:
-
Select Admin access to grant admin access to all projects owned by the workspace.
-
Select Bitrise CI and/or then select the projects or Release Management apps and access roles for the token. It can have different levels of access on different projects!
Read more: Roles and permissions for Bitrise CI
-
Select Release Management then select the Release Management apps and access roles for the token. It can have different access levels on different Release Management apps.
Read more: Release Management roles and permissions
-
-
When ready, click Create policy.
Crafting a token requestClick to copy link
After you create at least one trust policy on Bitrise, you can create OIDC token exchange requests to receive short-lived tokens from Bitrise.
-
Get an OIDC token from the service you want to authenticate to Bitrise.
The exact method of getting the token depends on the service. For example: Request a token from GitHub Actions.
-
Use the token in the exchange request to Bitrise.
The request must contain the policy ID and it must be submitted to
app.bitrise.io.curl -i -X POST https://app.bitrise.io/oidc/token \-H "Content-Type: application/x-www-form-urlencoded" \-d "grant_type=urn:ietf:params:oauth:grant-type:token-exchange" \-d "subject_token_type=id_token" \-d "policy_id=<POLICY_UUID>" \-d "subject_token=<OIDC_TOKEN>"You can also send a request as
application/json:curl -i -X POST https://app.bitrise.io/oidc/token \-H "Content-Type: application/json" \-d"{ \"grant_type\": \"urn:ietf:params:oauth:grant-type:token-exchange\",\"subject_token_type\": \"id_token\",\"subject_token\": <OIDC_TOKEN>,\"policy_id\": <POLICY_ID> }"