Workspace API token
A Workspace API token allows Workspace members to access the Bitrise API without each member having to set up their own Personal Access Token. For API authentication, the Workspace token functions the exact same way as the Personal Access Token. You can also use it to log in with the Bitrise CLI.
Workspace owners, Workspace managers, and members with a custom role that includes Manage API access can set up multiple Workspace API tokens, each with different access rights to the apps owned by the Workspace. The access rights are determined by user roles, just as it is for Workspace members or Workspace groups.
We recommend setting up any integrations that require an access token for API access using a Workspace API token instead of individual users' Personal Access Token.
Creating a Workspace API tokenClick to copy link
-
Log in to Bitrise and hover over the left navigation bar.
-
Make sure you have the right workspace selected in the Workspace menu.
-
Select Settings.
-
On the left, select Security.
-
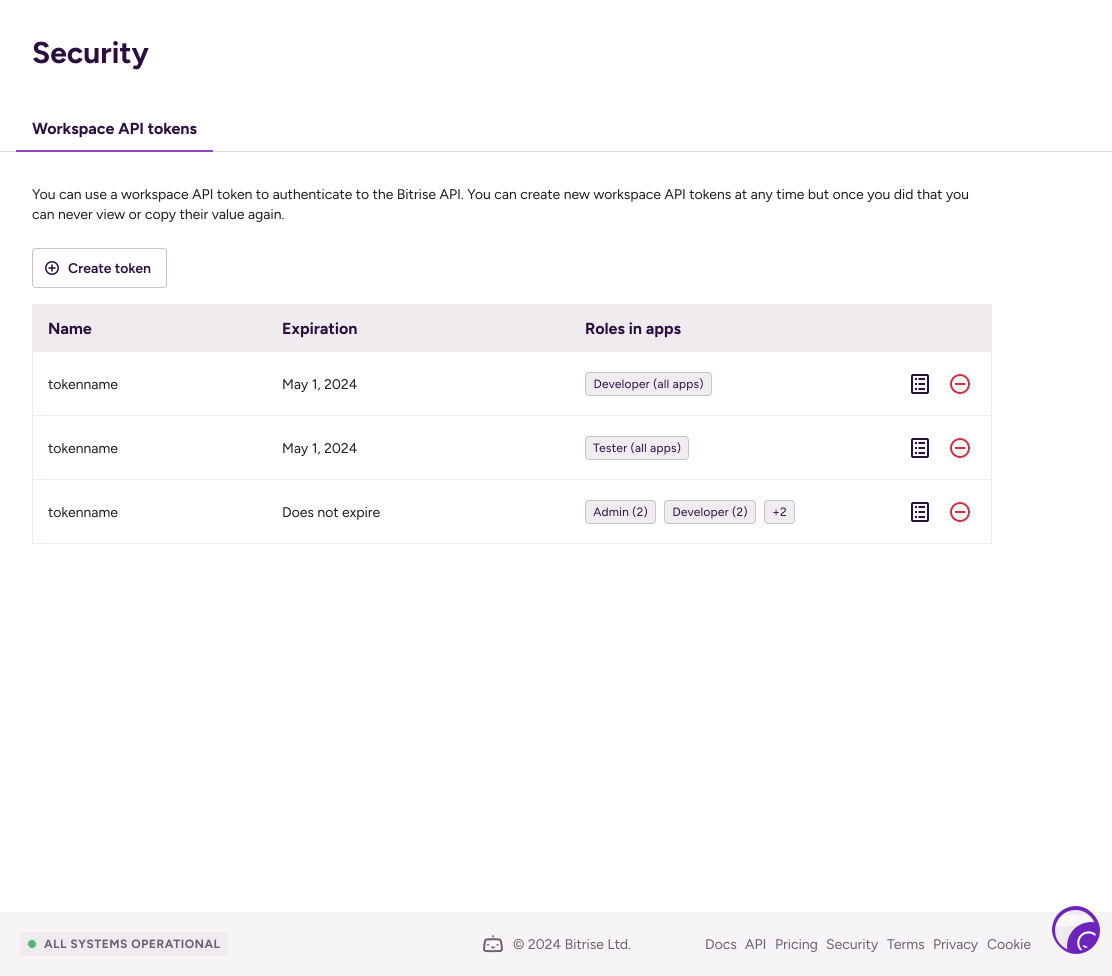
Click Create token.
-
On the Settings step, enter a Name and select an Expiration for the token.
-
Select a Workspace role for the token. This determines what the token can do at the workspace level.
-
Leave Notify workspace owners before this token expires checked to have Bitrise email the Workspace owners before the token expires, or clear it if you don't want that. See Expiry notification emails.
-
Click Next.
-
On the Product access step, set up what the token can access:
- Toggle on Admin access to let the token manage all aspects of selected projects, with access to all products.
- Toggle on Bitrise CI to let the token access CI builds. Choose Apply to: All projects or Selected projects, then select a Role — or leave it on No access.
- Toggle on Release Management to let the token access Release Management, with permissions controlled by role at the app level.
- Toggle on Remote Dev Environments to let the token act on Remote Dev Environments for the workspace, for example to mint device preview links from CI. Sessions the token creates are owned by the workspace.
-
Click Create token.
-
Click Copy and close to copy the token and close the dialog box.
Save the tokenOnce you closed the dialog box, you won't be able to see the token again!
Expiry notification emailsClick to copy link
When you create a Workspace API token, Notify workspace owners before this token expires is checked by default. Bitrise then emails every owner of the Workspace before the token expires so you can regenerate it or create a new one before your integrations and scripts stop working. When the email arrives depends on the expiration you chose:
- 6 months or 3 months: 30 days and 7 days before the token expires.
- 1 month or 2 weeks: 7 days before the token expires.
You can't turn on notifications for tokens that never expire or that expire in less than 7 days, such as 1 day or 1 hour. The setting stays with the token when you regenerate it, even if you choose a different expiration. You can't change it for an existing token: to turn notifications on or off, create a new token.
For example, you create a token that never expires. Because notifications aren't available for it, the setting is off. Later you regenerate the token with an expiration of 6 months, which would normally send notices. The token still doesn't send them, because regenerating doesn't change the setting. To get notifications for this token, create a new one.
Regenerating a Workspace API tokenClick to copy link
If a Workspace API token is lost for any reason, there is no way to view it again. You have the option of regenerating the existing token: this way you don't have to create an entirely new token and configure app access again. The regenerated token will:
- Have a new expiration date.
- Have access to the exact same apps with the exact same roles as before.
- Keep its expiry notification setting.
-
Log in to Bitrise and hover over the left navigation bar.
-
Make sure you have the right workspace selected in the Workspace menu.
-
Select Settings.
-
On the left, select Security.
-
Find your token and click the options menu (⋮) next to its name.
-
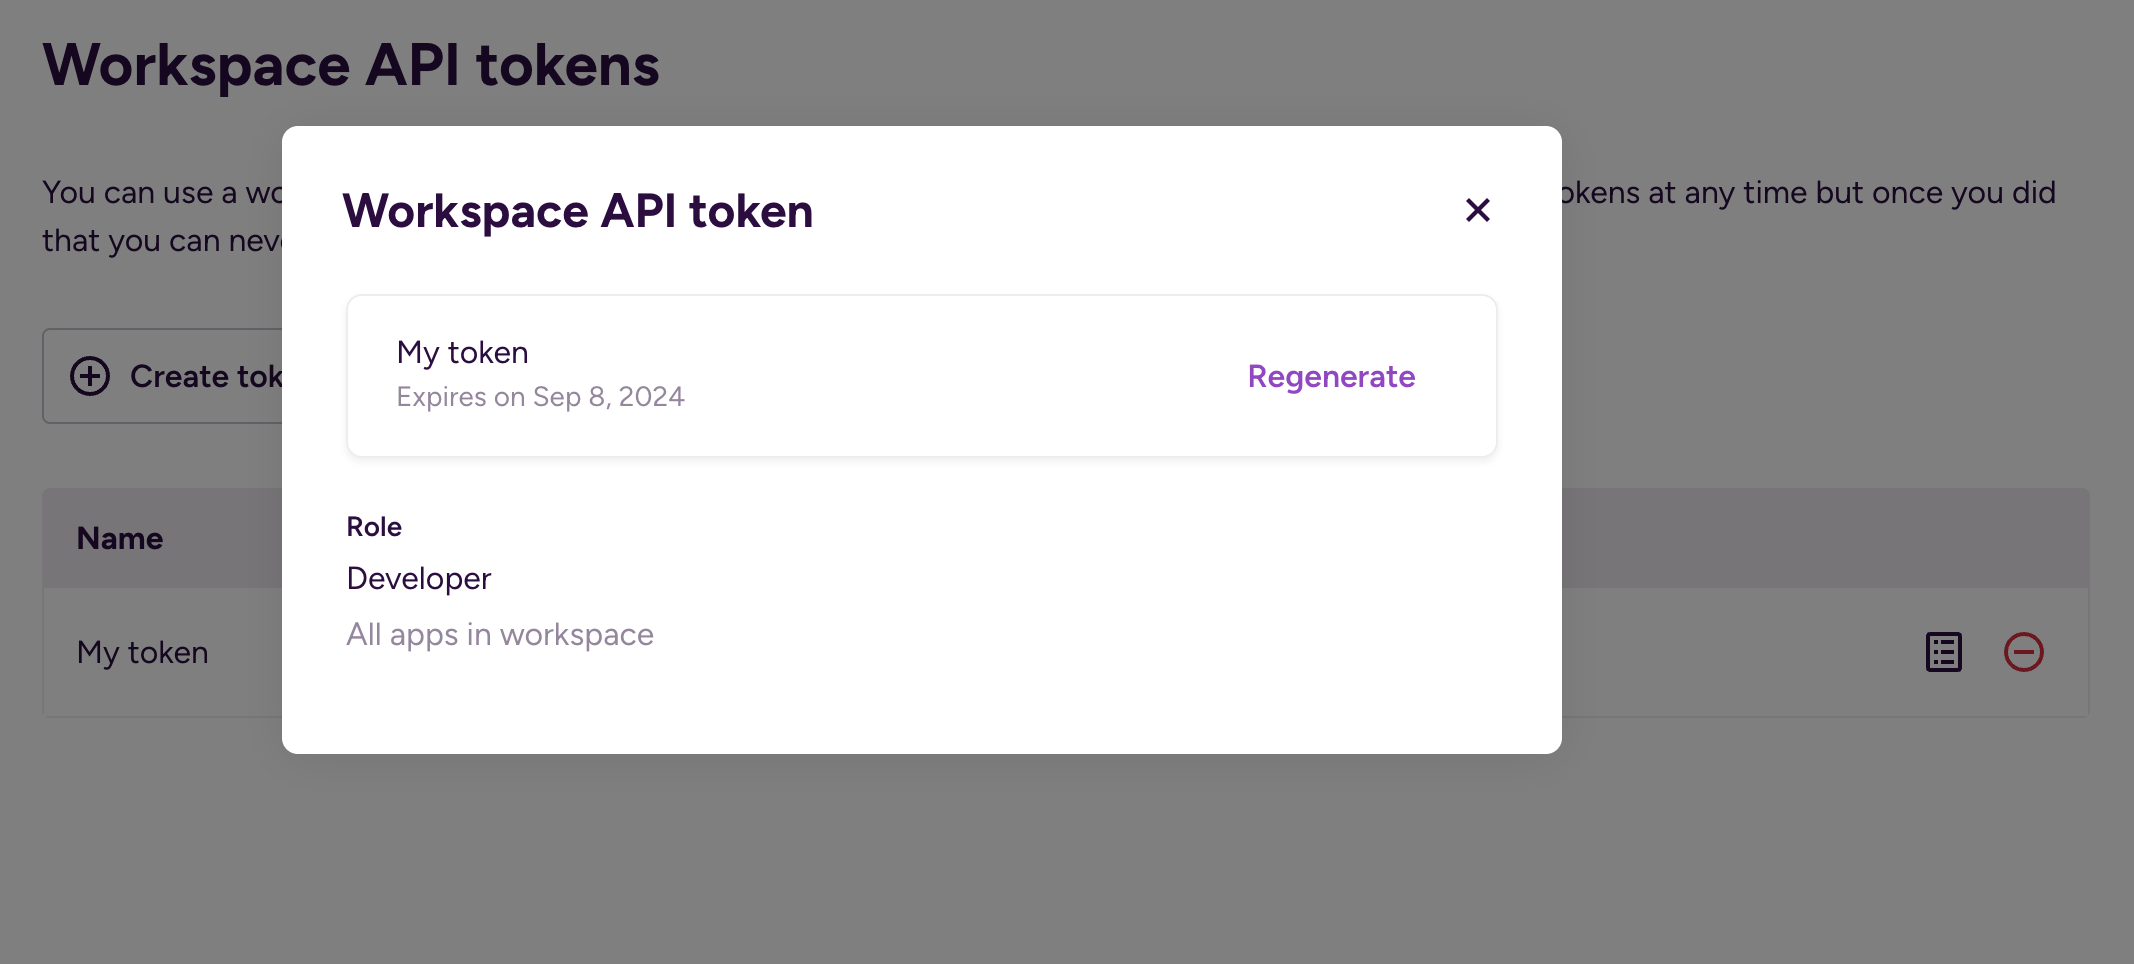
Select Regenerate.
-
Select the new expiration date.
-
Click Regenerate to get the new token.
-
Click Copy and close.
Make sure to save the token in a secure way: you won't be able to see it again.