Adding a new project
Adding a project to Bitrise means one of two things:
-
Adding a new project with a CI configuration, connecting a Git repository to the project.
During the process, we also run our project scanner that detects the platform type of the project — for example, iOS — and generate default Workflows with all the necessary Steps to build and deploy an app.
-
Adding a new project with a new Release Management app: Adding a new app to Release Management.
Each Bitrise project is owned by a workspace.
Supporting a platform/framework means that our project scanner can detect the type of the project and set up a basic Bitrise configuration based on the type. You can add any other project, too, regardless of how it's built, but you'll have to configure it manually.
In this guide, we'll go through how to add a new CI project to Bitrise.
-
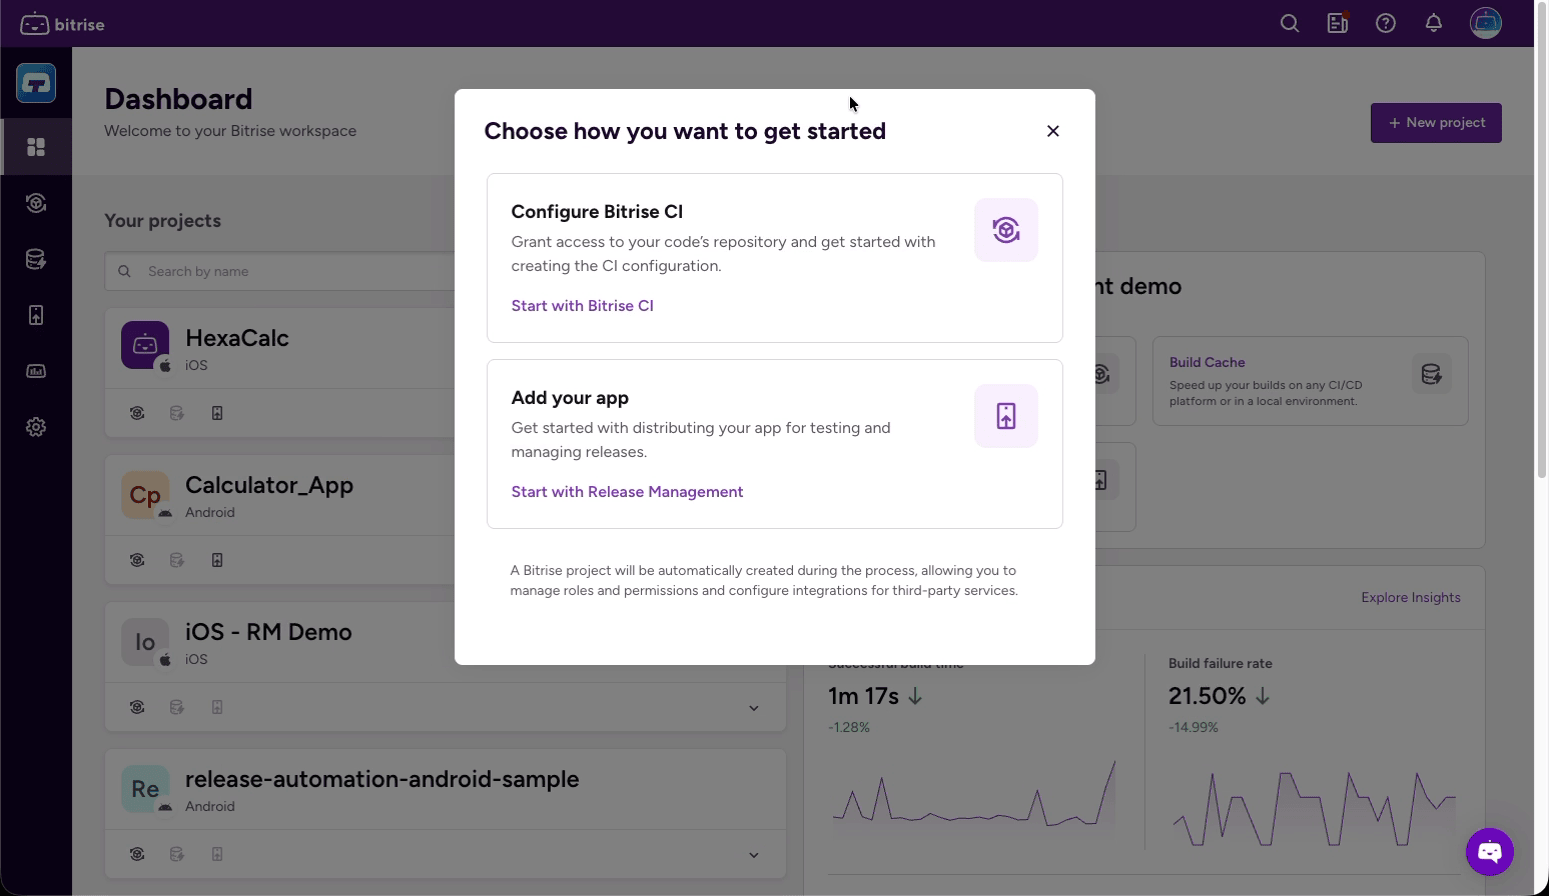
On the Dashboard, click New project.
-
Select Configure Bitrise CI.
 Release Management
Select Add your app to add a new app to Release Management instead. See Adding a new app to Release Management.
The Add CI config wizard has three stages: Repository, CI configuration, and Build settings.
RepositoryClick to copy link
Complete each of the following sub-steps in order.
Connecting to your Git providerClick to copy link
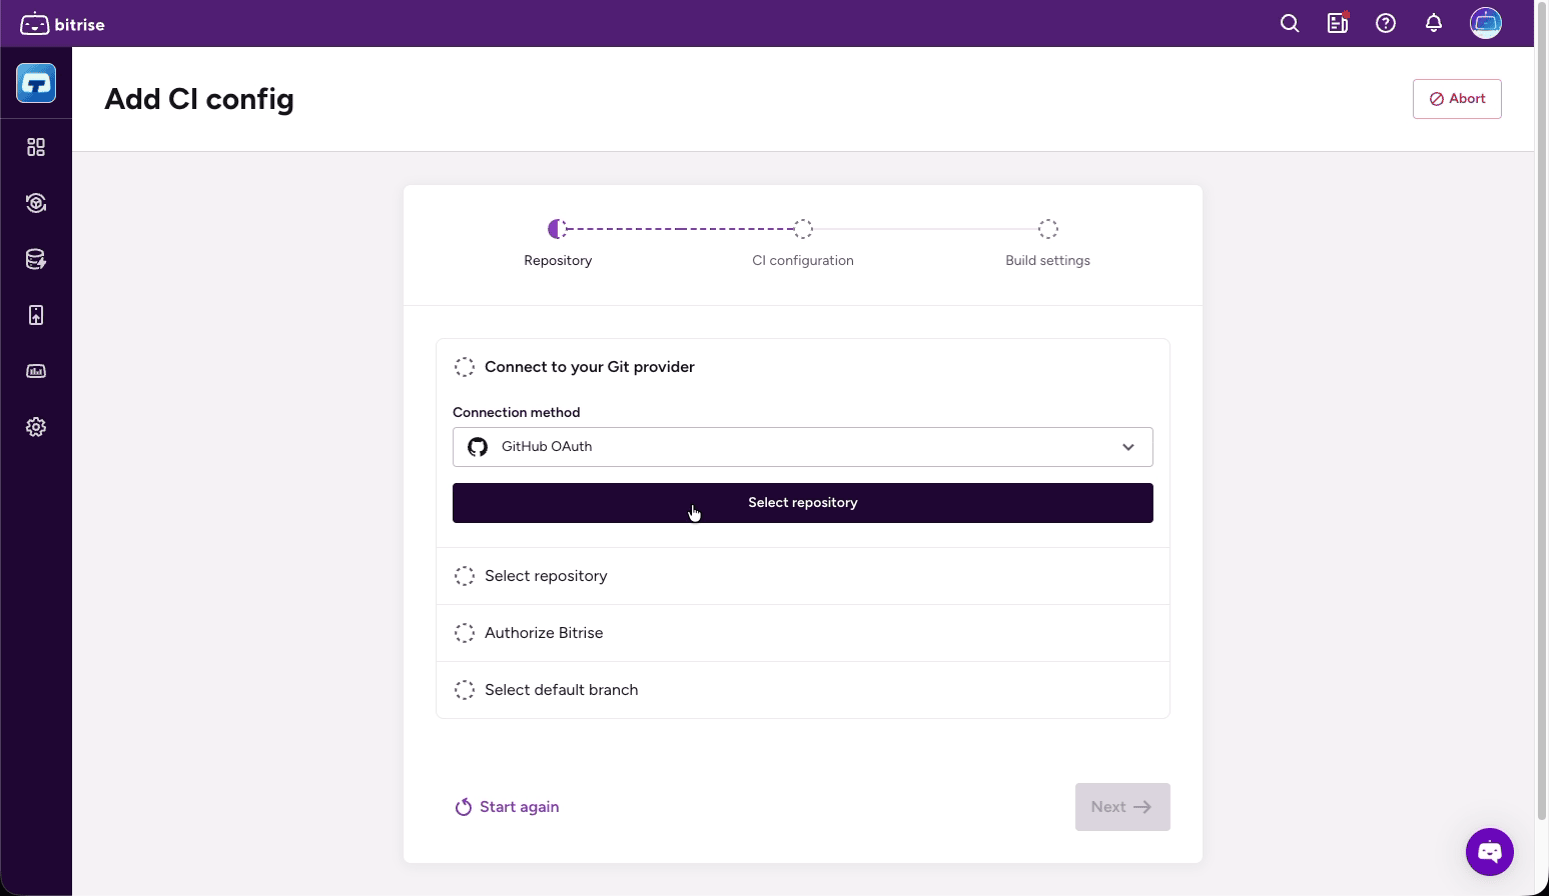
Under Connect to your Git provider, select a connection method from the Connection method dropdown:
- GitHub App (recommended): connect via the GitHub App integration. Requires your Workspace admin to configure credentials in Workspace settings > Integrations first. See GitHub App integration.
- GitHub OAuth, GitLab, Bitbucket: connect via OAuth to your account on the respective provider. See Repository access with OAuth.
- GitHub Enterprise Server, Bitbucket Server, Self-hosted GitLab: for self-hosted Git providers.
- Other: connect any other Git repository by entering its URL manually.
Once you select a provider, click Connect provider to set up the connection, or Select repository if the provider is already connected.
Selecting a repositoryClick to copy link
Select the repository you want to connect:
- Select from list: use the account dropdown to filter by organization or user, then select a repository from the list. Use the search field to find a specific one.
- Add URL manually: enter the repository URL directly.
Click Confirm selection.
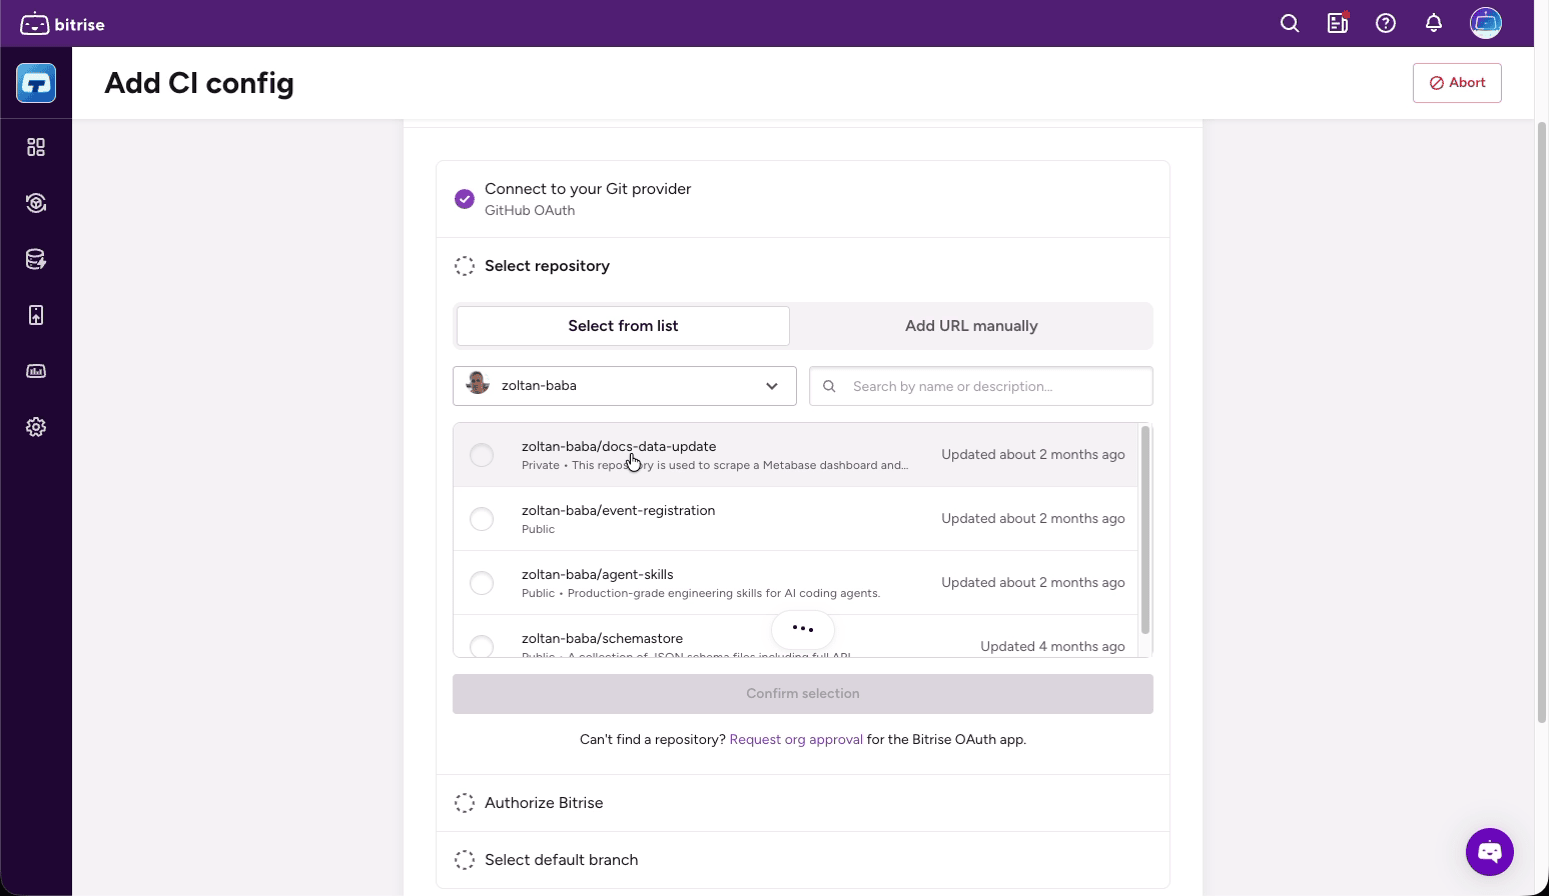
If you can't find a repository, you may need to request org approval for the Bitrise OAuth app. The link appears below the repository list.
Authorizing BitriseClick to copy link
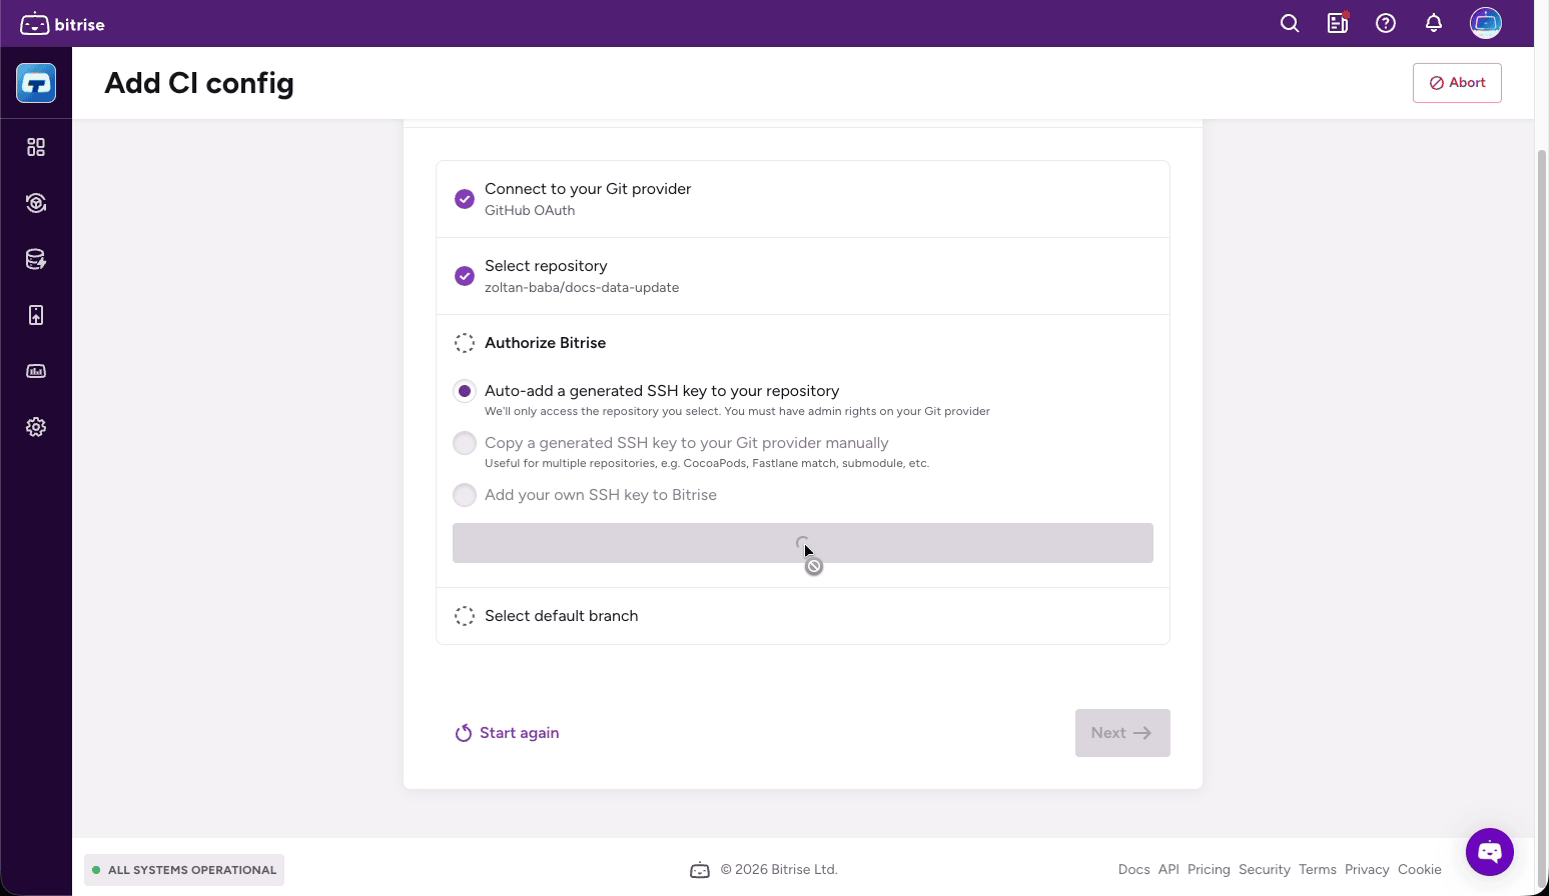
This step is only required if you are not using the GitHub App and your repository is connected via an SSH URL. Repositories connected via HTTPS URLs do not require SSH key configuration. The wizard skips this step automatically if it is not needed.
Choose how Bitrise accesses your repository:
- Auto-add a generated SSH key to your repository: Bitrise adds the key automatically. Requires admin rights on your Git provider.
- Copy a generated SSH key to your Git provider manually: use this if your build needs to access additional private repositories beyond the one you're connecting (for example, a private CocoaPods spec repository, Fastlane match storage, or Git submodules). Copy the generated key and add it to each repository manually.
- Add your own SSH key to Bitrise: use an existing SSH key pair.
For more information, see Configuring SSH keys.
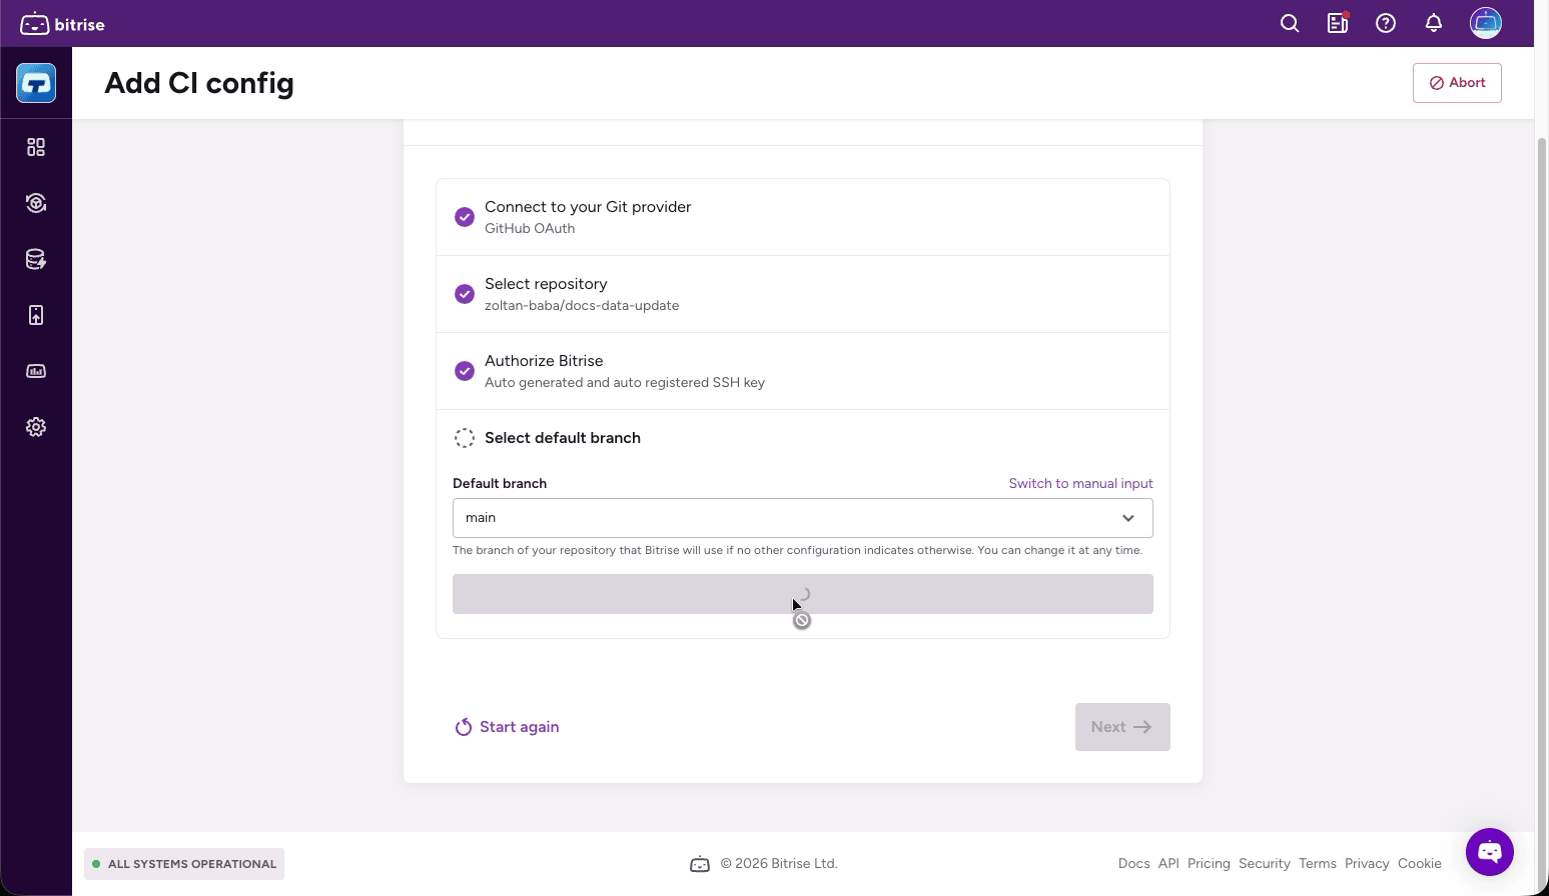
Selecting the default branchClick to copy link
Select the branch Bitrise will use for builds when no other configuration specifies a different one:
- If your repository is connected, select a branch from the dropdown.
- If you added a URL manually, type the branch name directly.
You can change the default branch later. Click Next to proceed to the next stage.
CI configurationClick to copy link
Bitrise scans your repository and generates a starter CI configuration automatically.
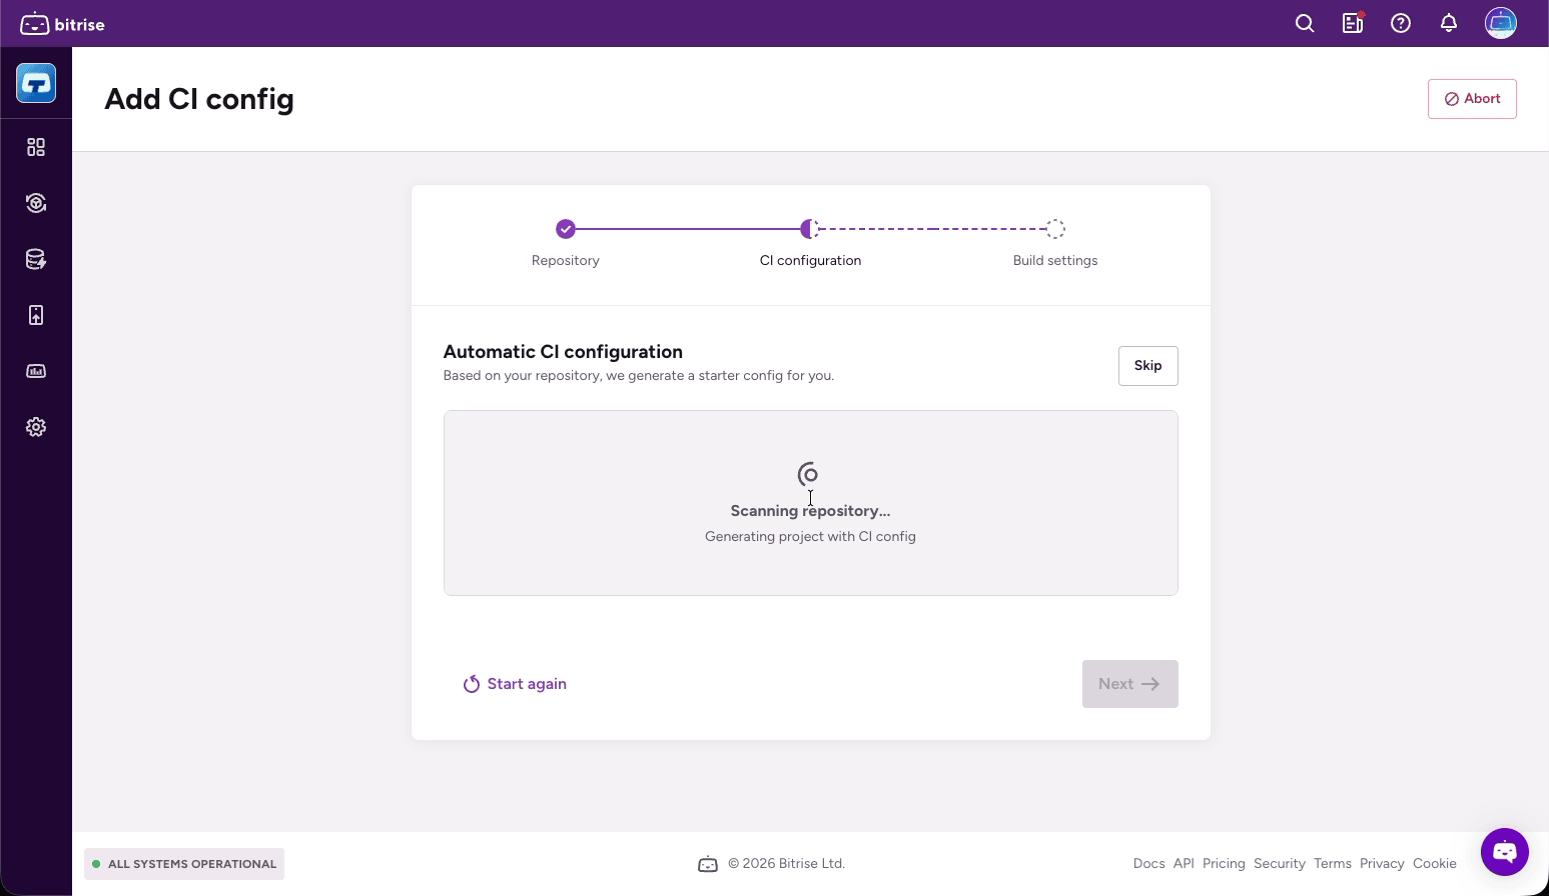
Once scanning completes:
- If a project type is detected, it appears under the Detected options tab.
- If no project type is detected, switch to the Manual setup tab and select your project type from the Project type dropdown.
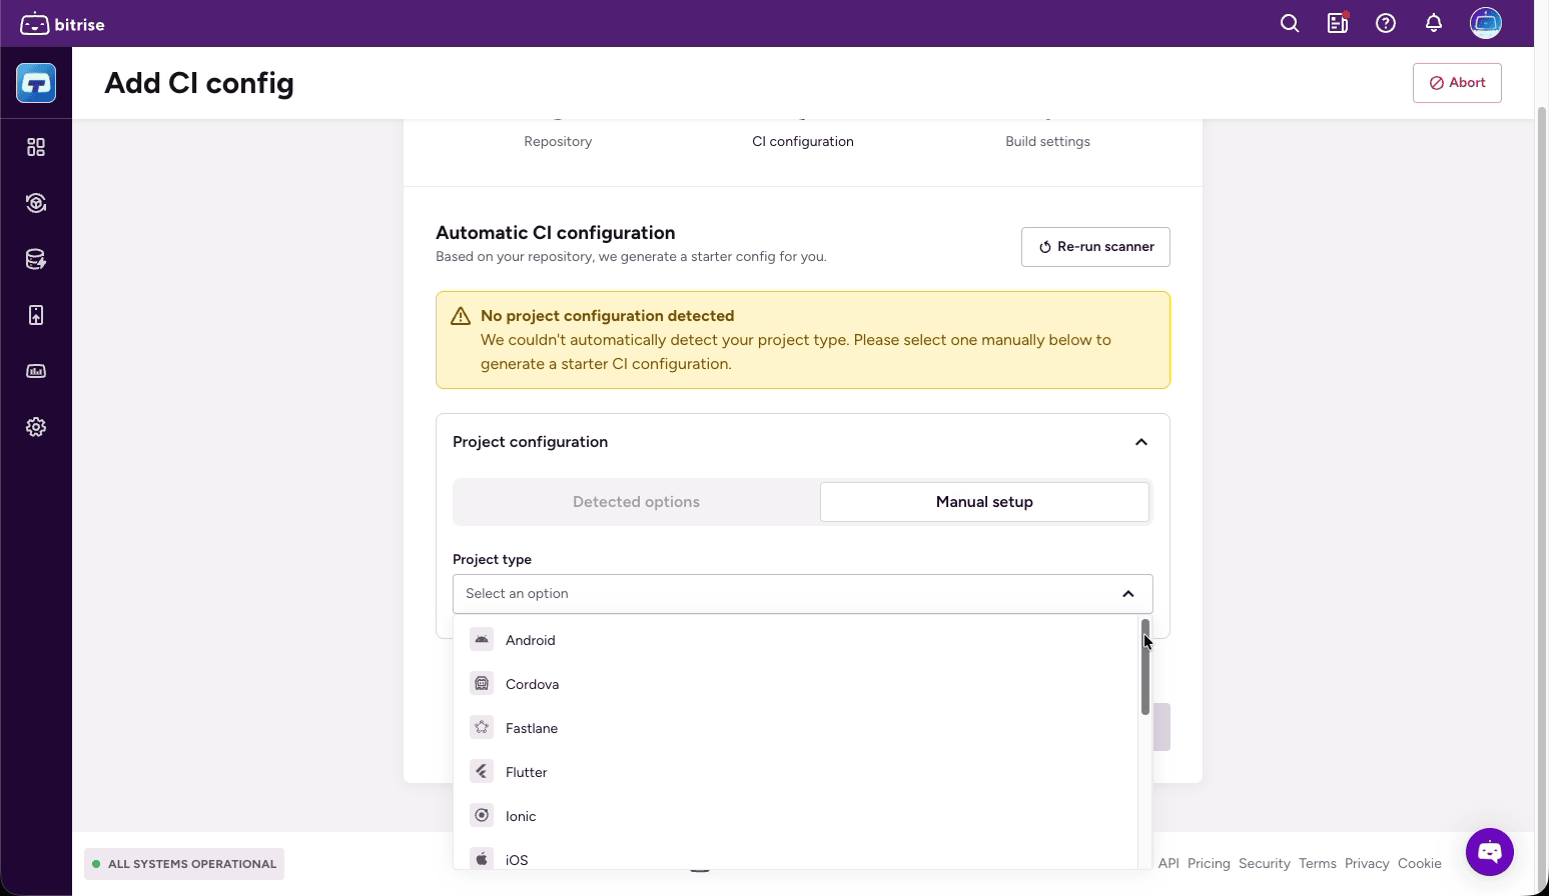
Click Skip if you want to skip automatic configuration and set it up manually later.
Build settingsClick to copy link
Review and adjust the build settings for your project:
- Build machine and Stack: Bitrise pre-selects optimal settings based on your project type. You can change these later in the Workflow Editor. See Build machine types and Build stacks.
- Access to builds: choose Private (only Workspace members can access build logs and the CI configuration file) or Public (anyone with the link can view them). See Public projects.
- Register webhooks: enable this toggle to let Bitrise automatically register a webhook in your repository so builds trigger on code changes. Not needed if you use the GitHub App. See Adding incoming webhooks.
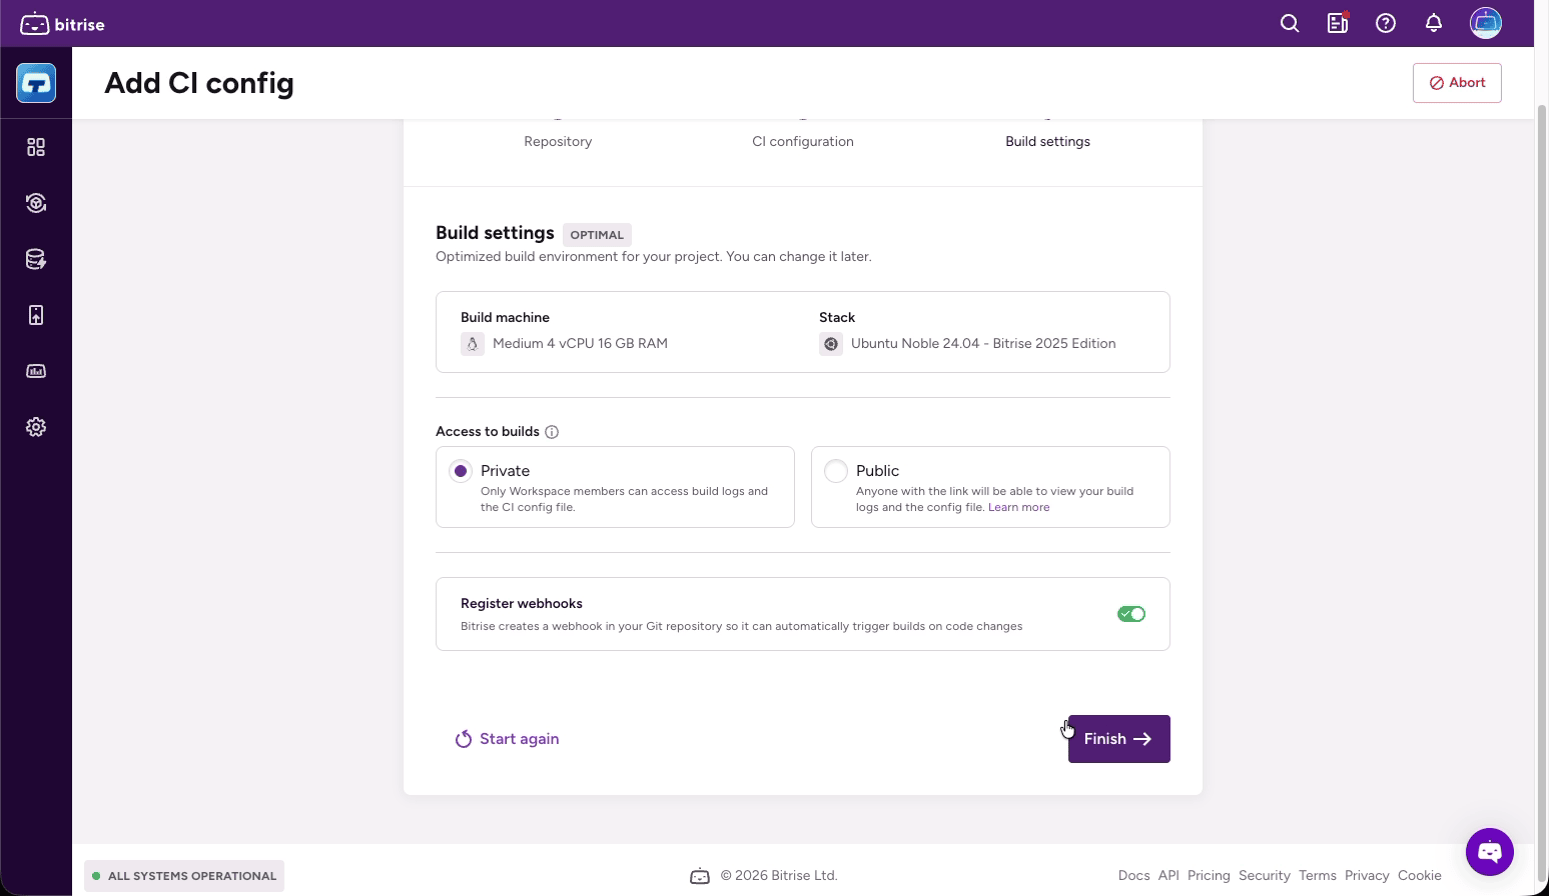
Click Finish. Bitrise kicks off your first build and takes you to the build page where you can watch it run in real time. From there, you can start editing your Workflows and run builds.