プラットフォームを使い始める
Bitriseプラットフォームは、アカウント、ワークスペース、プロジェクトを中心に構成されています。それらを使い始める方法を簡単に説明します
Bitriseプラットフォームは、アカウント、ワークスペース、プロジェクトを中心に構成されています。それらを使い始める方法を簡単に説明します
サインアップ
電子メールでサインアップすることも、GitHub、GitLab、Bitbucketという3つのGitプロバイダーのいずれかを介してサインアップすることもできます。 Bitriseにサインアップする。
ビットライズはSAML SSOもサポートしています。 ビットライズの SAML SSO。
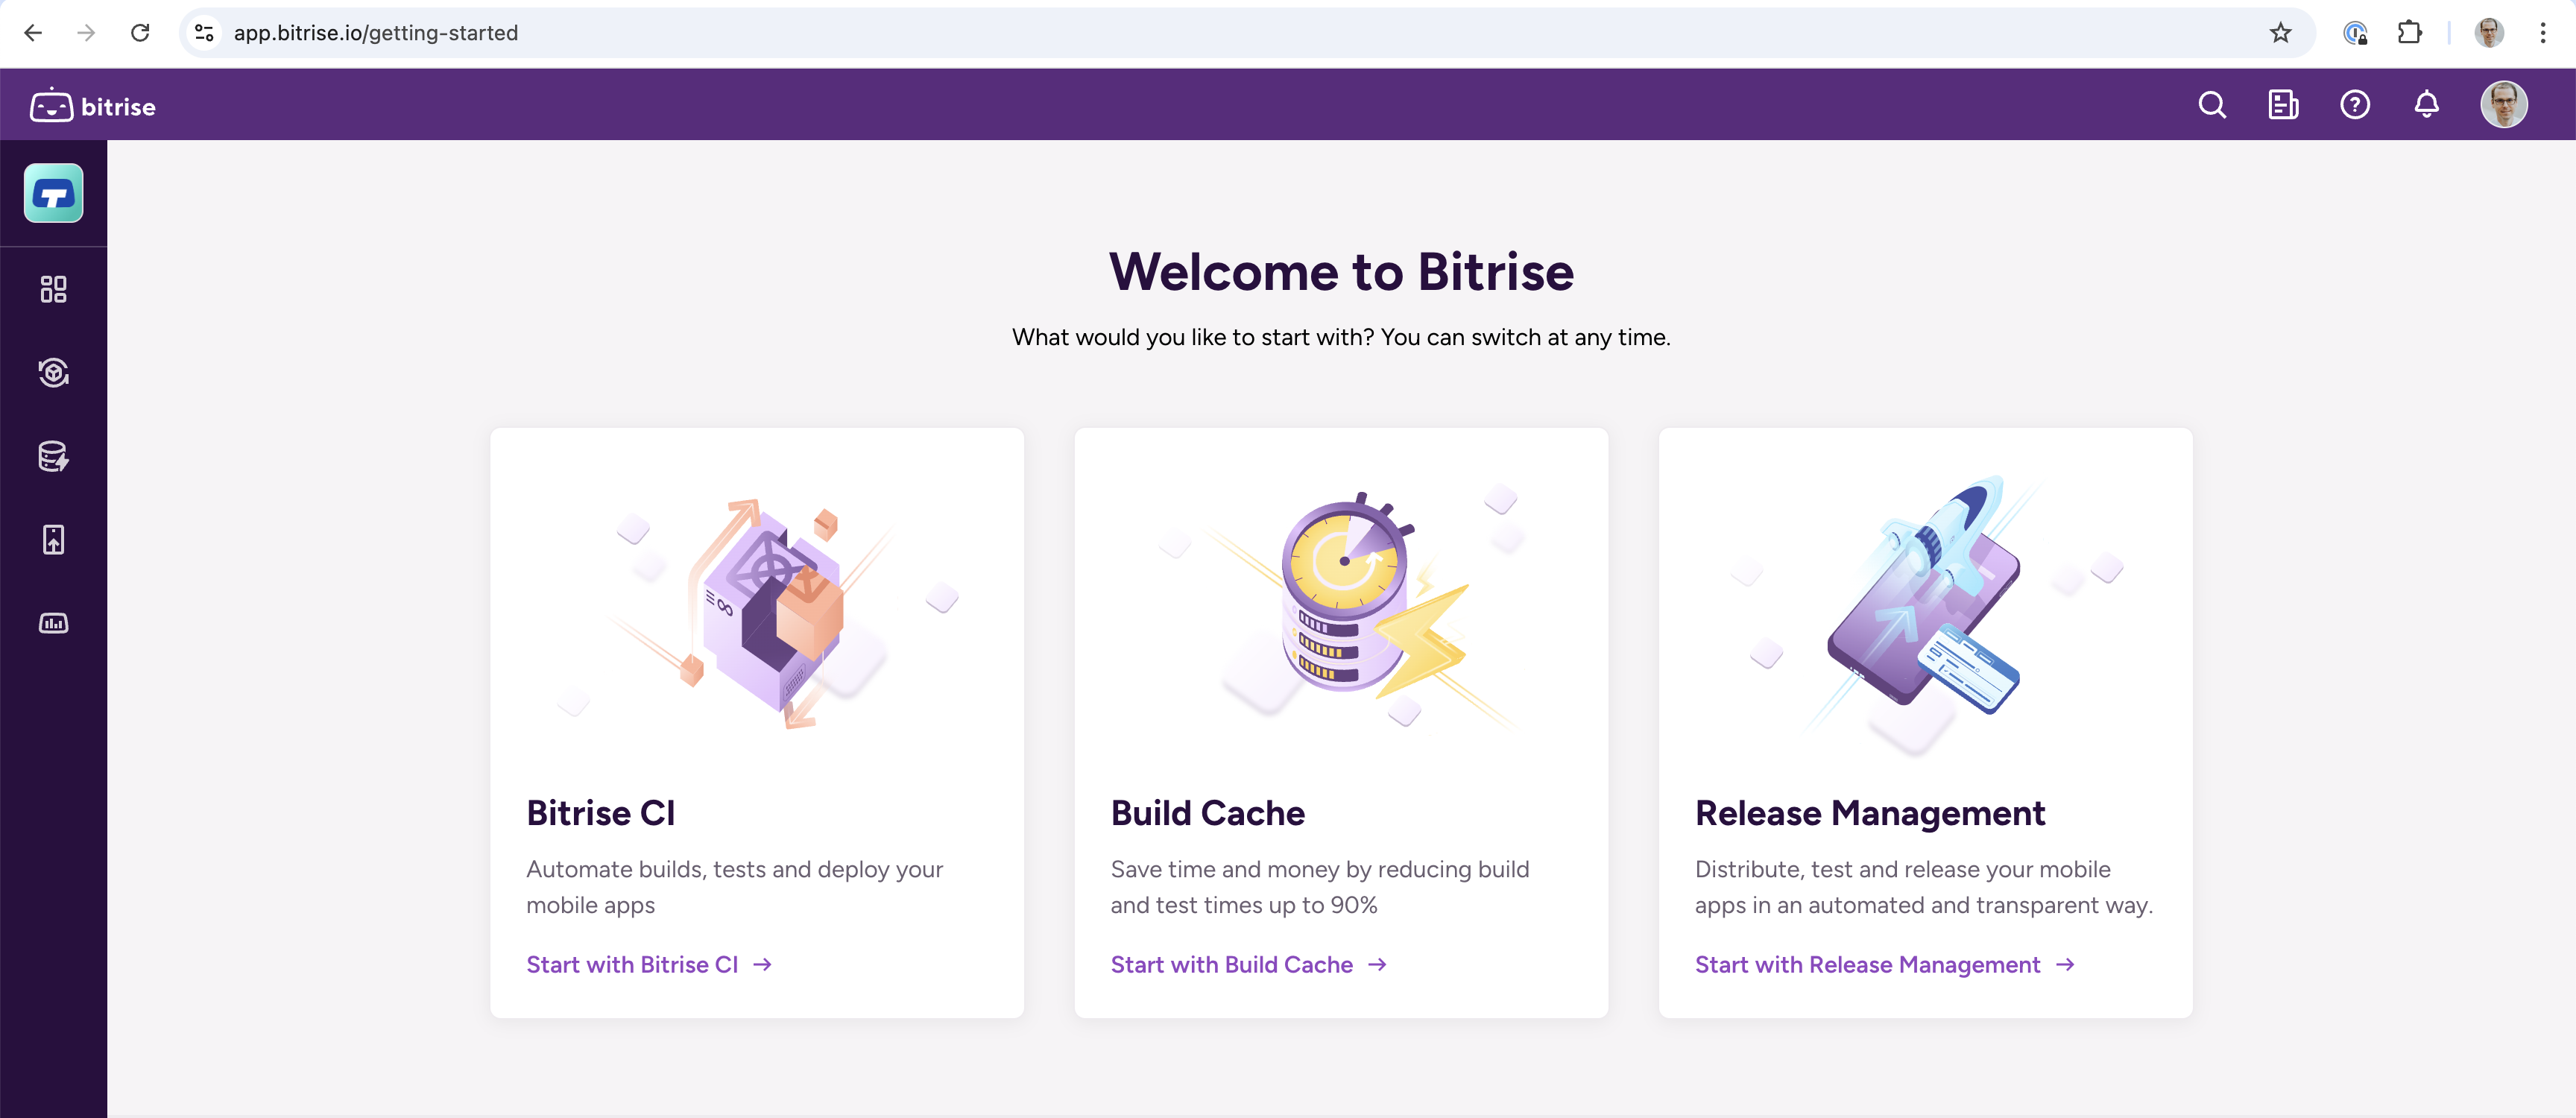
After signing up, you receive a limited trial:
1 つ目のワークスペース
サインアップ後、最初のワークスペースが自動的に作成されます。このワークスペースはユーザーアカウントが所有しています。いつでも追加のワークスペースを作成して、他のワークスペースに招待することができます
Bitriseではワークスペースが非常に重要です。すべての作業はワークスペースにまとめられています。次のことができます。
-
ユーザーを追加してユーザーグループに整理します。 ワークスペースのメンバー
-
Apple Store や Google Play などのサードパーティサービスのワークスペースレベルのインテグレーションを設定します。 コネクティビティ。
-
Bitrise CI とリリース管理のためのプロジェクトを作成しましょう。
[プロジェクト]
最初のワークスペースを作成すると、最初のプロジェクトを追加するように求められます。
新しいプロジェクトを作成するには、次の 2 つの方法があります。
-
Bitrise CI を起動すると、自動的に次のページに移動します。 新しいプロジェクトを追加します。 フロー。これにより、Git リポジトリがリンクされた CI プロジェクトが作成されます。 最初のアプリを追加する.
-
リリース管理から始めましょう。リリース管理に新しいアプリを追加すると、Bitriseが自動的に新しいプロジェクトにリンクします。 新しいアプリを追加する.
このプロジェクトには CI 構成はありませんが、CI 構成で拡張できます。
次のように入力してプロジェクトを設定します プロジェクト設定。Bitrise CI とリリース管理の両方からアクセスできます
インテグレーション
サードパーティのツールやサービスとの統合は、モバイルDevOpsプロセスの重要な部分です。最初のプロジェクトが立ち上がってから、最も重要な統合を設定することをおすすめします