Configuring the build cache for Gradle in other CI environments
The Bitrise Build Cache does not require using the Bitrise CI. You can use other CI/CD services and still take advantage of the cache to improve your Gradle build times.
To do so, you need to configure your CI environment to download the Bitrise Build Cache CLI during the build and then run the CLI to enable the Bitrise Build Cache.
-
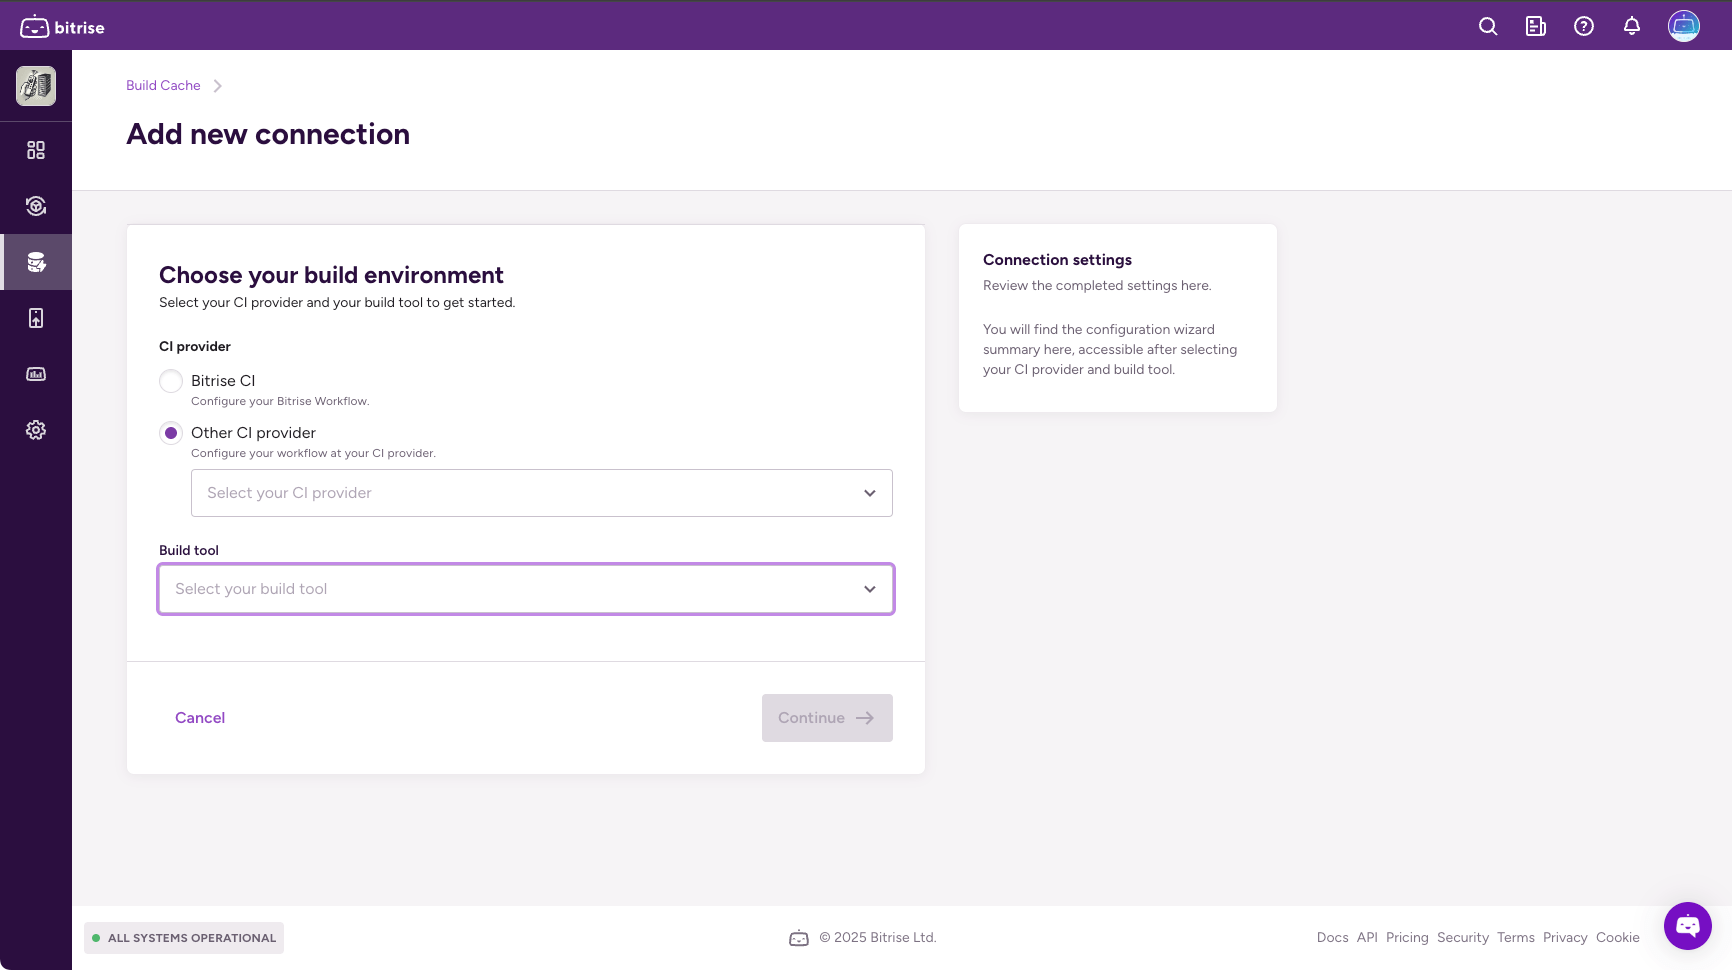
Select your Bitrise workspace and go to Build Cache.
-
Click New connection.
-
Select Other CI provider and then select your build tool from the dropdown menu.
-
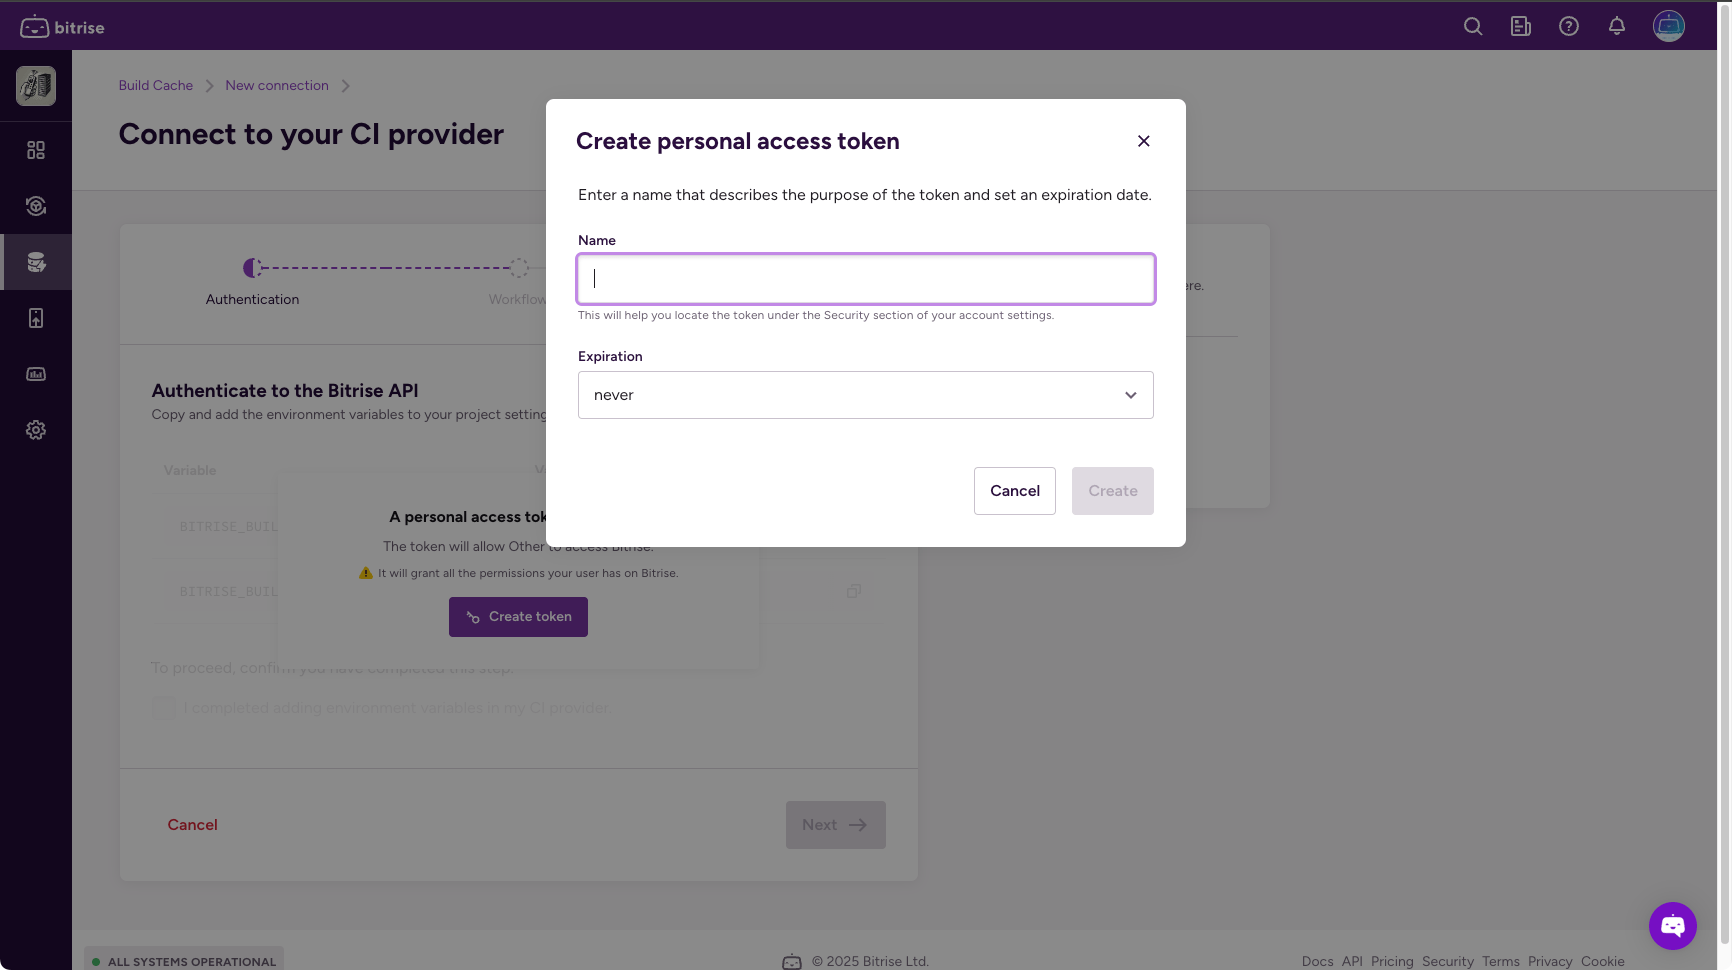
Click Create token.
-
Enter a name and set it to never expire.
-
Copy the variables and add them to your CI configuration as Environment Variables.
-
Add the following script to your CI configuration before the step you want to speed up:
EnvironmentMake sure to run the script in the same environment as the Gradle command(s) you want to speed up. For example, if you use multiple Docker containers throughout the build, make sure that the Bitrise Build Cache CLI runs in the same Docker container as the Gradle command.
#!/usr/bin/env bashset -euxo pipefail# download Bitrise Build Cache CLIcurl --retry 5 -sSfL 'https://raw.githubusercontent.com/bitrise-io/bitrise-build-cache-cli/main/install/installer.sh' | sh -s -- -b /tmp/bin -d# run the CLI to enable Bitrise build cache for Gradle/tmp/bin/bitrise-build-cache activate gradle --cache --cache-push