Workspace members
A Bitrise Workspace allows seamless collaboration on Bitrise projects. You can manage Workspace membership on the Collaboration page of the Workspace settings. A member can be an owner, a regular member or an outside contributor.
Your workspace isn't just an environment to manage projects: it also allows seamless collaboration with other Bitrise users. You can invite other users to your workspaces, and of course you can be invited to other workspaces, too.
You can manage workspace membership on the Collaboration page of the workspace settings. You can add members to a workspace in three ways:
-
Invite individual members: Adding members to workspaces.
-
Add them to a project as outside contributors.
-
Organize them into workspace groups.
Workspace members can have different roles in a workspace. Workspace roles determine the different actions that the members have permissions for. You can configure product access for workspace members: each member can have access to Bitrise CI, Release Management, or both. For each project within a product, you can set up different project-level roles for all workspace members: Roles and permissions in workspaces.
If SAML SSO is enabled and configured for a Bitrise workspace, workspace members can use SAML SSO to log in to their Bitrise account: Configuring SAML SSO on Bitrise.
Checking workspace member status
You can check out the most important information about workspace members at any point.
-
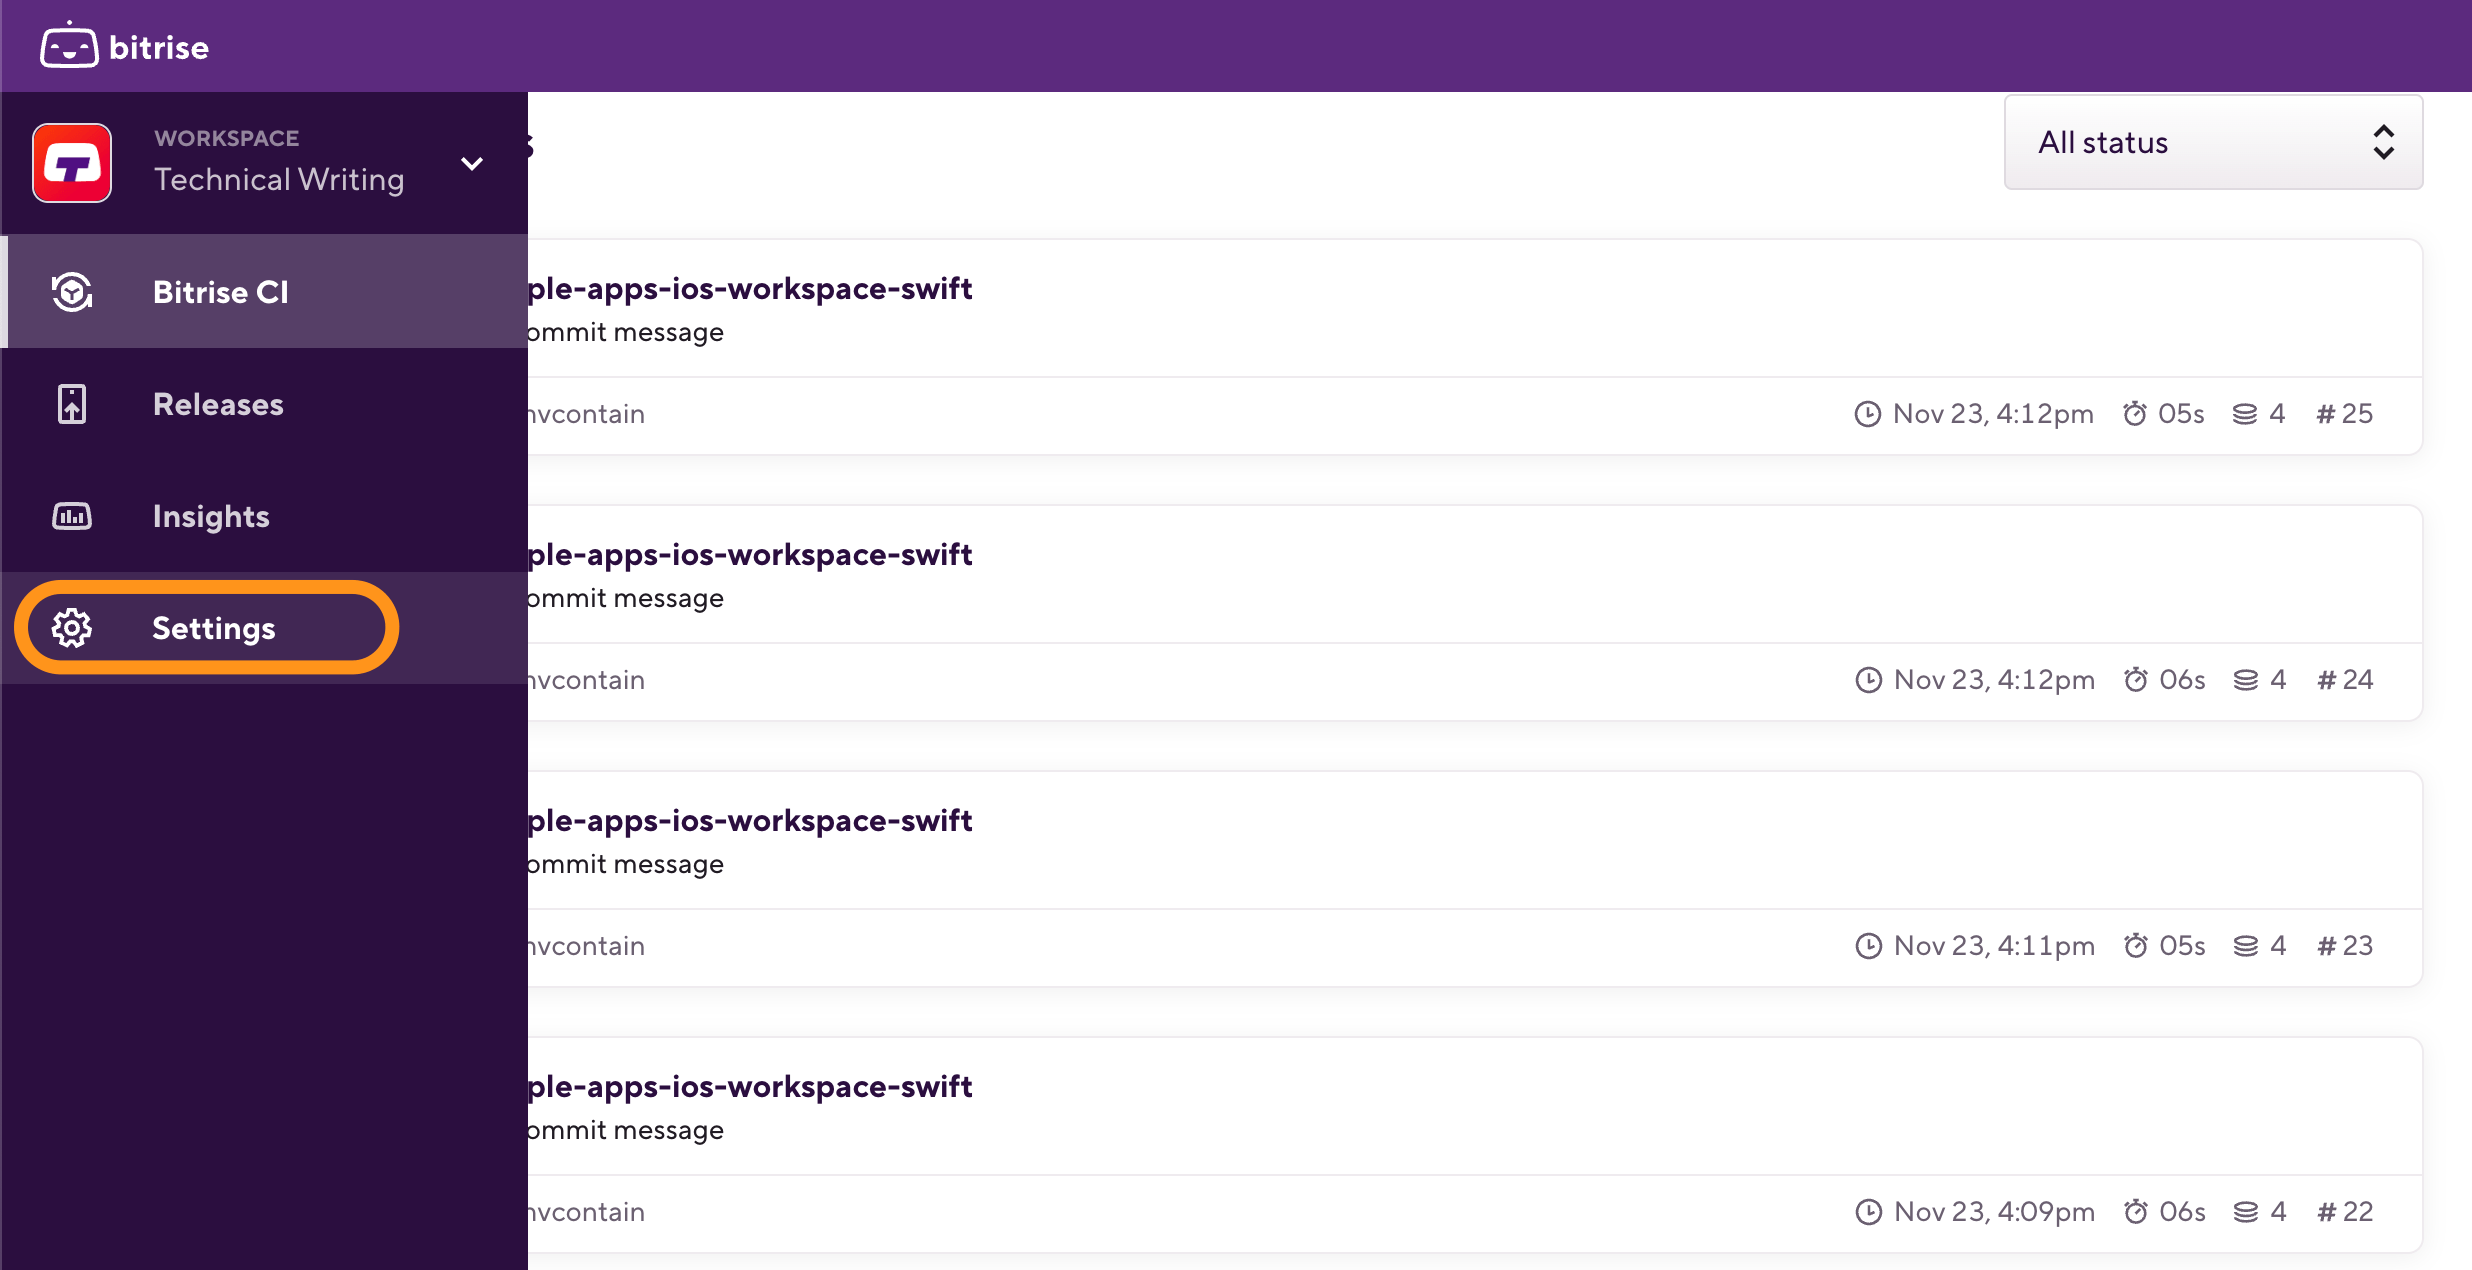
Log in to Bitrise and hover over the left navigation bar.
-
Make sure you have the right workspace selected in the Workspace menu.
-
Select Settings.

-
Select Collaboration.
-
Go to the Members tab. On this tab:
-
You can add and remove workspace members.
-
If SAML SSO is enabled for a member.
-
See each member's workspace role and product access.
-
You can search for a specific Workspace member or use the filter function to filter members based on their roles.
Adding members to workspaces
Starter plan restrictions
On Starter plans, collaboration features for workspaces are not available. You have to add members on a project basis: Adding an outside contributor to a project.
You can invite people to a workspace if they have a Bitrise account. Workspace members can be assigned to the projects owned by the workspace. When inviting new members, you can:
-
Add users in bulk: You can invite as many members as the number of available seats on the workspace.
-
Add them to all projects owned by the workspace, or just to particular projects.
-
Assign them user access roles to manage their permissions on the project. When adding users in bulk, all of them will be assigned the same role.
-
Add users to global access groups: The invited users will have the same role on all projects owned by the workspace. You can't select specific projects when adding users this way.
SAML SSO
Bitrise supports SAML SSO for your workspace. To learn more, check out SAML SSO on Bitrise.
Inviting a new member to a workspace with SAML SSO enforced is a different process: Adding a new user to a workspace with enforced SAML SSO.
You can modify a member's user roles on projects at any time after inviting them. You can also add members to workspace groups.
To add individuals as a workspace member:
-
Log in to Bitrise and hover over the left navigation bar.
-
Make sure you have the right workspace selected in the Workspace menu.
-
Select Settings.

-
On the left, select Collaboration.
-
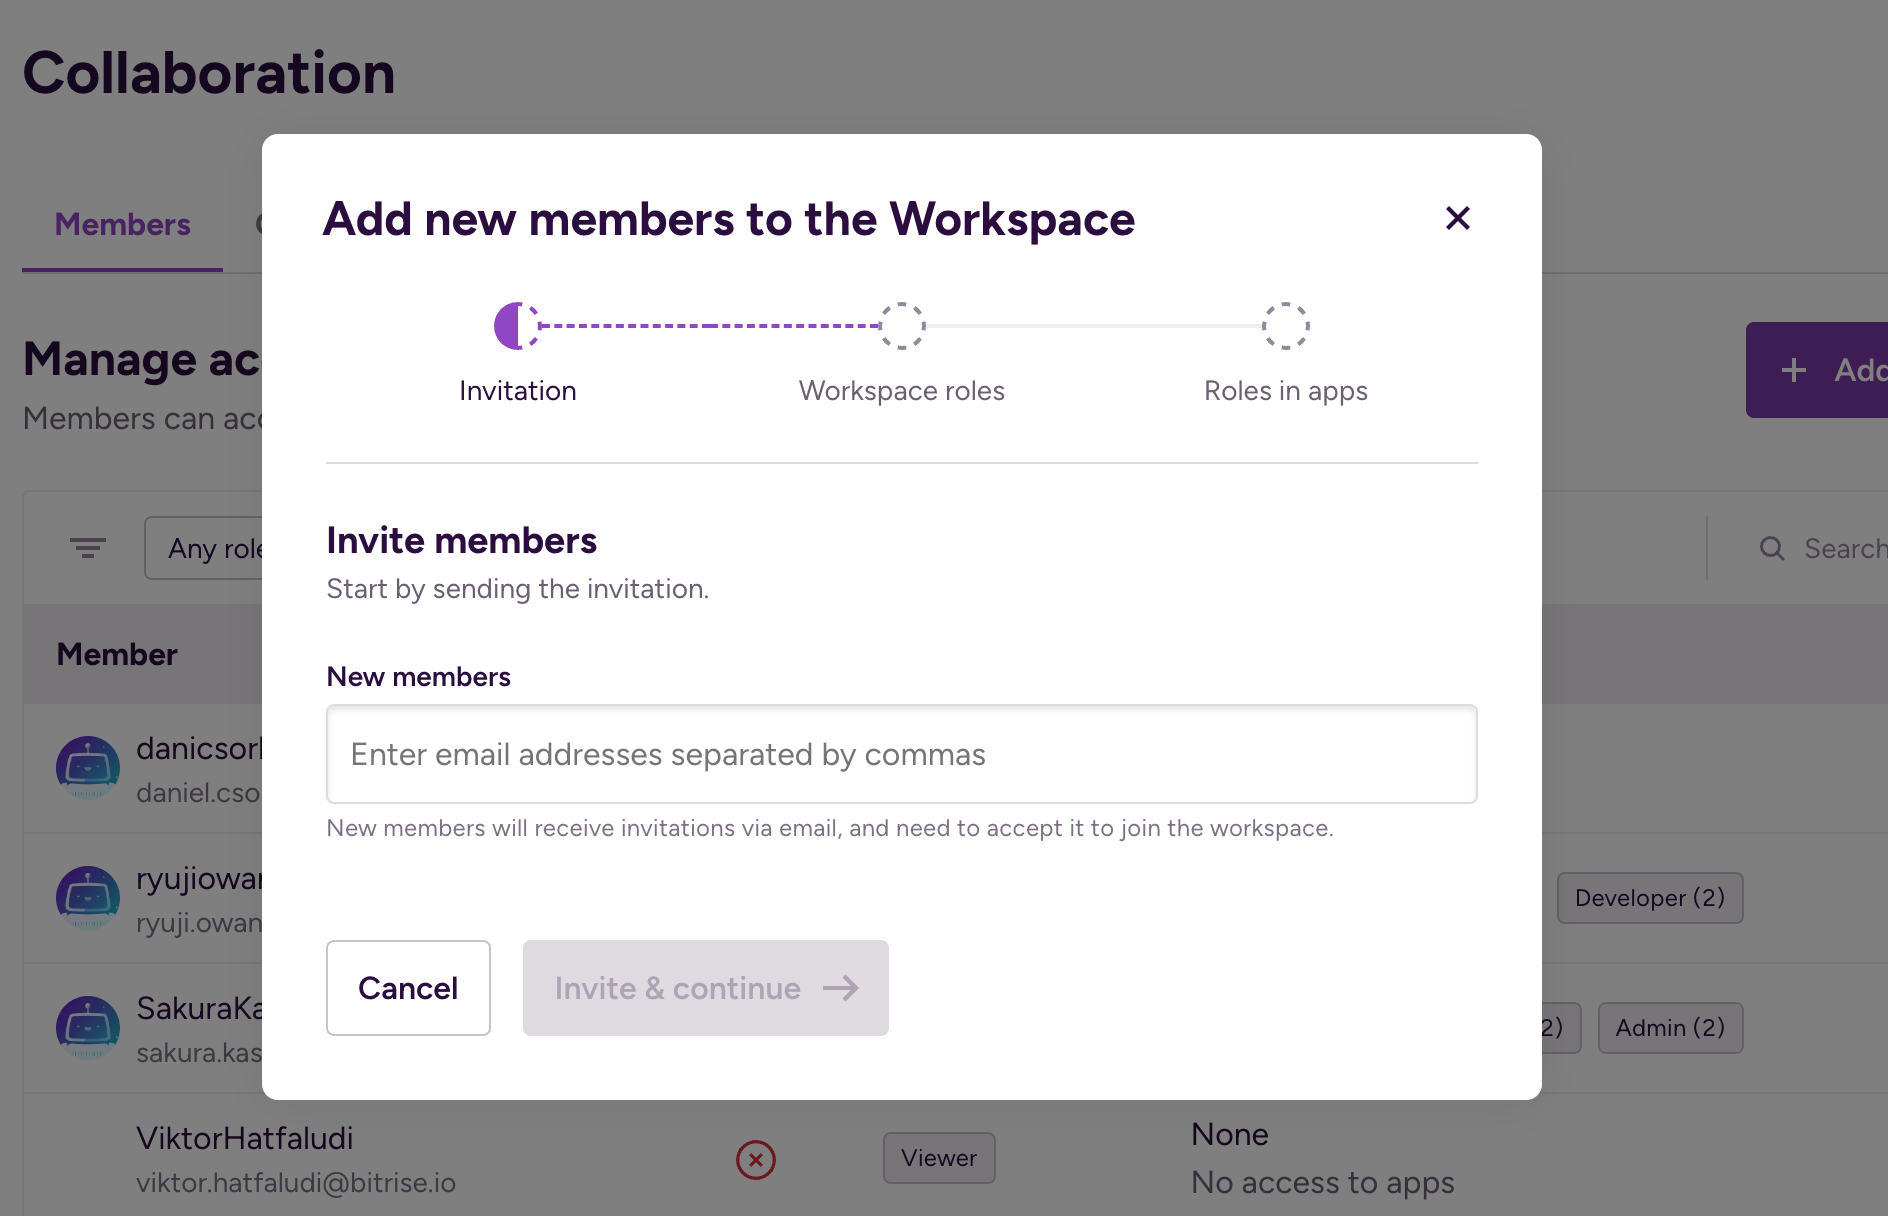
On the Members tab, click .
-
In the dialog box, find the New members section and add the email addresses of the people you want to invite.

Workspace limits
You can't invite people who are already part of the workspace and the number of invitations can't exceed the available seats of the workspace.
-
When done, click . It takes you to the Project access page.
-
Admin access: Grants access to all products, managing all aspects of selected projects with the project admin role.
-
Bitrise CI: The user has access to Bitrise CI only, and it can be assigned Bitrise CI roles.
-
Release Management: The user has access to Release Management only, and it can be assigned Release Management roles.
-
-
If you toggle on a specific product instead of admin access, you will be prompted to select the projects for the user and its user roles on the selected projects.
For Bitrise CI, you can select projects and assign a role to each project. You can also select the All projects option: in this case, the user will be added to a global access group with the selected role.
For Release Management, you can select:
-
Specific projects. The group will be able to access all currently existing apps of the project but not all future apps.
-
Specific Release Management apps: Select the already existing apps you want the group to have access to.
-
-
When finished with setting up roles, click .
-
Click to finish the process.
Removing members from Workspaces
Owners and managers only
Only Workspace owners and Workspace managers can remove users from a Workspace.
-
Log in to Bitrise and hover over the left navigation bar.
-
Make sure you have the right workspace selected in the Workspace menu.
-
Select Settings.

-
On the left, select Collaboration.
-
Select the Members tab.
-
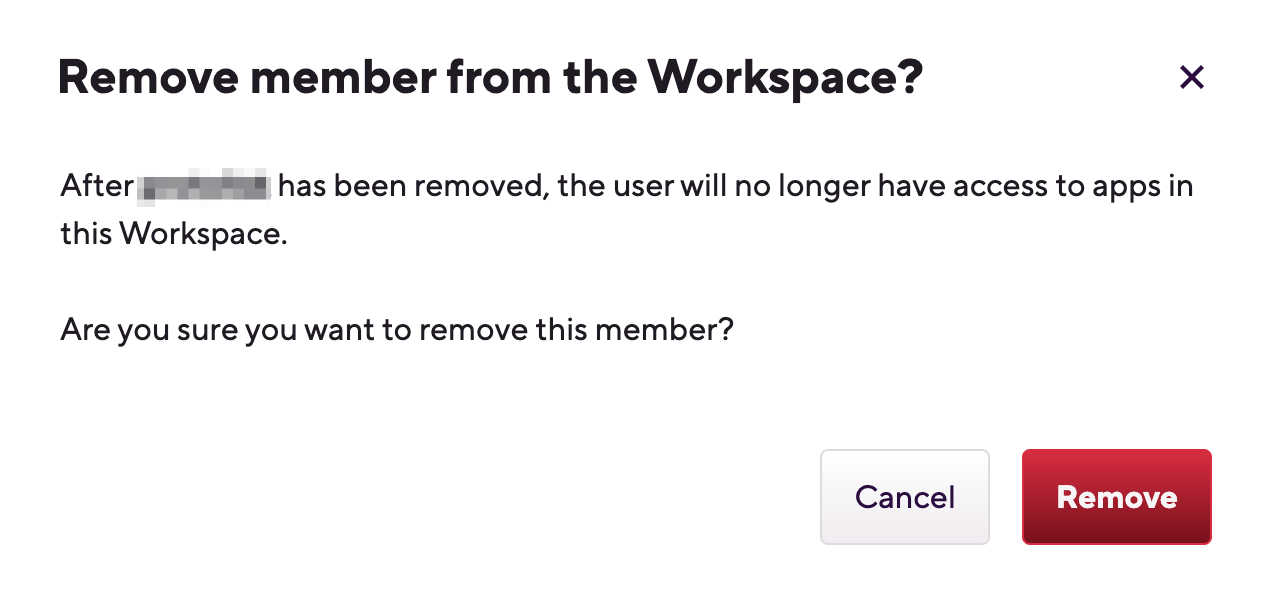
Search for the user you would like to remove, and click "
 ".
". -
Click to remove the selected user from your Workspace.
