Release presets
Release presets are default values and configurations for new releases of a connected app on Bitrise Release Management. Presets are automatically applied when you add a new release.
Release presets are default values and configurations for new releases of a connected app. To set a preset for a release, you need a preset template. A preset template is a combination of various preset options. You can apply a template to a release when adding a new release.
You can configure presets for:
Creating a preset template
To create a preset template:
-
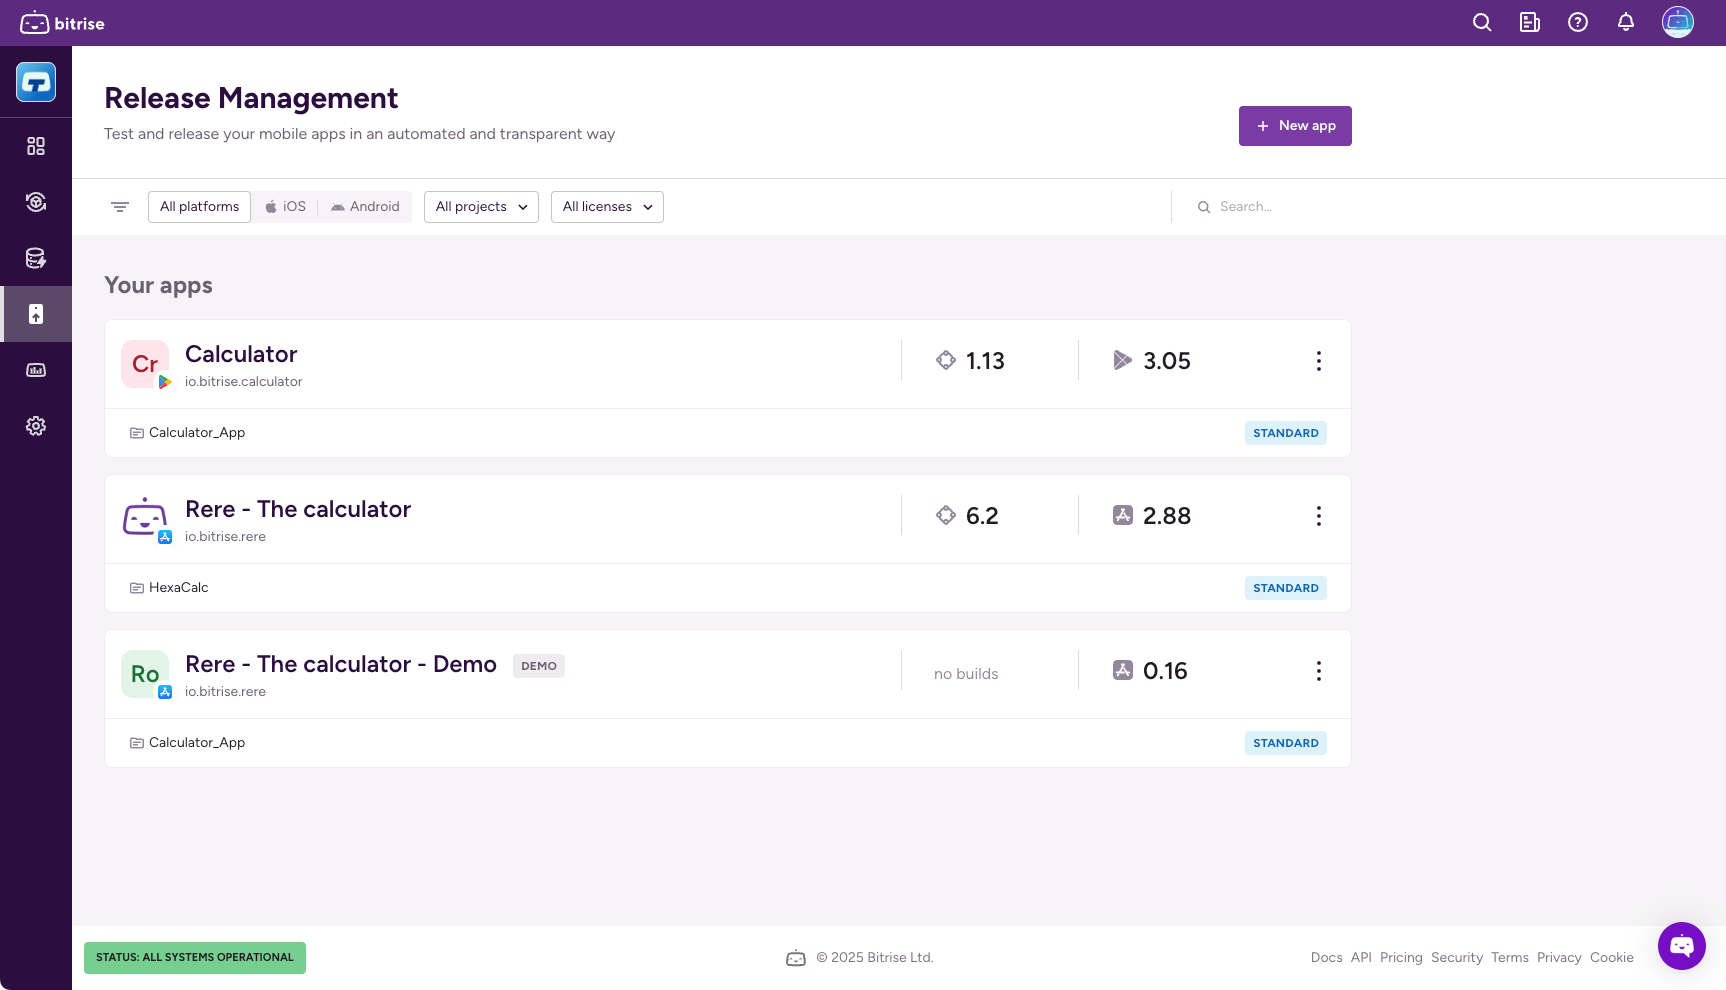
Log in to Bitrise, and from the left sidebar, select Releases.
-
Select your app from the list.
-
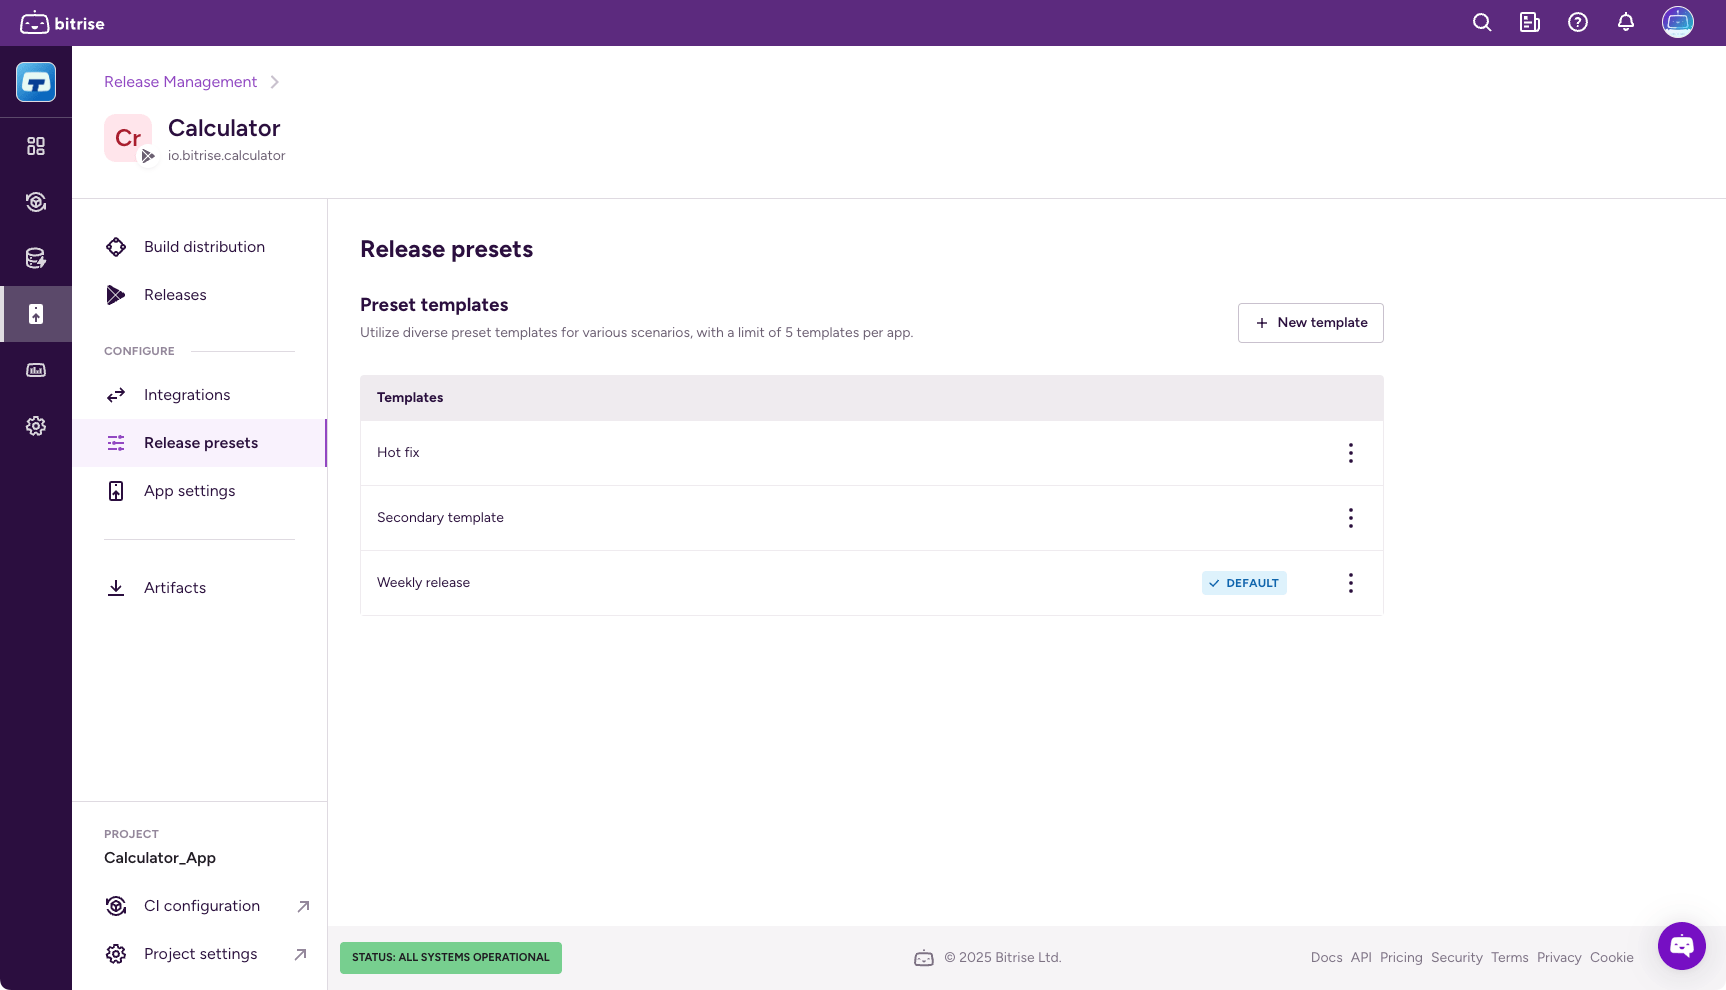
On the left, select Release presets.
-
Click .
-
Add a name and click .
-
Click
 next to the name of your template and select Change.
 -
Select and configure the available release preset options:
-
In the Configuration section, configure preset options for the initial release configuration.
-
In the Release candidate section, create a build configuration for the release candidate stage.
-
Release rollout/App Store release settings allow you to configure phased release for Android and iOS apps, respectively. By default, updates are released immediately to all users.
-
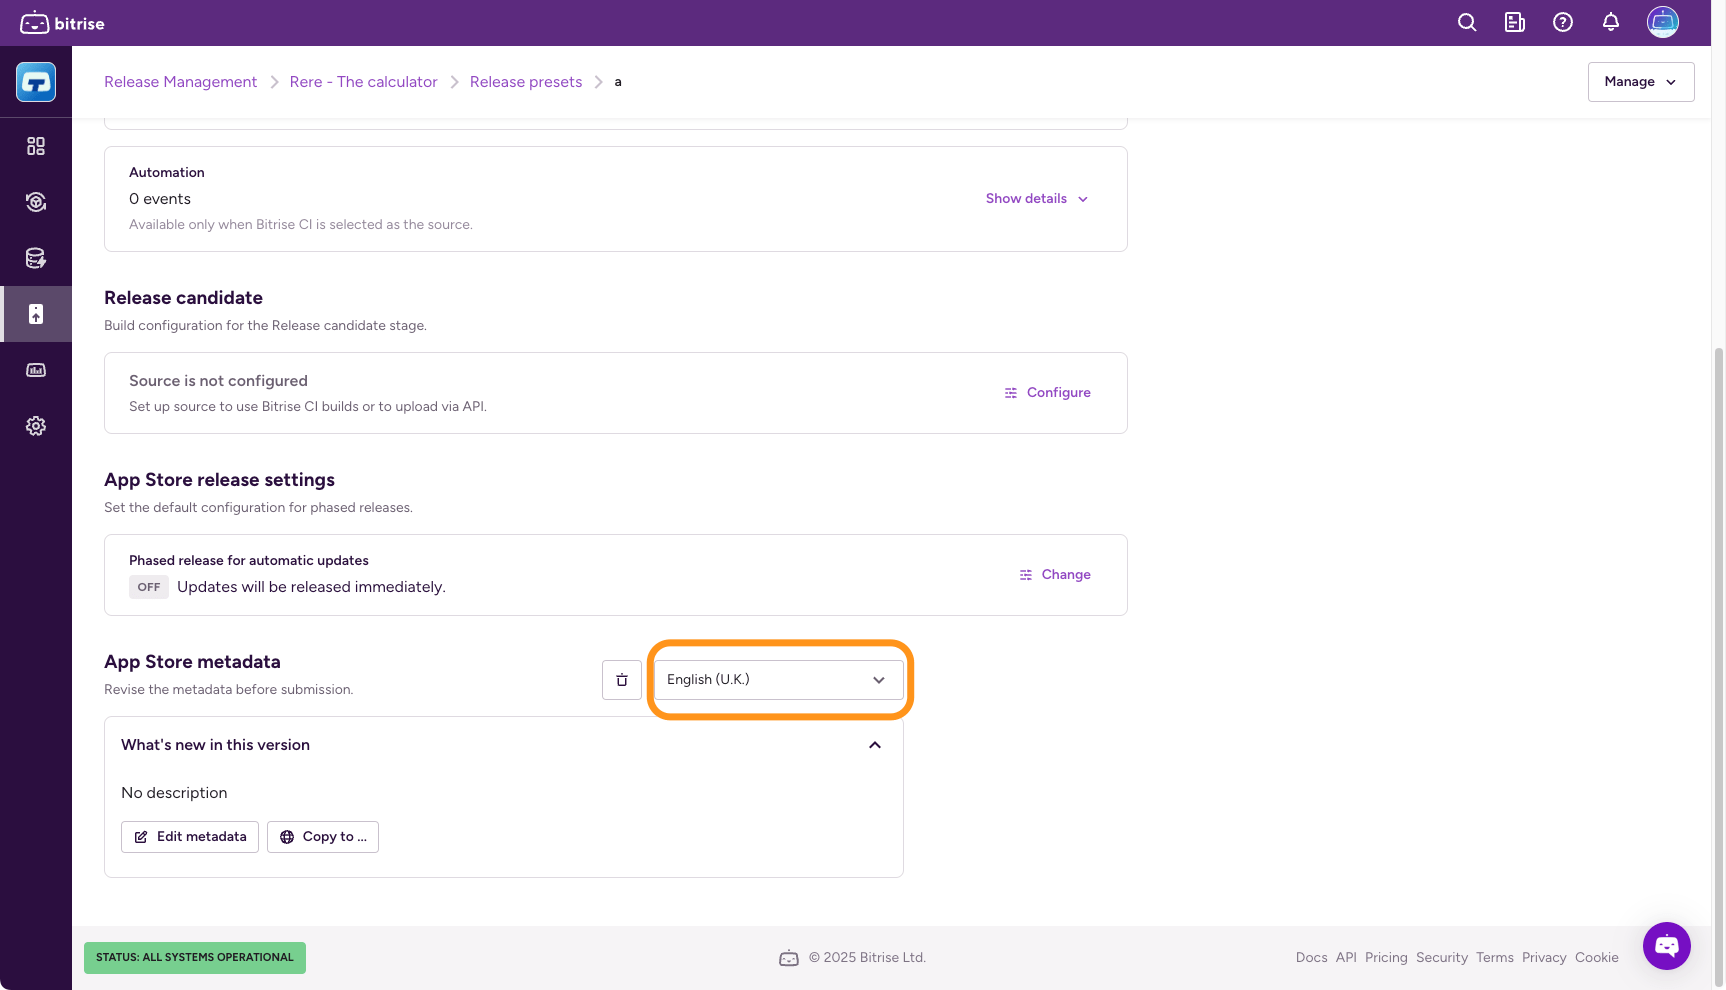
Release notes/App Store metadata allow you to add release notes to your release.
-
Release preset options
The preset options for the initial release configuration:
-
Auto-upload: Enable or disable automatic upload with the toggle switch. Read more: Configuring auto-upload.
-
Approvals: Create default approval tasks for new releases. Read more: Creating tasks for the Approvals stage.
-
Notifications: Enable Slack and Teams notifications for all new releases with the same settings. Read more: Configuring Slack and Teams notifications for releases.
-
Automation: Configure default automation events with their triggered Workflow or Pipeline. Read more: Configuring release automation.
-
Outgoing webhooks: Select release events that should send a JSON payload to a service of your choice. Read more: Outgoing webhooks in Release Management.
Preset options for the release candidate stage:
-
Build configuration: You can select the release branch for the app and the Workflow that generates the build with a signed IPA or AAB file.
Preset options for the review and release stage:
-
Release note: You can create a release note preset for Android apps.
-
App Store metadata: You can create a release note preset for iOS apps.
For details, read Release note preset.
Release note preset
You can create a release note preset. This means every release will be submitted to the App Store or Google Play with the same release notes.
A release note preset can be identical in all localizations.
Manual edit
You can edit a release note in the release stage, before submitting your app to an online store. A manual edit will override the release note preset.
Editing a release note preset
To create and save a release note preset:
iOS
Android
-
Open your app in Release Management.
-
On the left, select Release presets.
-
Click
next to the name of your preset template and select Change. -
Find App Store metadata.
-
From the dropdown menu, select a localization.
-
Click What's new in this version and then .
-
Add your release note in the What's in your release field.
-
Click .
-
Open your app in Release Management.
-
On the left, select Release presets.
-
Click
next to the name of your template and select Change. -
Find Release notes.
-
From the dropdown menu, select a localization.
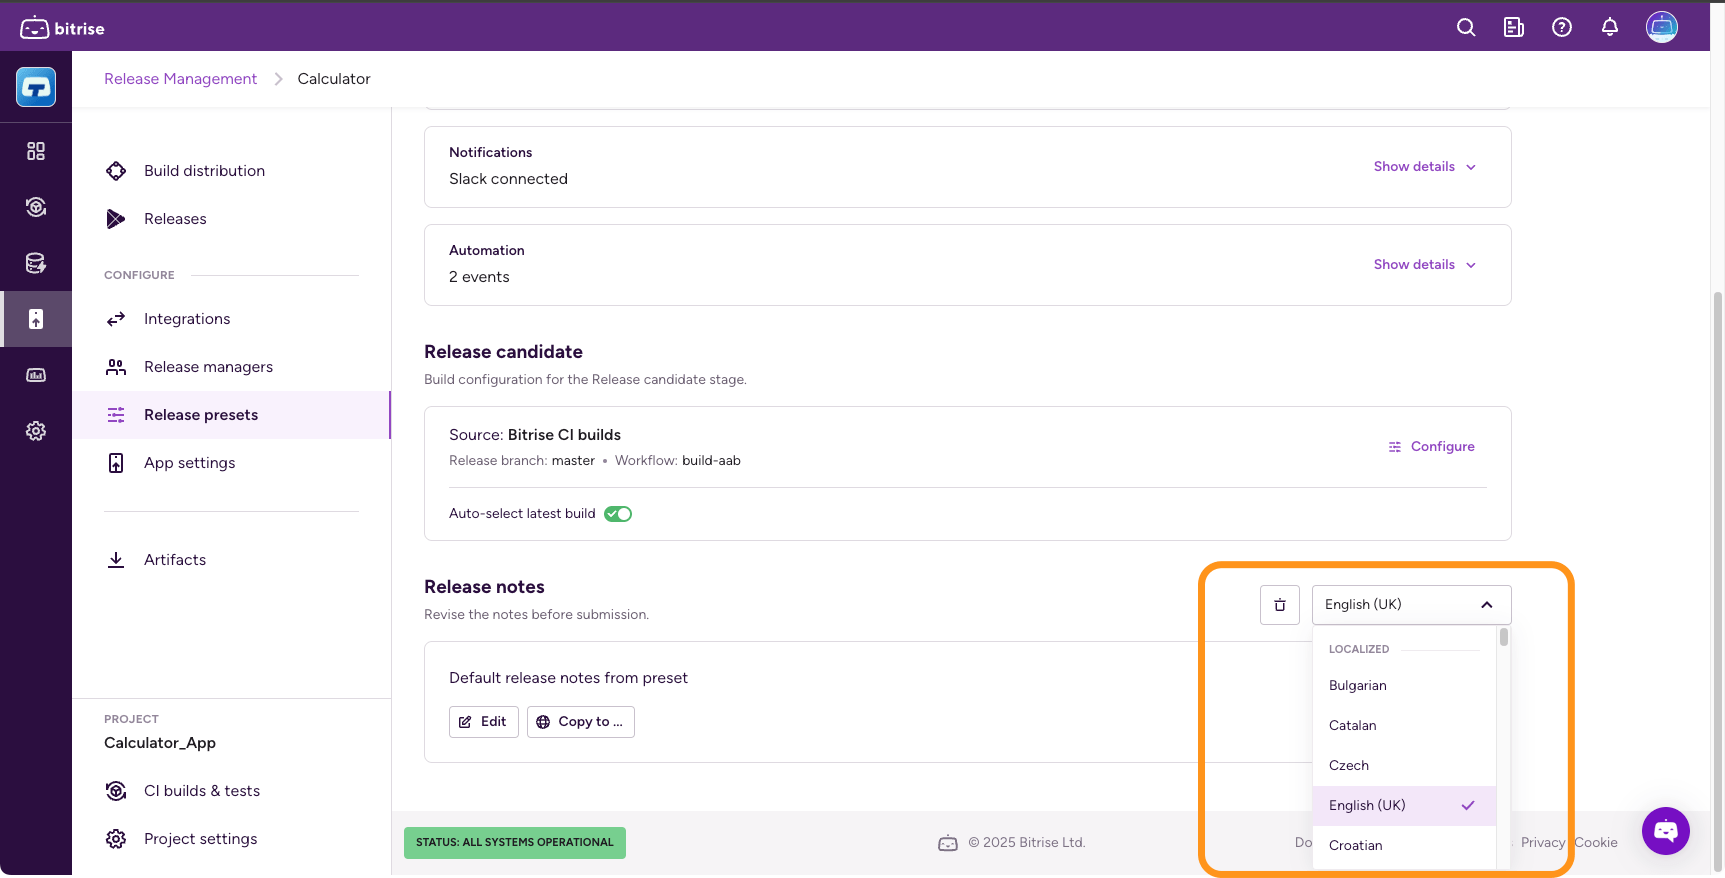
-
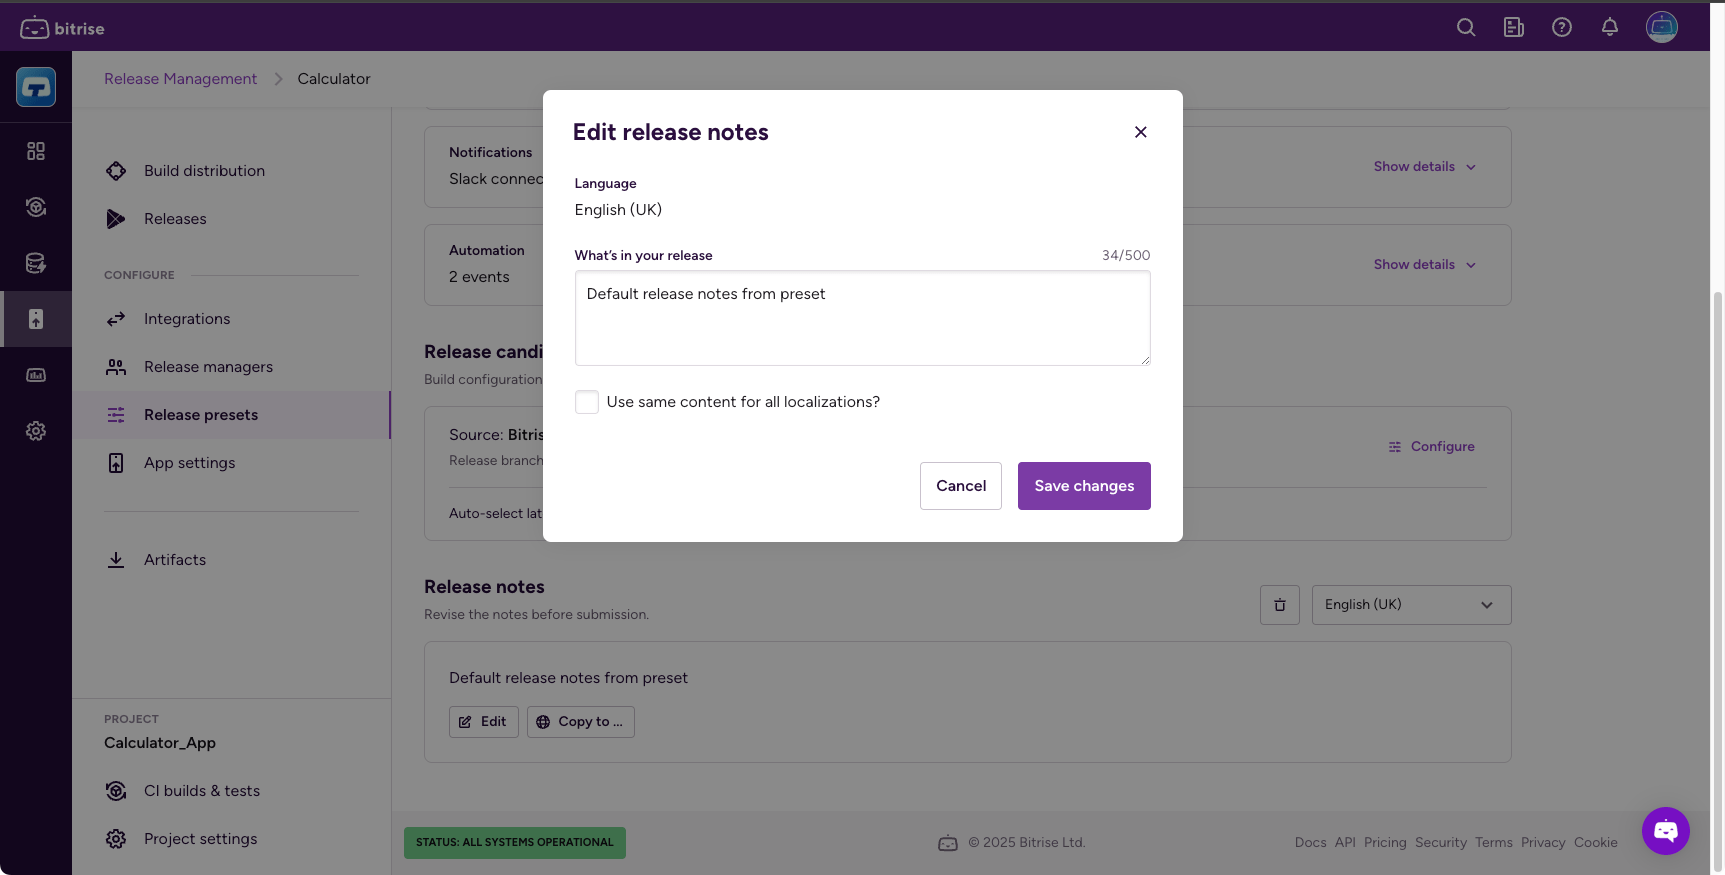
Click . This opens the Edit release notes dialog.
-
Add your release note in the What's in your release field.
Optionally, you can check Use same content for all localizations to include the same text for all languages.
-
Click .
Copying a release note preset to other localizations
If you don't want to automatically use the same preset for all localizations, you can copy your preset to specific localizations.
iOS
Android
-
Open your app in Release Management.
-
On the left, select Release presets.
-
Click
next to the name of your template and select Change. -
Find App Store metadata.
-
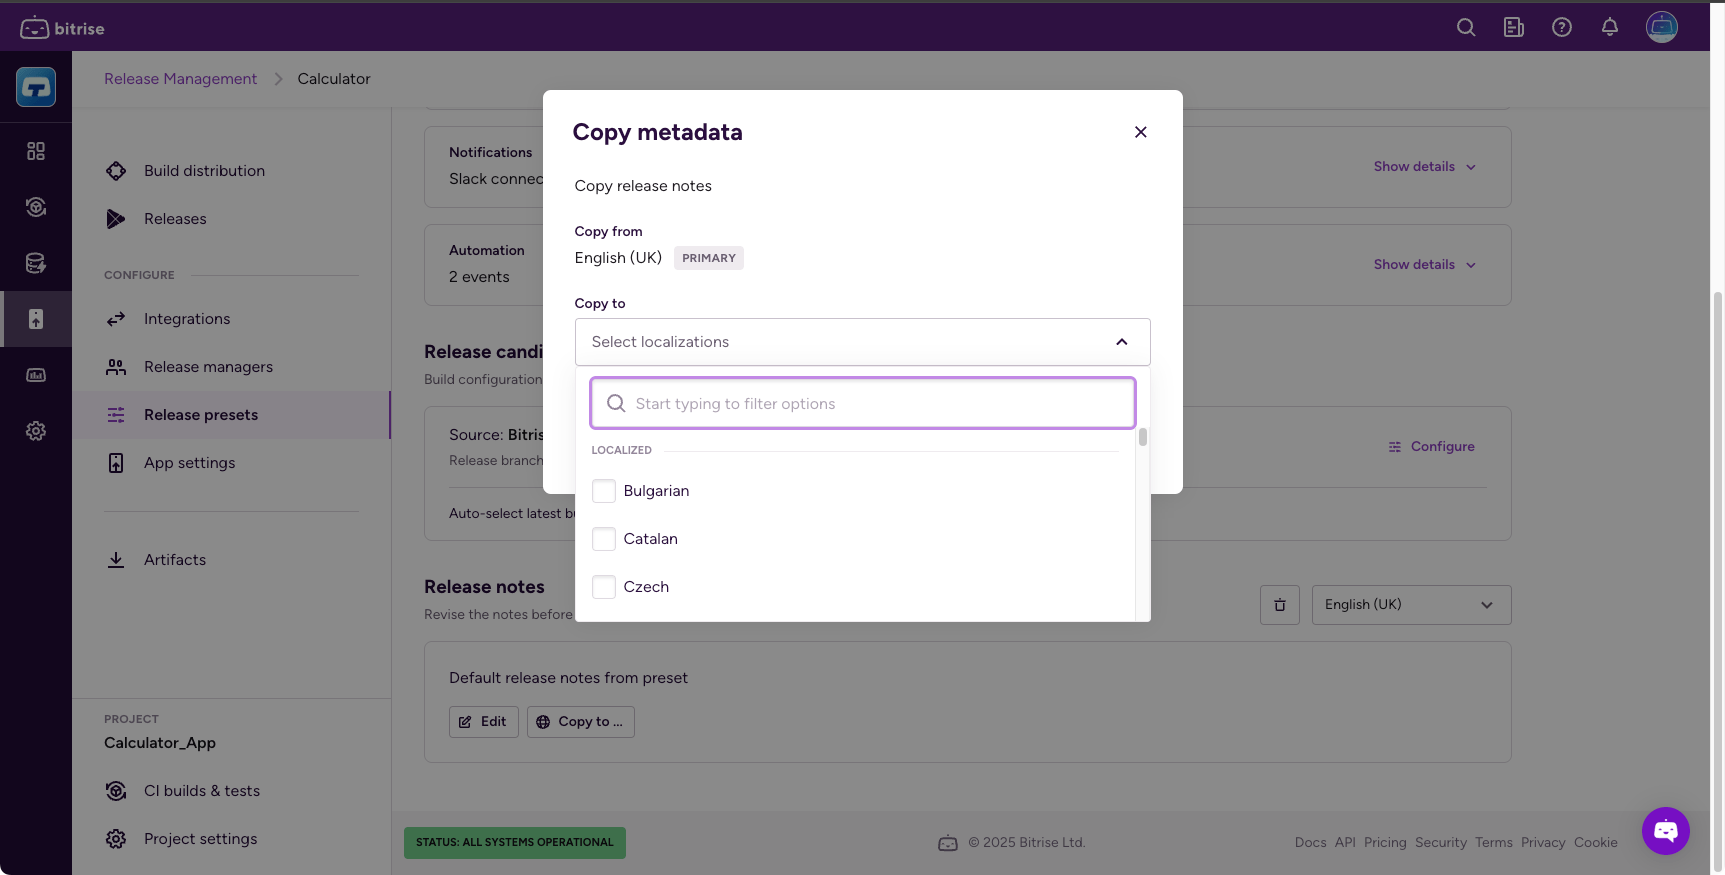
Click into , and then click . This opens the Copy metadata dialog.
-
Open the Copy to dropdown menu, and select all localizations you want to copy to.
-
Click .
-
Open your app in Release Management.
-
On the left, select Release presets.
-
Click
next to the name of your template and select Change. -
Find Release notes.
-
Click . This opens the Copy metadata dialog.
-
Open the Copy to dropdown menu, and select all localizations you want to copy to.
-
Click .