Getting started with the Bitrise platform
The Bitrise platform is organized around accounts, workspaces, and projects. We'll quickly go through how to start using them.
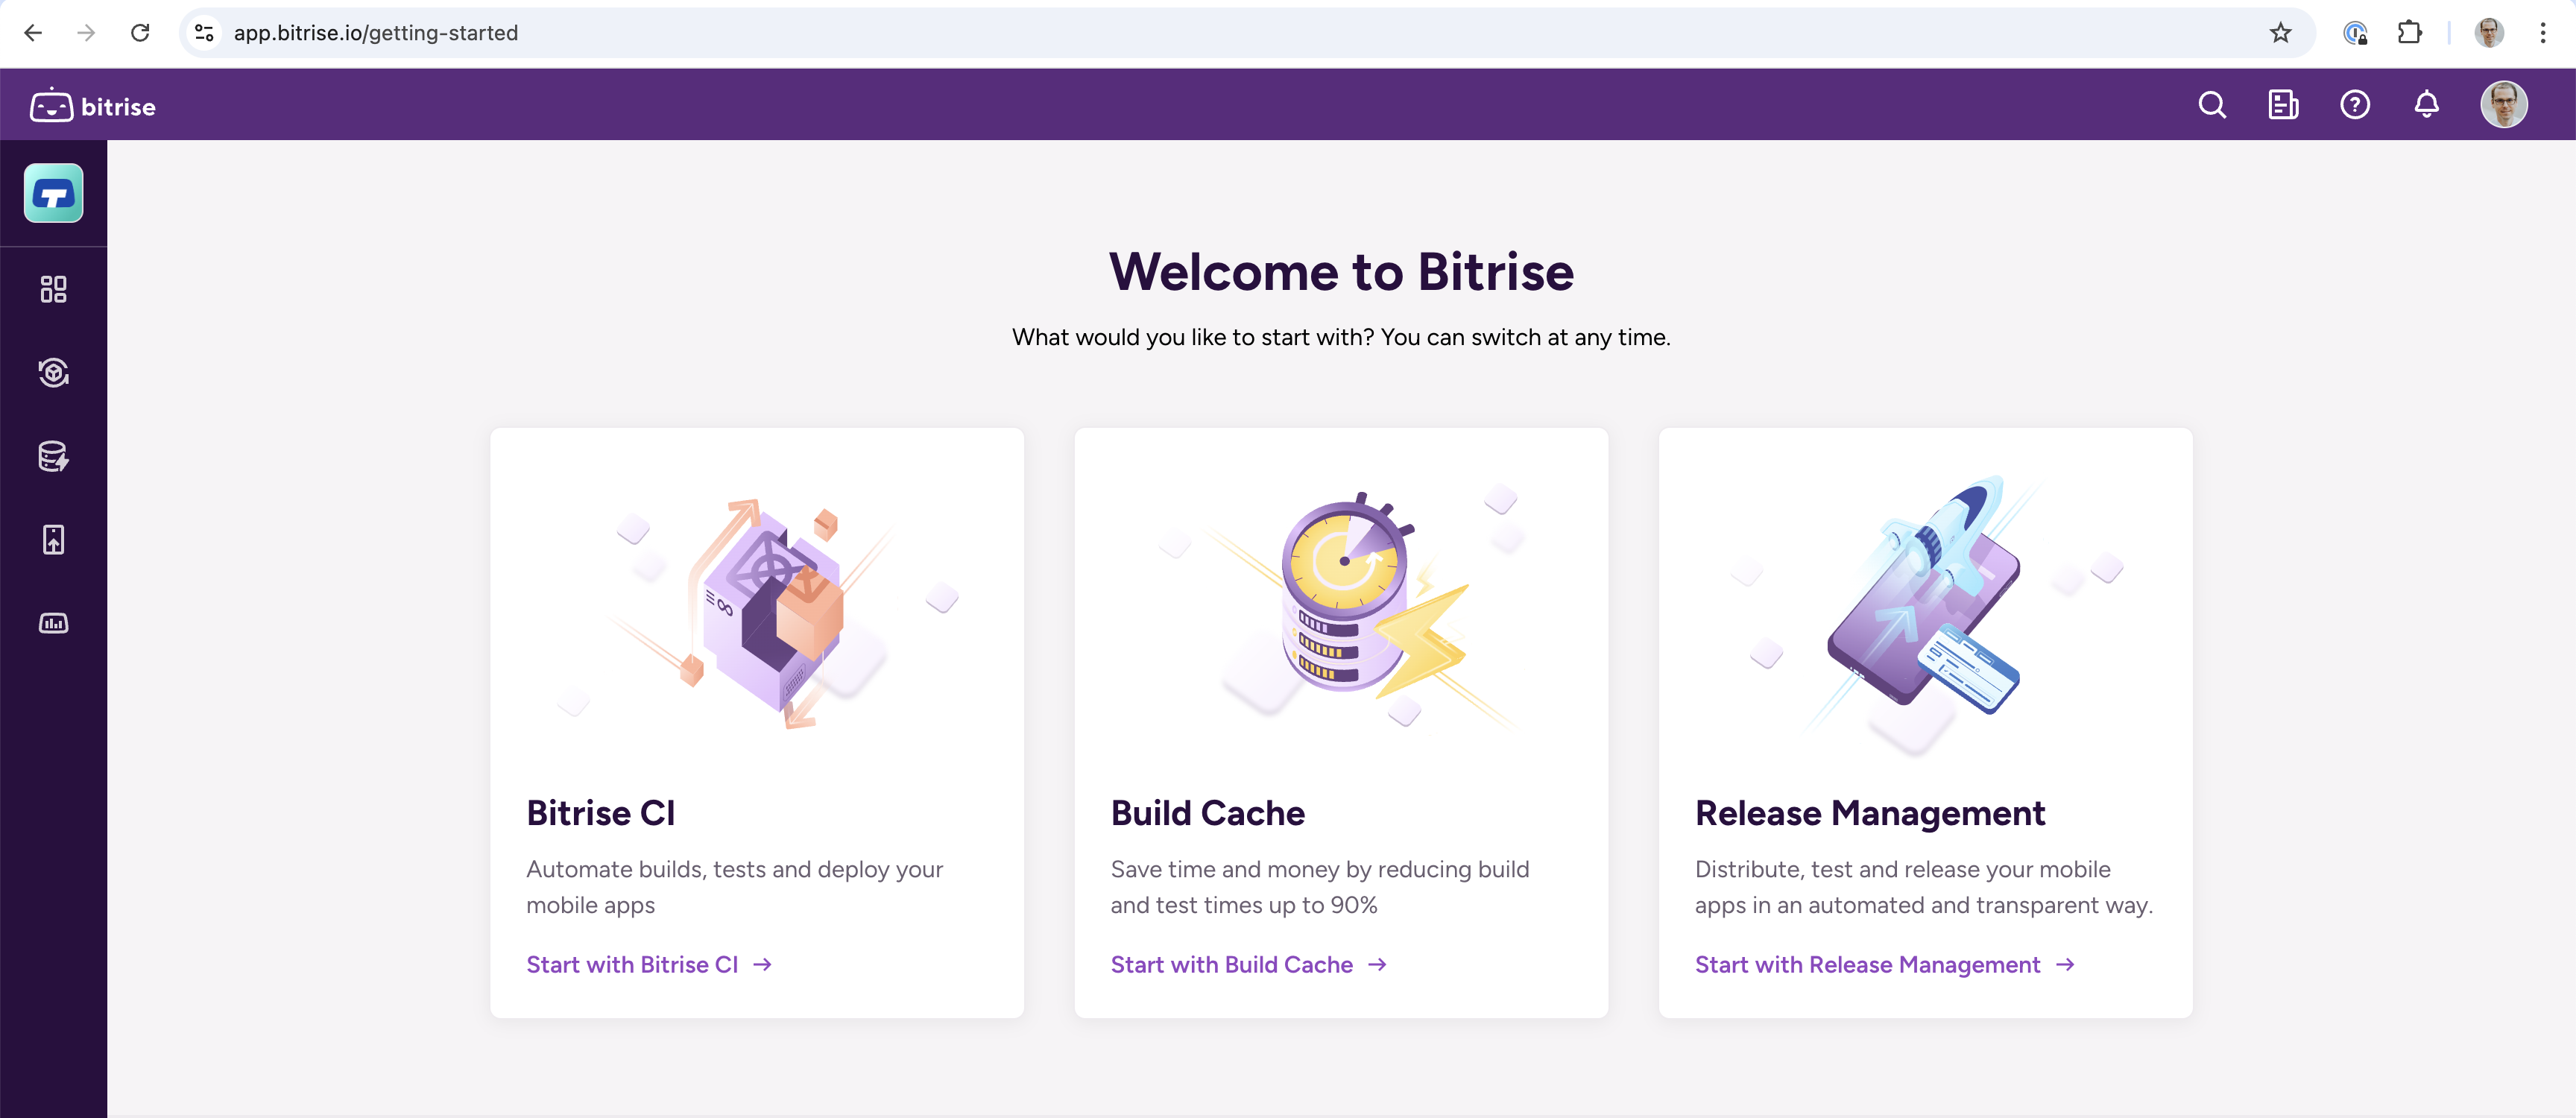
Signing upClick to copy link
You can sign up via email or via one of three Git providers: GitHub, GitLab, or Bitbucket: Signing up for Bitrise.
Bitrise also supports SAML SSO: SAML SSO in Bitrise.
After signing up, you receive a limited trial:
First workspaceClick to copy link
After signing up, we automatically create your first workspace. This workspace is owned by your user account. You can create additional workspaces at any point and be invited to other workspaces.
Workspaces are very important in Bitrise: all your work is organized in workspaces. You can:
- Add users and organize them into user groups: Workspace collaboration
- Configure workspace-level integrations for third-party services such as the Apple Store or Google Play: About integrations.
- Create projects for Bitrise CI and Release Management.
ProjectsClick to copy link
When you have your first workspace, you will be prompted to add your first project.
There are two ways of creating a new project:
-
Starting with Bitrise CI: you will be automatically taken to the Add new project flow. This creates a CI project with a linked Git repository: Adding a new project.
-
Starting with Release Management: you can add a new app to Release Management and Bitrise will automatically link it to a new project: Adding a new app to Release Management.
This project will not have a CI configuration but you can extend it with one.
Configure your project by entering Project settings. You can access it from both Bitrise CI and from Release Management.
IntegrationsClick to copy link
Integrating to third-party tools and services is a vital part of the Mobile DevOps process. We recommend setting up the most important integrations once your first project is up and running: