Android dependencies
If you have your Android dependencies defined in your build.gradle file, the dedicated Android Steps on Bitrise can handle installing and even caching them.
The Gradle build system handles dependencies for Android apps. If you have your dependencies defined in your build.gradle file, the dedicated Android Steps on Bitrise can handle installing and even caching them.
Installing dependencies for Android apps
Building an Android app with Gradle dependencies is straighforward on Bitrise. When you first add the app, our project scanner determines that it's an Android app by locating the build.gradle file. Our official Android Steps can handle installing
dependencies during the build process, and can build different modules and variants easily.
To make sure all your dependencies will be installed during the build:
-
Define dependencies in your Android project.
-
Use one of our Android Steps to build your app. The following Steps can install dependencies and build the app:
-
Android Build
-
Android Build for UI Testing
-
Gradle Runner
Each of these Steps run a Gradle task the same way you would run it on your own device. They can build specific modules and install the relevant dependencies for those modules in the process.
-
Installing missing Android SDK components
Our build machines come with all the most commonly used Android tools pre-installed. However, if you need additional components of the Android SDK installed, we have a dedicated Step that handles the job for you.
This Step requires you to have the Gradle Wrapper in your project, as it looks for the `gradlew file. It runs the gradlew dependencies
--stacktrace command to list and install the missing dependencies.
To install missing Android SDK components in a Bitrise build:
-
Define the Android SDK components you need in the top level
build.gradlefile of your project. -
Make sure you have a
gradlewfile in your project's repository. -
On Bitrise, add the Install missing Android SDK components Step to your Workflow. It should be before any Step that requires Android SDK components.
-
In the gradlew file path input, set the path to your
gradlewfile, relative to the root of the repository.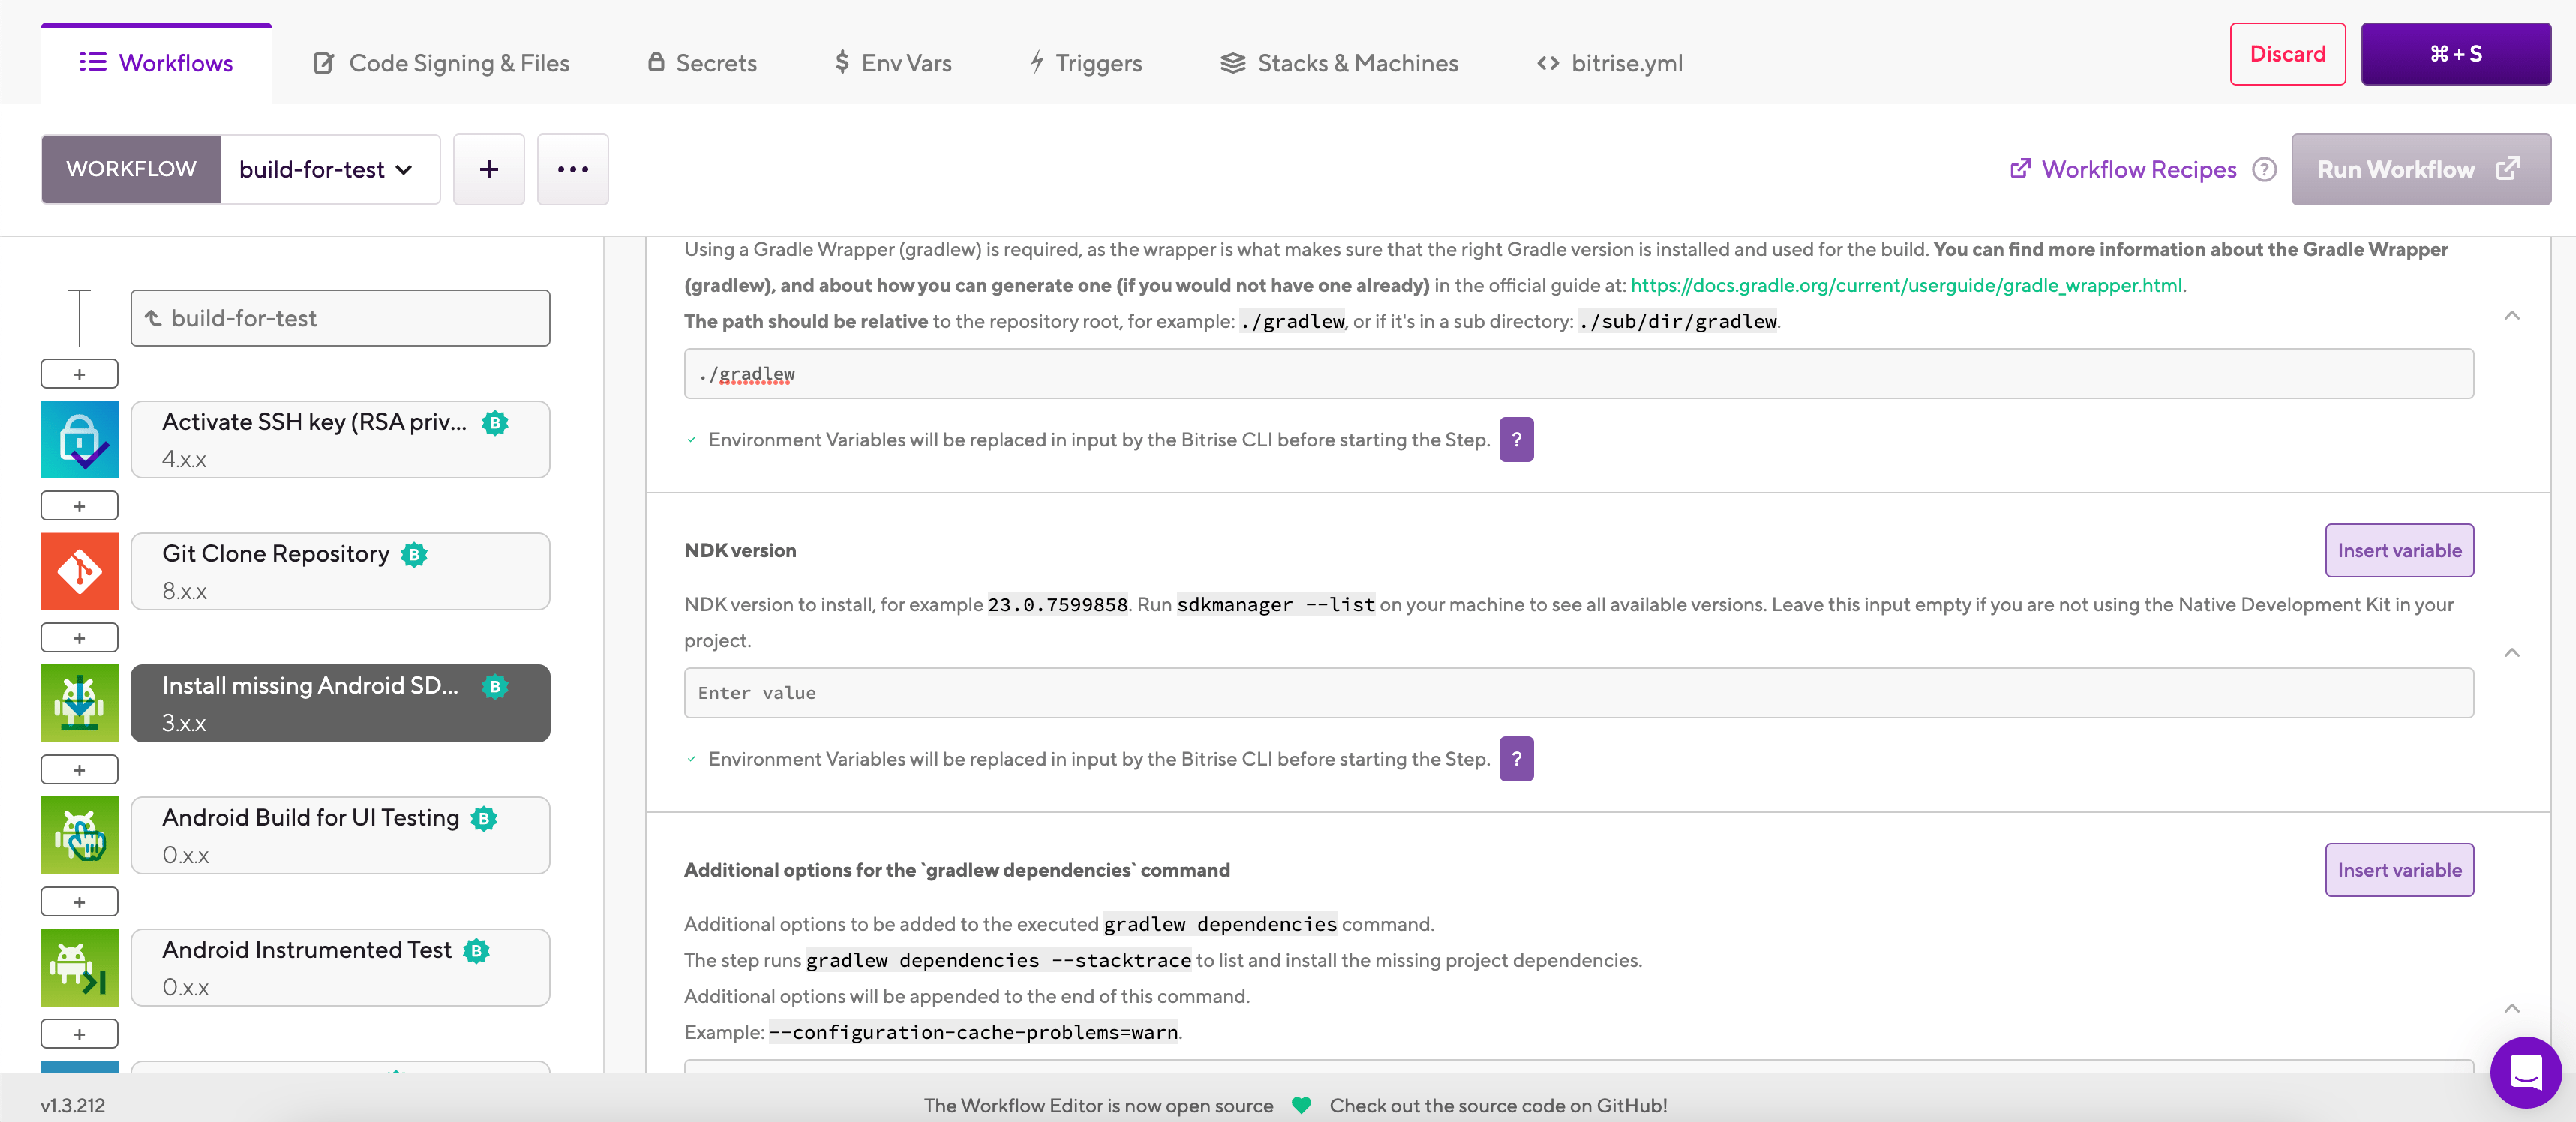
-
If you use the Native Development Kit in your project, set the required version in the NDK version input.
If you don't use NDK, leave the input empty.
-
In the Additional options for the gradlew dependencies command input, you can set flags in addition to the default command call.
Caching Gradle dependencies
With key-based caching, you only need the Restore Gradle cache and the Save Gradle cache Steps to cache your Gradle dependencies. These Steps require no configuration as they automatically set up the cache keys needed for your dependencies.
Setting specific cache paths
You don't have to use the default cache paths that the dedicated key-based caching Steps use. If you need to set a specific cache path, you can do so by configuring the Save Cache and the Restore Cache Steps: Using key-based caching in your builds.
-
Add the Restore Gradle cache Step to your Workflow
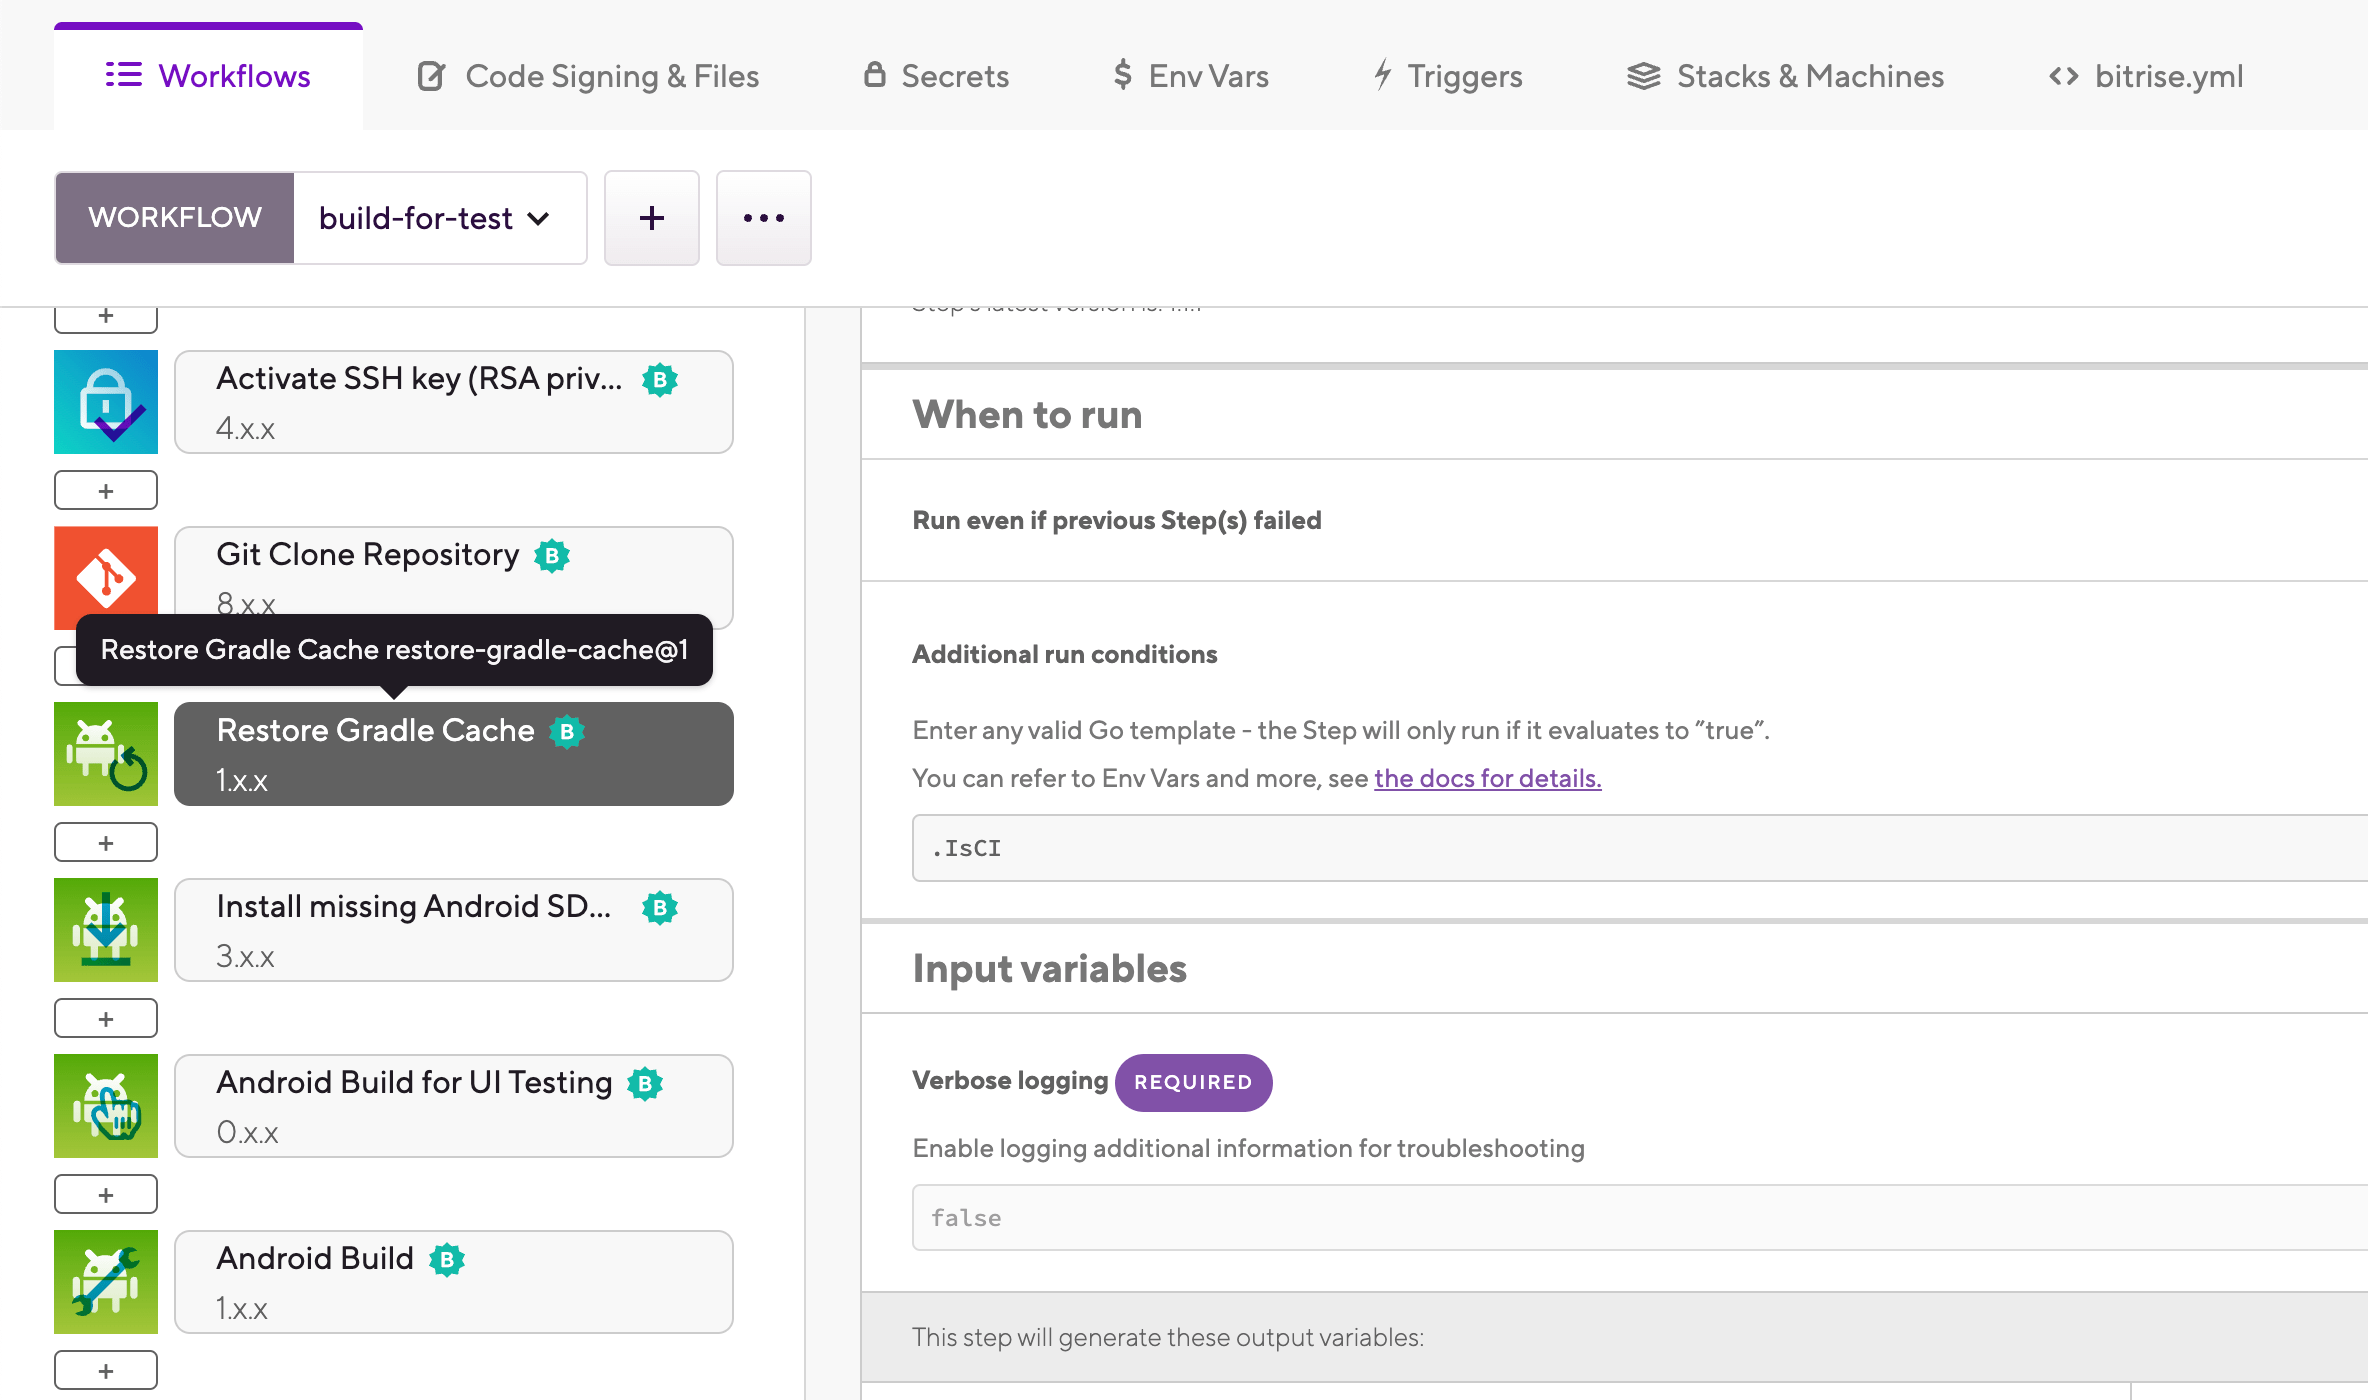
It should come before any Step that handles dependencies in any way, such as Android Build.
-
Add the Save Gradle Cache Step to the end of your Workflow.