OIDC for Bitrise
Create an Open ID Connect (OIDC) trust policy and send an OIDC token with app.bitrise.io as the audience for an OIDC credential exchange. This allows third-party services to authenticate to your Bitrise workspace and access Bitrise resources.
Create an Open ID Connect (OIDC) trust policy and send an OIDC token with app.bitrise.io as the audience for an OIDC credential exchange. This allows third-party services to authenticate to your Bitrise workspace and access Bitrise resources.
For more information on how OIDC works, see Authentication to Bitrise with OIDC.
Creating a trust policy on Bitrise
Create an OIDC trust policy to grant external services access to Bitrise resources via an OIDC token exchange.
-
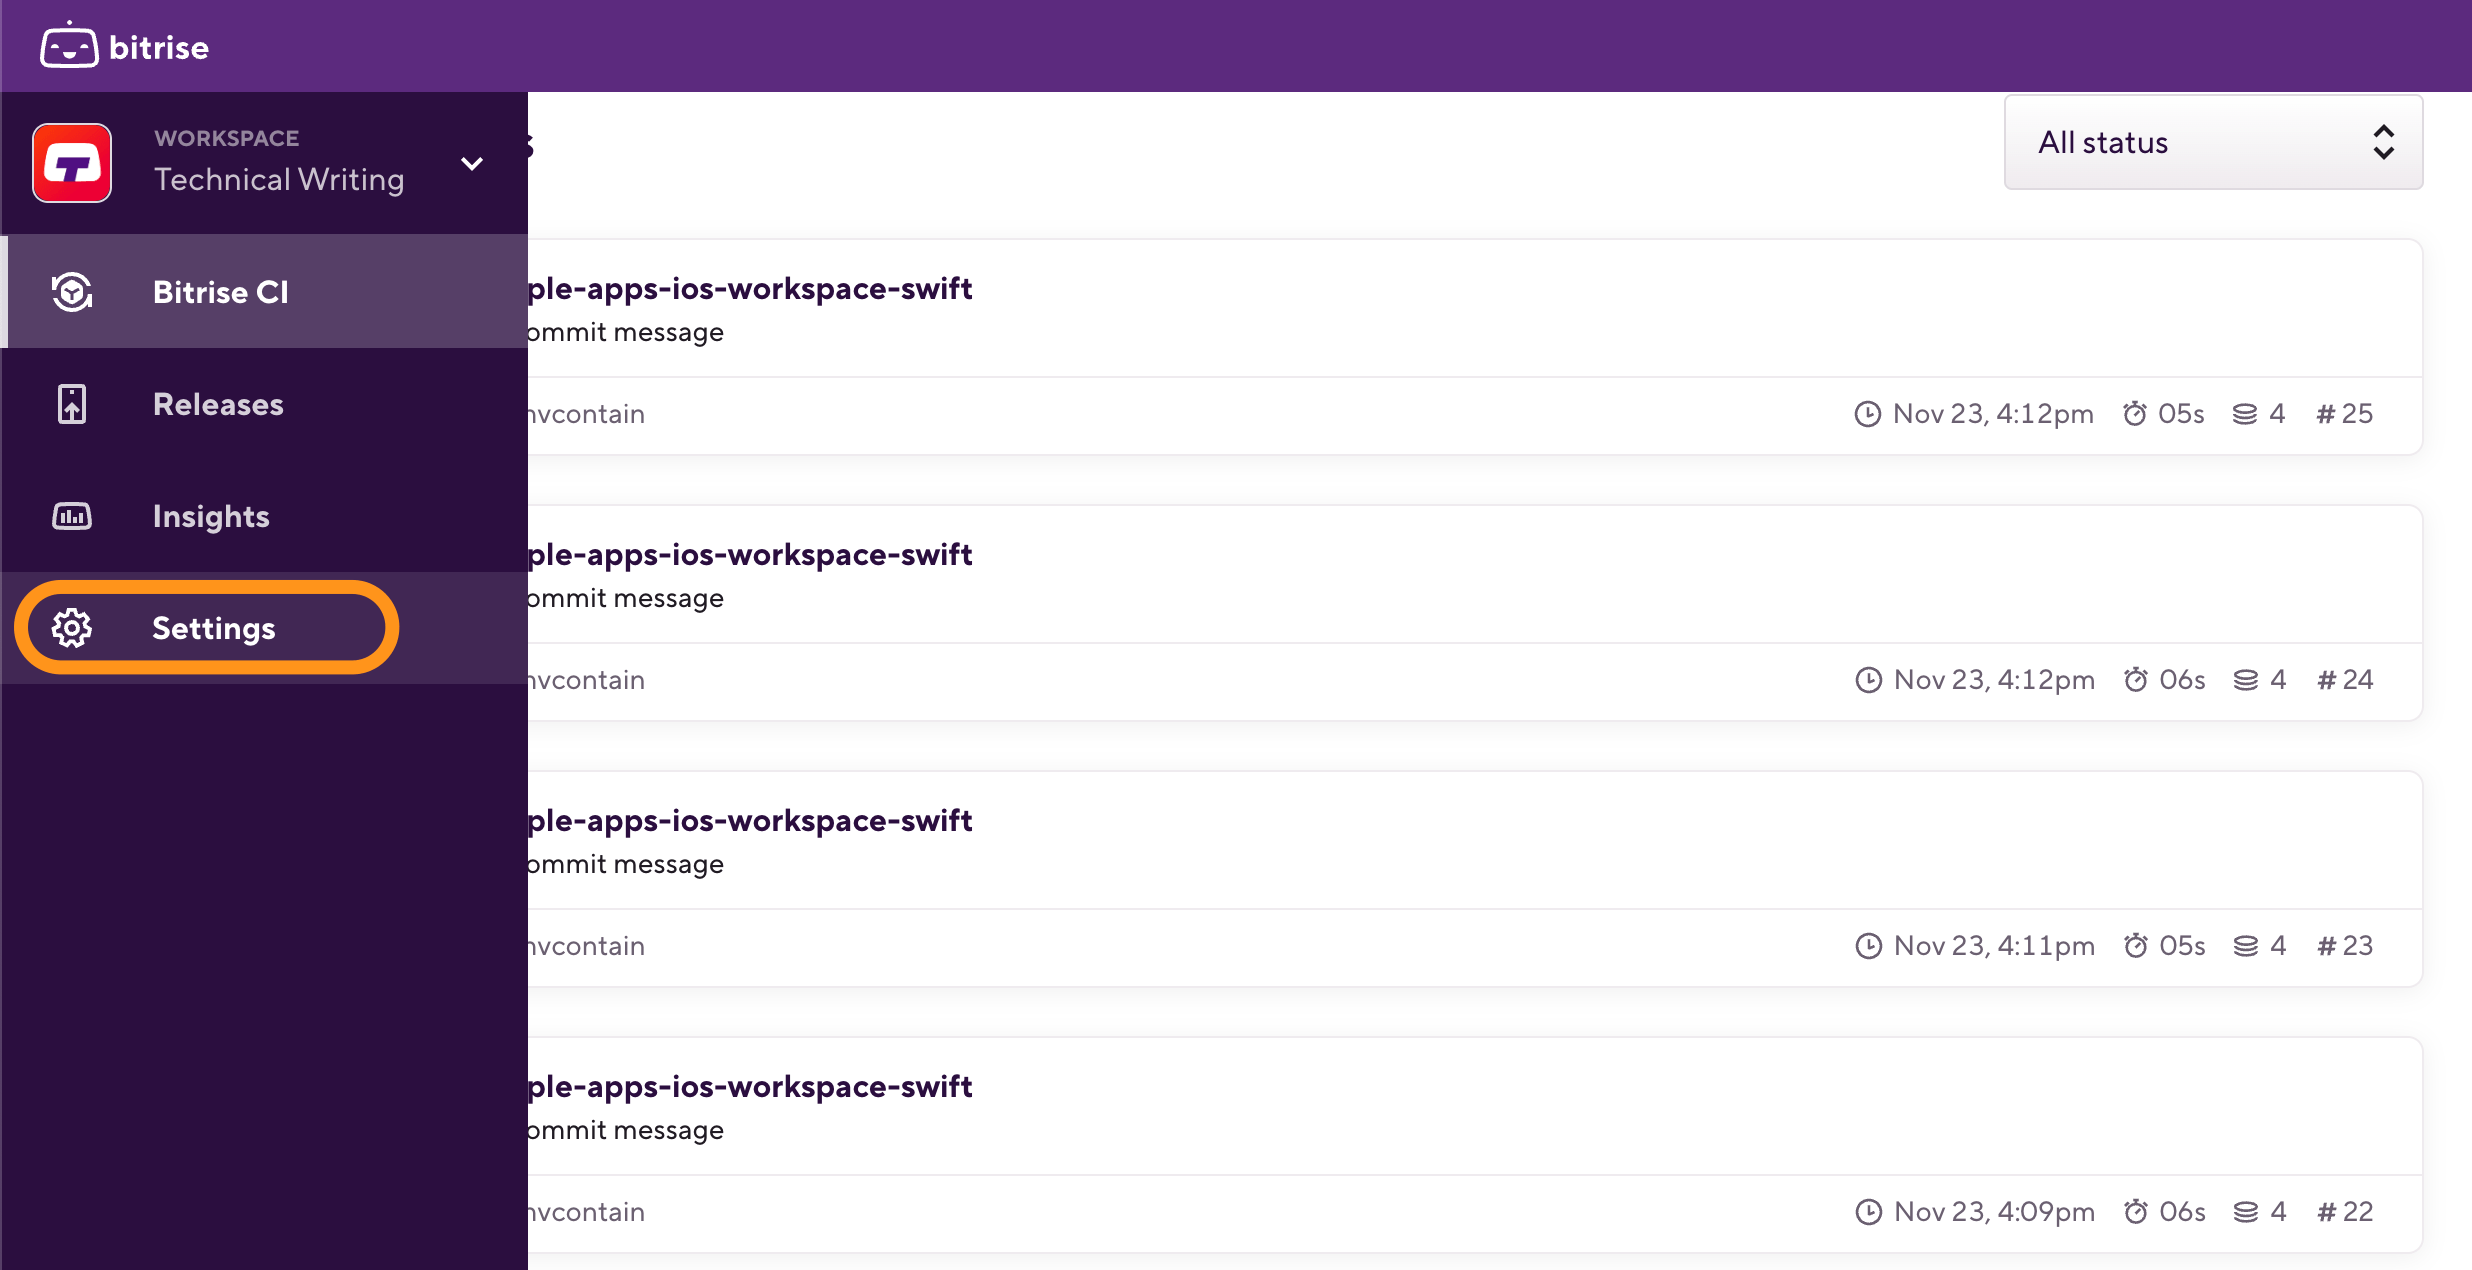
Log in to Bitrise and hover over the left navigation bar.
-
Make sure you have the right workspace selected in the Workspace menu.
-
Select Settings.
-
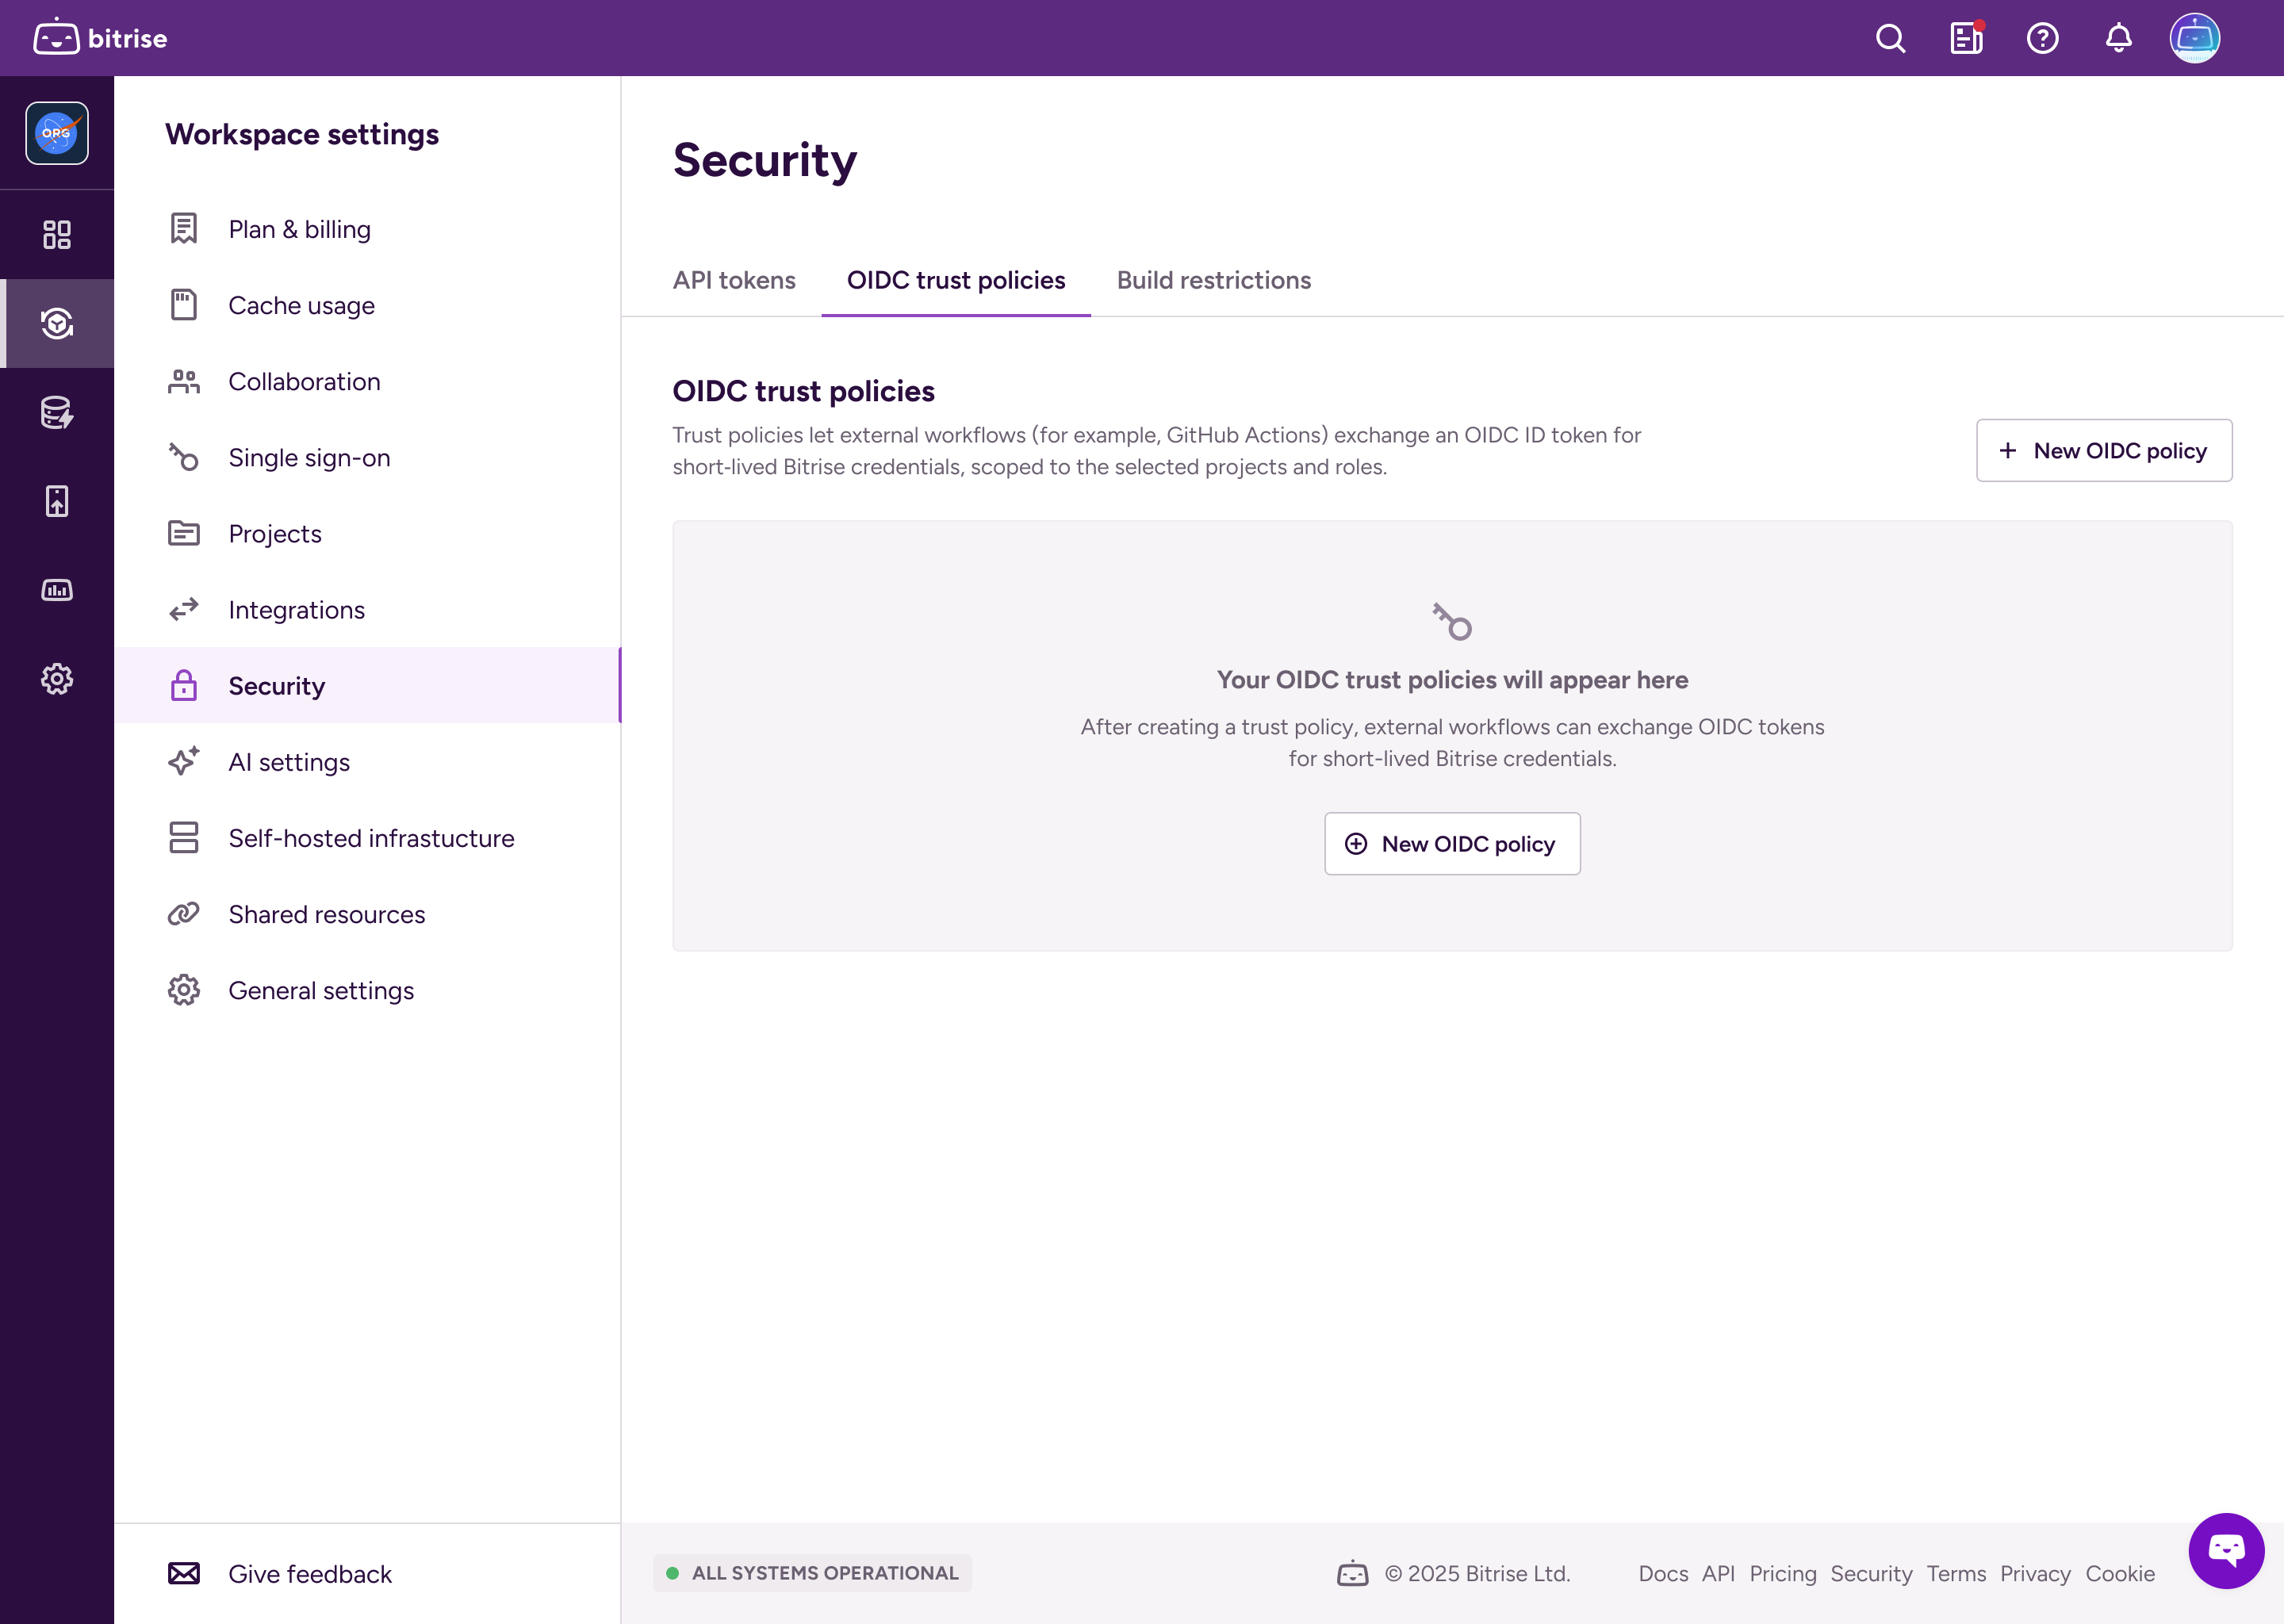
Select Security and then go to the OIDC trust policies tab.
-
Click .
-
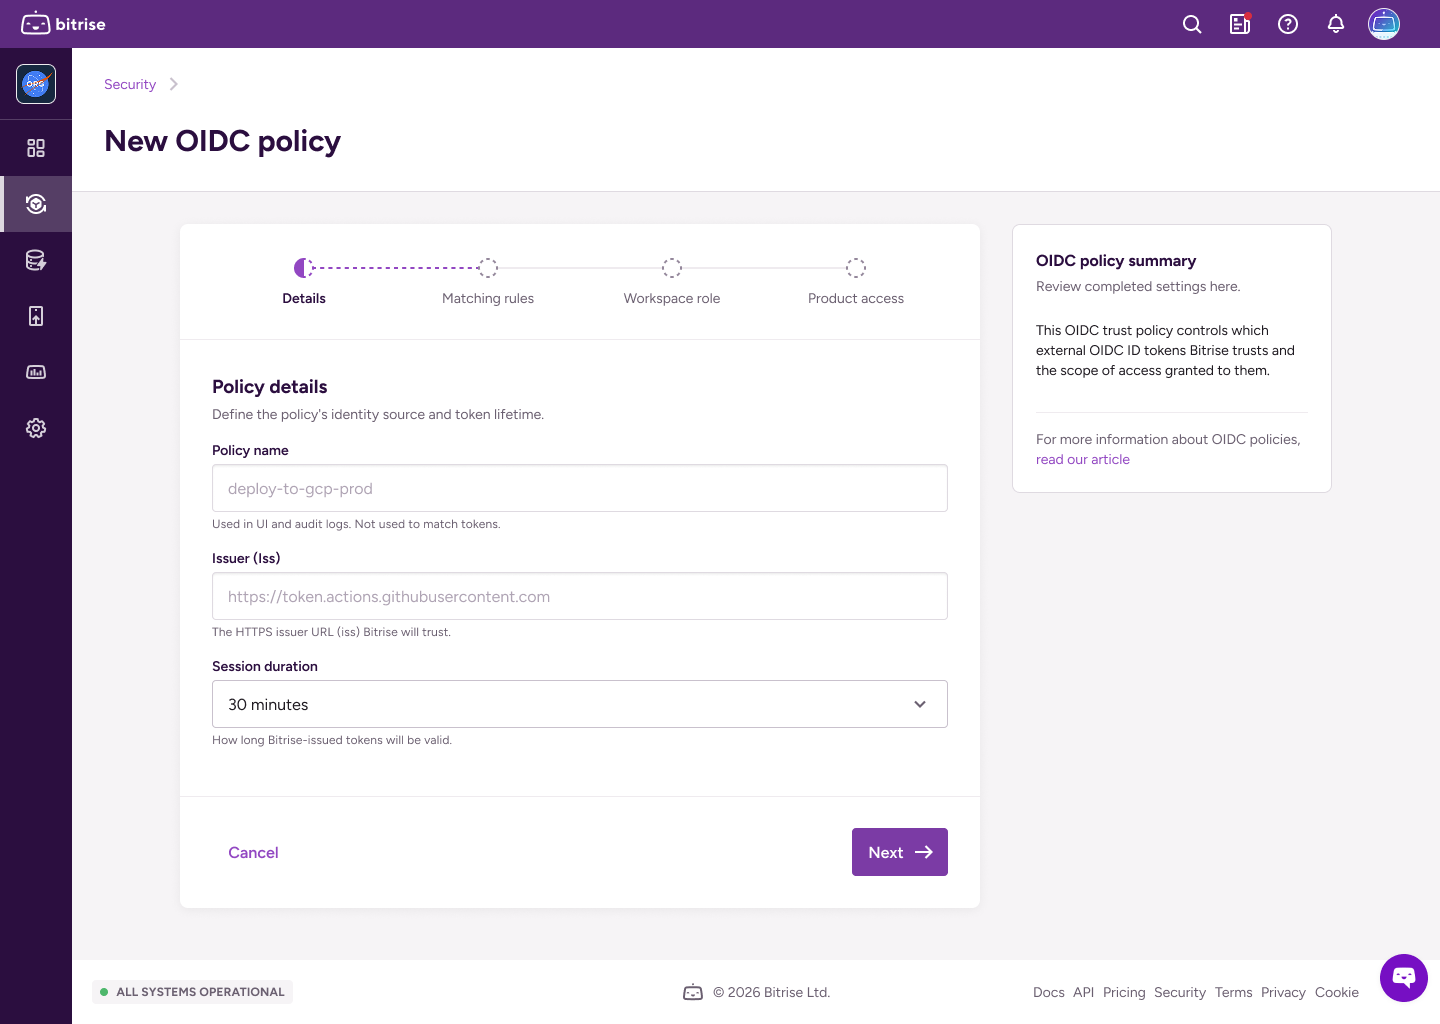
Fill out the policy details:
-
Policy name: The policy identifier.
-
Issuer: The HTTPS URLs for identity providers that Bitrise will trust.
-
Session duration: How long the token will be valid.
-
-
On the next page, set matching rules in a JSON format.
Matching rules define which claims Bitrise must see in the token to match the trust policy.
Important
You must have at least one matching rule. The
subclaim is mandatory: it identifies the subject that triggered the token exchange.For example, you can create matching rules for a specific branch of a repository and names a Workflow:
{ "sub": "repo:my-org/my-repo:environment:prod", "workflow": "CI", "ref": "refs/heads/main", "repository": "my-account/my-repo" } -
On the next page, set up a workspace role for the short-lived token.
The workspace role determines the access level of the token. Read more: Roles and permissions in workspaces.
-
On the next page, configure product access. Grant full admin access to all products, or grant granular access to either Bitrise CI or Release Management or both:
-
Select Admin access to grant admin access to all projects owned by the workspace.
-
Select Bitrise CI and/or then select the projects or Release Management apps and access roles for the token. It can have different levels of access on different projects!
Read more: Roles and permissions for Bitrise CI
-
Select Release Management then select the Release Management apps and access roles for the token. It can have different access levels on different Release Management apps.
Read more: Roles and permissions
-
-
When ready, click .
Crafting a token request
After you create at least one trust policy on Bitrise, you can create OIDC token exchange requests to receive short-lived tokens from Bitrise.
-
Get an OIDC token from the service you want to authenticate to Bitrise.
The exact method of getting the token depends on the service. For example: Request a token from GitHub Actions.
-
Use the token in the exchange request to Bitrise.
The request must contain the policy ID and it must be submitted to
app.bitrise.io.curl -i -X POST https://app.bitrise.io/oidc/token \ -H "Content-Type: application/x-www-form-urlencoded" \ -d "grant_type=urn:ietf:params:oauth:grant-type:token-exchange" \ -d "subject_token_type=id_token" \ -d "policy_id=<POLICY_UUID>" \ -d "subject_token=<OIDC_TOKEN>"You can also send a request as
application/json:curl -i -X POST https://app.bitrise.io/oidc/token \ -H "Content-Type: application/json" \-d "{ \"grant_type\": \"urn:ietf:params:oauth:grant-type:token-exchange\", \"subject_token_type\": \"id_token\", \"subject_token\": <OIDC_TOKEN>, \"policy_id\": <POLICY_ID> }"