Managing dependencies with CocoaPods
With the Run CocoaPods install Step, you can easily install CocoaPods dependencies on Bitrise. You just need a Podfile and the Step. Bitrise also offers dedicated Steps to cache your pods.
CocoaPods is a dependency manager for Swift and Objective-C Cocoa projects. An iOS app with CocoaPods dependencies needs to have a Podfile with a number of pods listed in it: these pods are installed during the
process of building the app.
You can, of course, easily install CocoaPods dependencies during a Bitrise build. You just need our dedicated Step: Run CocoaPods Install. The Step can run both pod install and pod update commands.
Installing CocoaPods dependencies
To install your dependencies with CocoaPods:
Workflow Editor
bitrise.yml
-
If you need a specific version of CocoaPods, make sure you define it either in the
Gemfileor thePodfile.The Step first looks for the
cocoapodsgem in theGemfile. If there's nococoapodsgem, the Step uses the CocoaPods version defined in thePodfile. If the version is not defined there either, the preinstalled system version will be used which you can check in the system reports. -
Make sure that the Xcode Step building your app uses your
.xcworkspacefile: the Project path input of the Step should point to the path of.xcworkspace. -
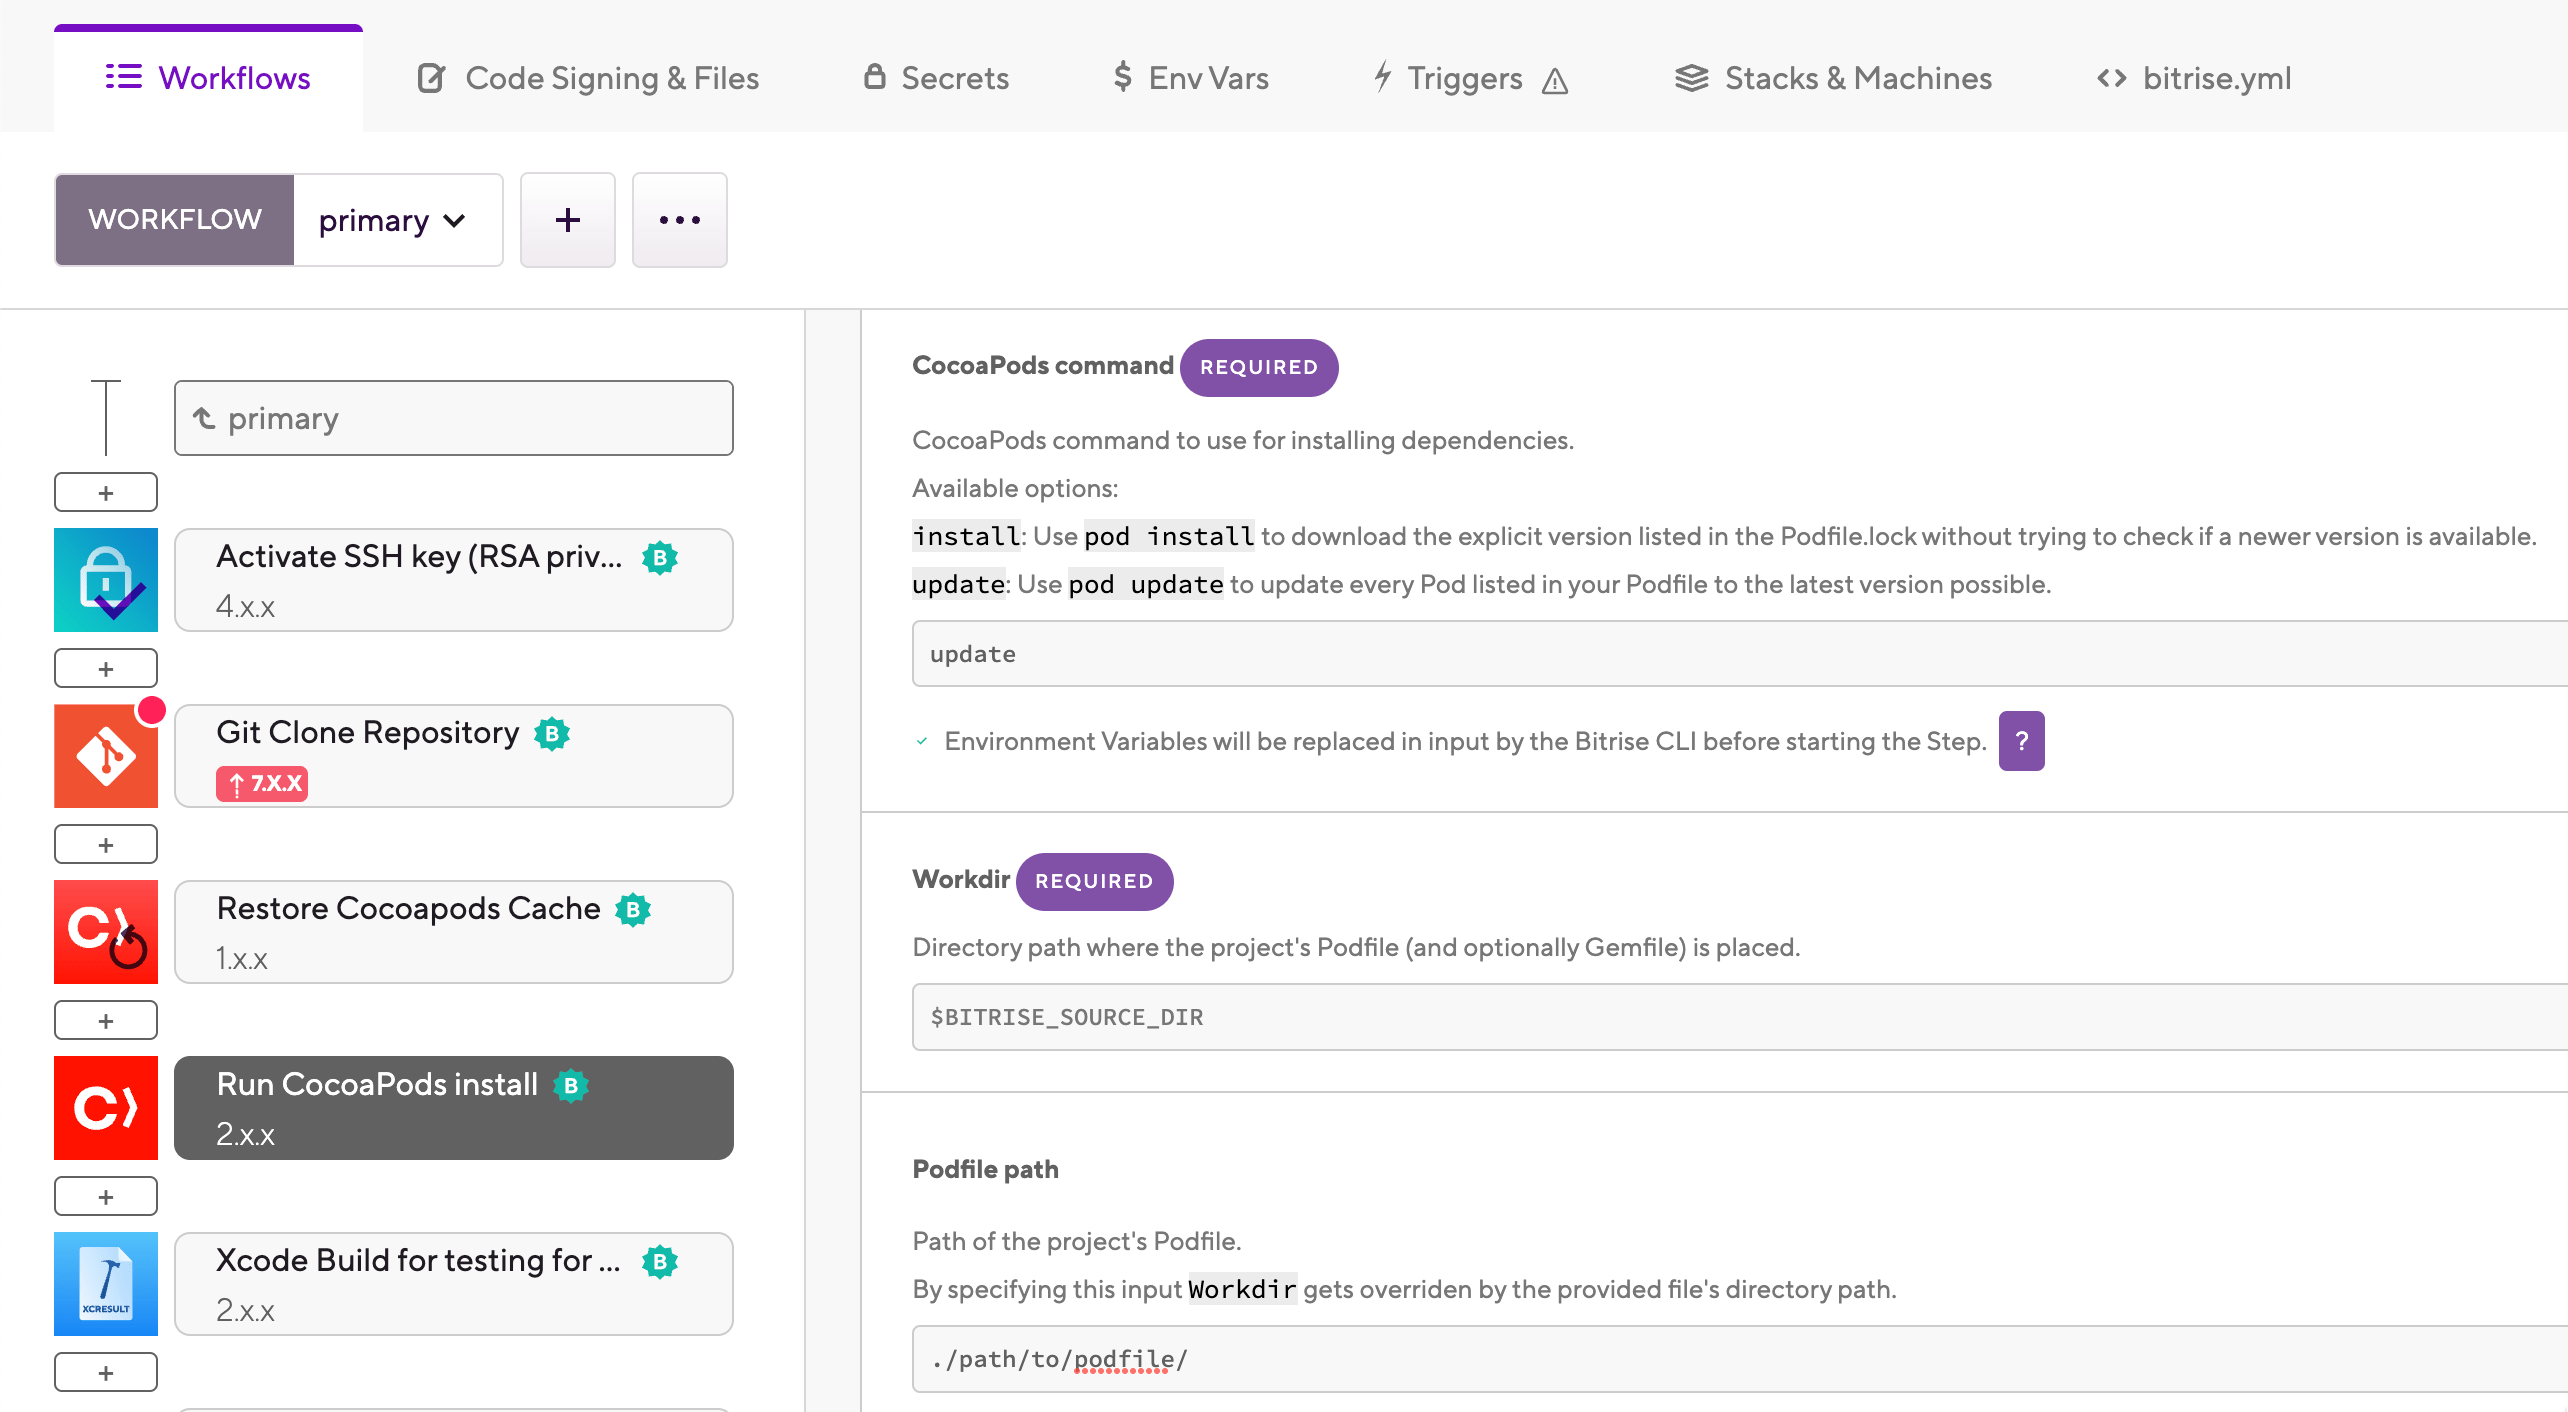
Add the Run CocoaPods Install Step to your Workflow.
It should come after any Step that pulls from the build cache. If you don't have any caching Steps, add the Step right after the Git Clone Step.
-
In the CocoaPods command input, select the command you wish to run.
-
: Installs the version specified in the
Podfilefor each pod. -
: Installs the latest version for each pod listed in the
Podfile.
-
-
Optionally, you can specify a path to your
Podfilein the Podfile path input.This is not mandatory: if you leave the input empty, the Step performs a recursive search in the root directory of your app, and uses the first
Podfileit finds.
-
If you need a specific version of CocoaPods, make sure you define it either in the
Gemfileor thePodfile.The Step first looks for the
cocoapodsgem in theGemfile. If there's nococoapodsgem, the Step uses the CocoaPods version defined in thePodfile. If the version is not defined there either, the preinstalled system version will be used which you can check in the stack reports. -
Make sure that the Xcode Step building your app uses your
.xcworkspacefile: theproject_pathinput of the Step should point to the path of.xcworkspace. -
Add the
cocoapods-installStep to your Workflow.It should come after any Step that pulls from the build cache. If you don't have any caching Steps, add the Step right after the
git-cloneStep.my-workflow: steps: - activate-ssh-key: {} - git-clone: {} - restore-cocoapods-cache: {} - cocoapods-install: is_always_run: true - save-cocoapods-cache: {} -
In the
commandinput, select the command you wish to run.-
: Installs the version specified in the
Podfilefor each pod. -
: Installs the latest version for each pod listed in the
Podfile.
my-workflow: steps: - activate-ssh-key: {} - git-clone: {} - restore-cocoapods-cache: {} - cocoapods-install: is_always_run: true inputs: - command: update - save-cocoapods-cache: {} -
-
Optionally, you can specify a path to your
Podfilein thepodfile_pathinput.my-workflow: steps: - activate-ssh-key: {} - git-clone: {} - restore-cocoapods-cache: {} - cocoapods-install: is_always_run: true inputs: - command: update - podfile_path: ./path/to/podfile/ - save-cocoapods-cache: {}This is not mandatory: if you leave the input empty, the Step performs a recursive search in the root directory of your app, and uses the first
Podfileit finds.
Caching CocoaPods dependencies
With key-based caching, you only need the Restore CocoaPods cache and the Save CocoaPods cache Steps to cache your pods. These Steps require no configuration as they automatically set up the cache keys needed for your dependencies.
Setting specific cache paths
You don't have to use the default cache paths that the dedicated key-based caching Steps use. If you need to set a specific cache path, you can do so by configuring the Save Cache and the Restore Cache Steps: Using key-based caching in your builds.
-
Add the Restore CocoaPods cache Step to your Workflow
It should come before the Run CocoaPods install Step or any Step that needs dependencies to build your app, such as Xcode Archive & Export for iOS.
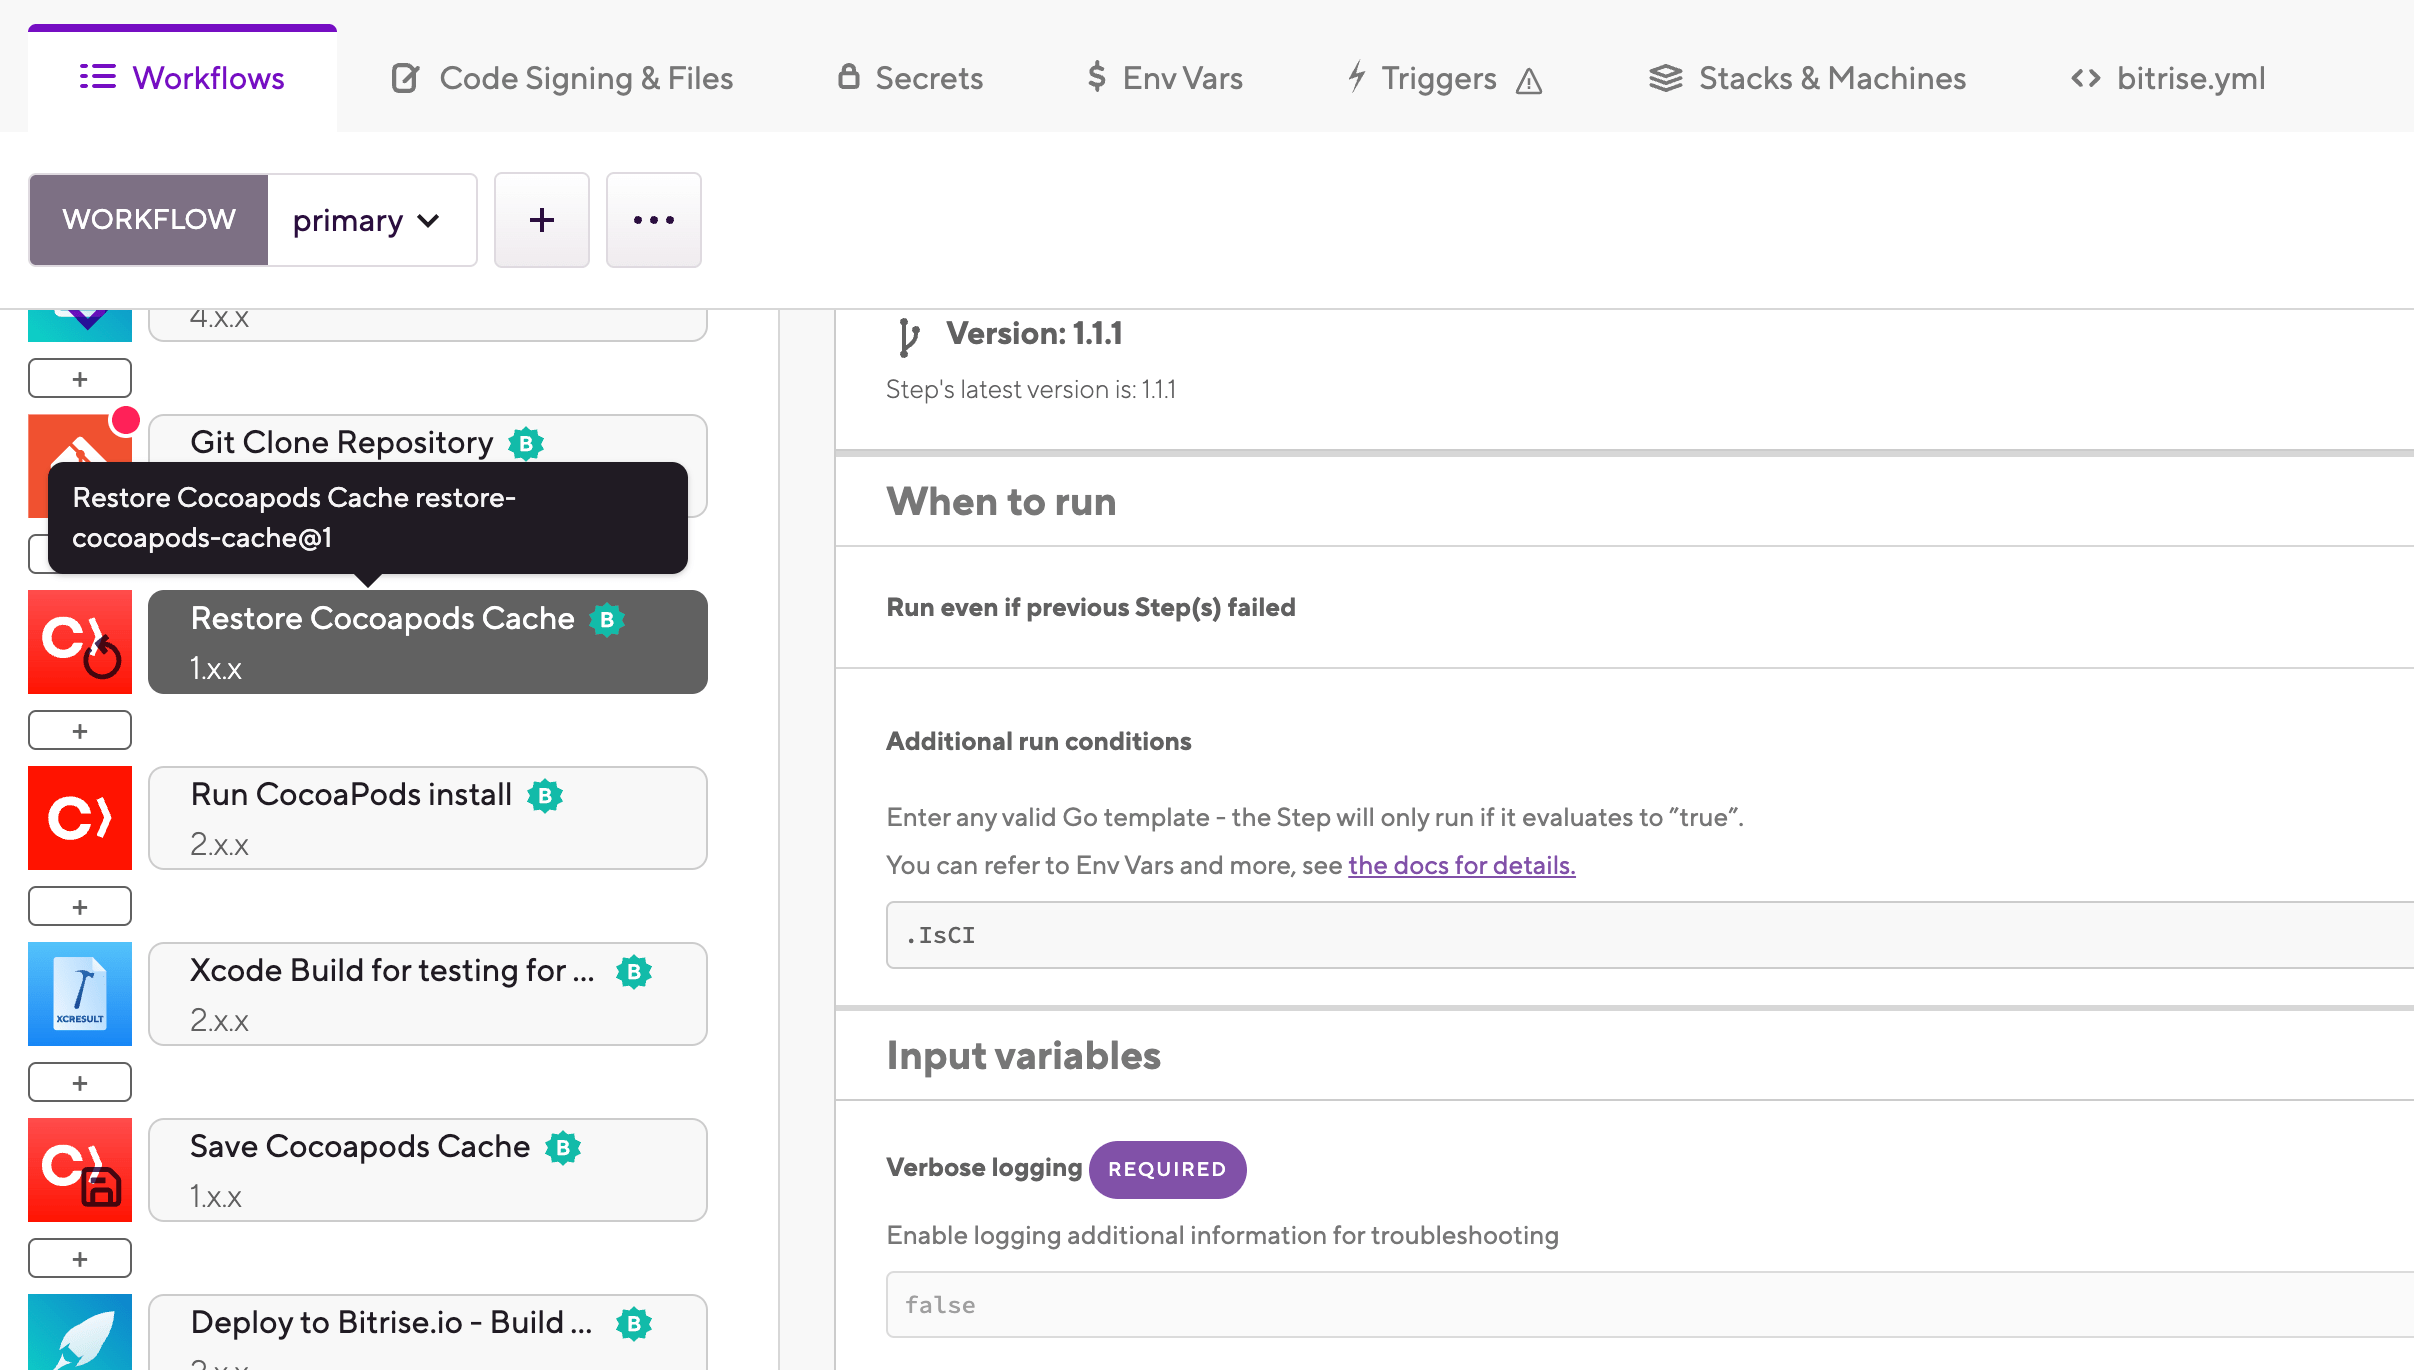
-
Add the Save CocoaPods cache Step to the end of your Workflow.