Workspace groups
Members of a Bitrise workspace can be organized into workspace groups. Groups allow flexible allocation of Workspace members between apps, simplifying the process of managing workspaces that own multiple projects.
Workspace members can belong to multiple different groups. Groups can be assigned user roles on any project's team: each member of the group will have the group's role and the access rights that come with that role.
Collaborators on a project are handled on a project basis, while workspace groups are handled globally within a workspace.
A workspace group has no inherent roles on its own. You can assign groups to projects and choose their role there, which means the same group can have different roles on different projects.
Workspace groups can have three main types of product access:
- Admin access: Gives access to all aspects of the selected projects with the project admin role. This doesn't necessarily mean access to all projects owned by the workspace!
- Bitrise CI access: The group can only access the Bitrise CI configuration of a project, with the specific Bitrise CI roles and permissions.
- Release Management access: The group can only access the Release Management apps of the project, with the specific Release Management permissions.
Global access groupsClick to copy link
You can grant a workspace member access to all projects on all products. When you do that, the member is added to a global access group.
A global access group is a workspace group, with a few differences compared to regular workspace groups:
- It can't be removed from the workspace.
- Its roles can't be changed.
You can add members to global access groups manually, just like to any other group. You can also rename global access groups at any time.
Creating groups for WorkspacesClick to copy link
Only Workspace owners and managers can create groups for a workspace.
When you create a new group, you must decide which products it should have access to.
-
Log in to Bitrise and hover over the left navigation bar.
-
Make sure you have the right workspace selected in the Workspace menu.
-
Select Settings.
-
On the left, select Collaboration from the menu options.
-
Select the Groups tab.
-
Click the Create group button to bring up a dialogue box.
-
Enter a group name in the Group name field.
-
Configure access to products:
- Admin access: Grants access to all products, managing all aspects of selected projects with the project admin role.
- Bitrise CI: The group has access to Bitrise CI only, and it can be assigned Bitrise CI roles.
- Release Management: The group has access to Release Management only, and it can be assigned Release Management roles.
-
If you toggle on a specific product instead of admin access, you will be prompted to select the projects for the group and its user roles on the selected projects.
-
For Bitrise CI, you can select projects and assign a role to each project. You can also select the All projects option: in this case, the user will be added to a global access group with the selected role.
-
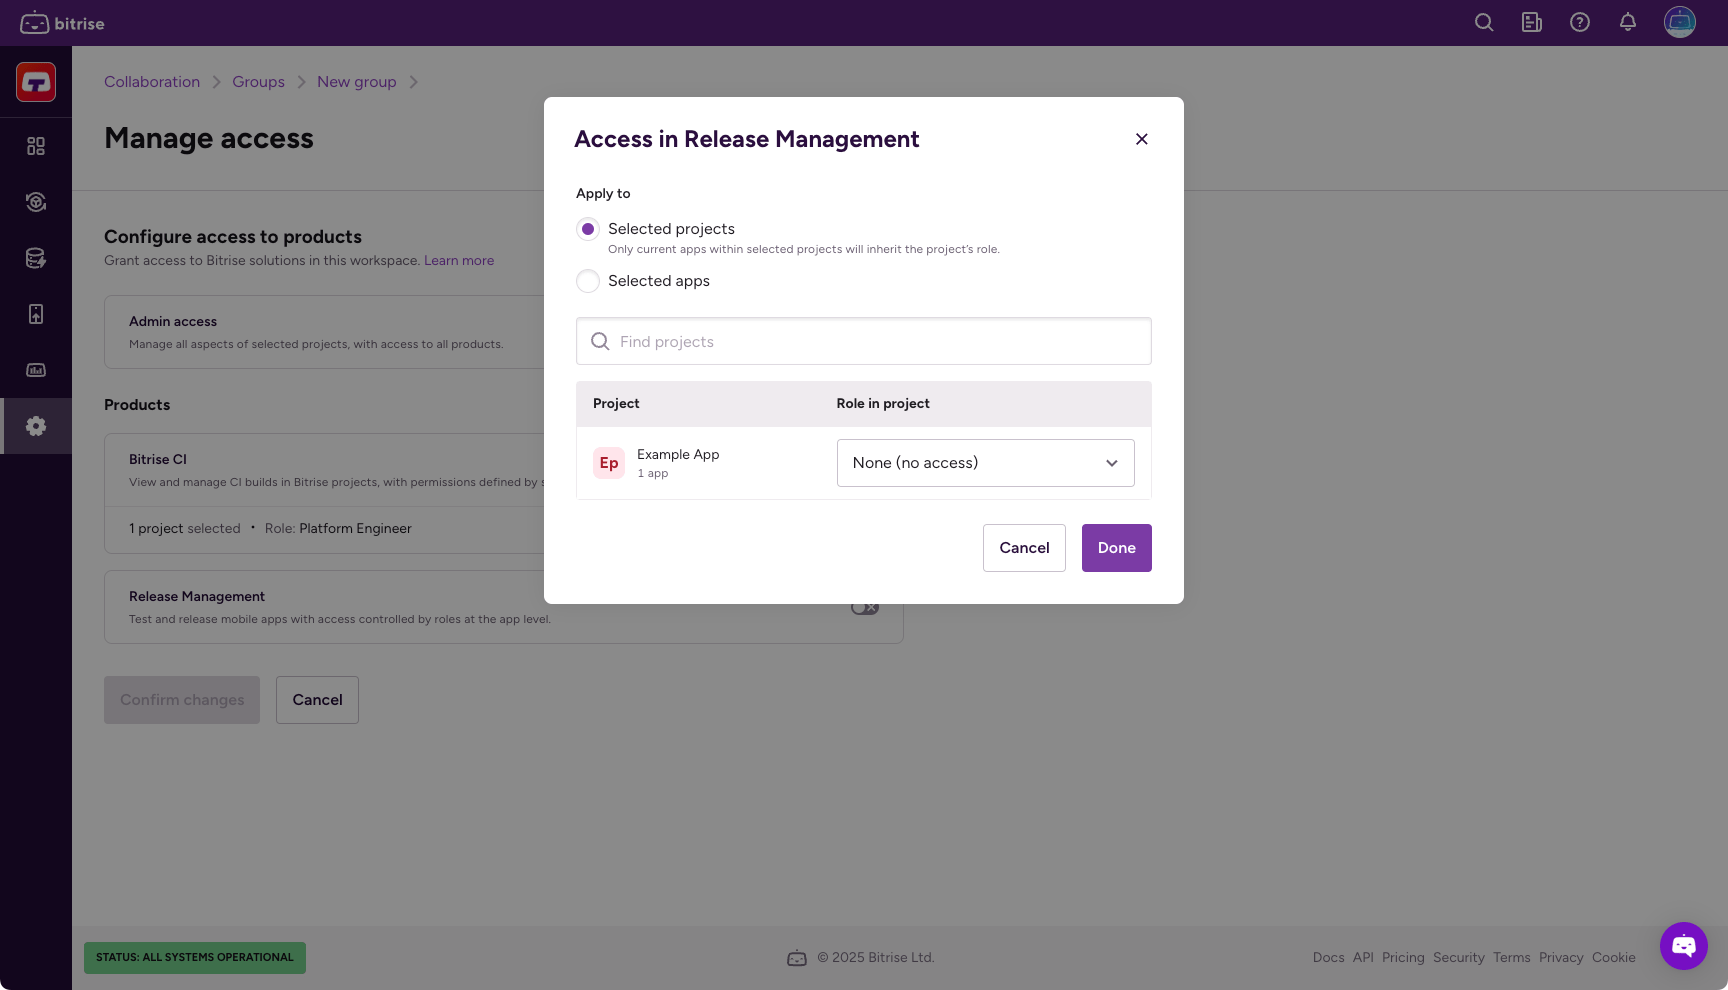
For Release Management in particular, you can select:
-
Specific projects. Note that the group will be able to access all currently existing apps pf the project but not all future apps.
-
Specific Release Management apps: select the already existing apps you want the group to have access to.
-
-
When finished with setting up roles, click Done.
-
Click Create group.
Adding members to a Workspace groupClick to copy link
You can add Workspace members to Workspace groups for more convenient management of Workspace members. Groups allow you to assign several members to project teams at the same time.
-
Log in to Bitrise and hover over the left navigation bar.
-
Make sure you have the right workspace selected in the Workspace menu.
-
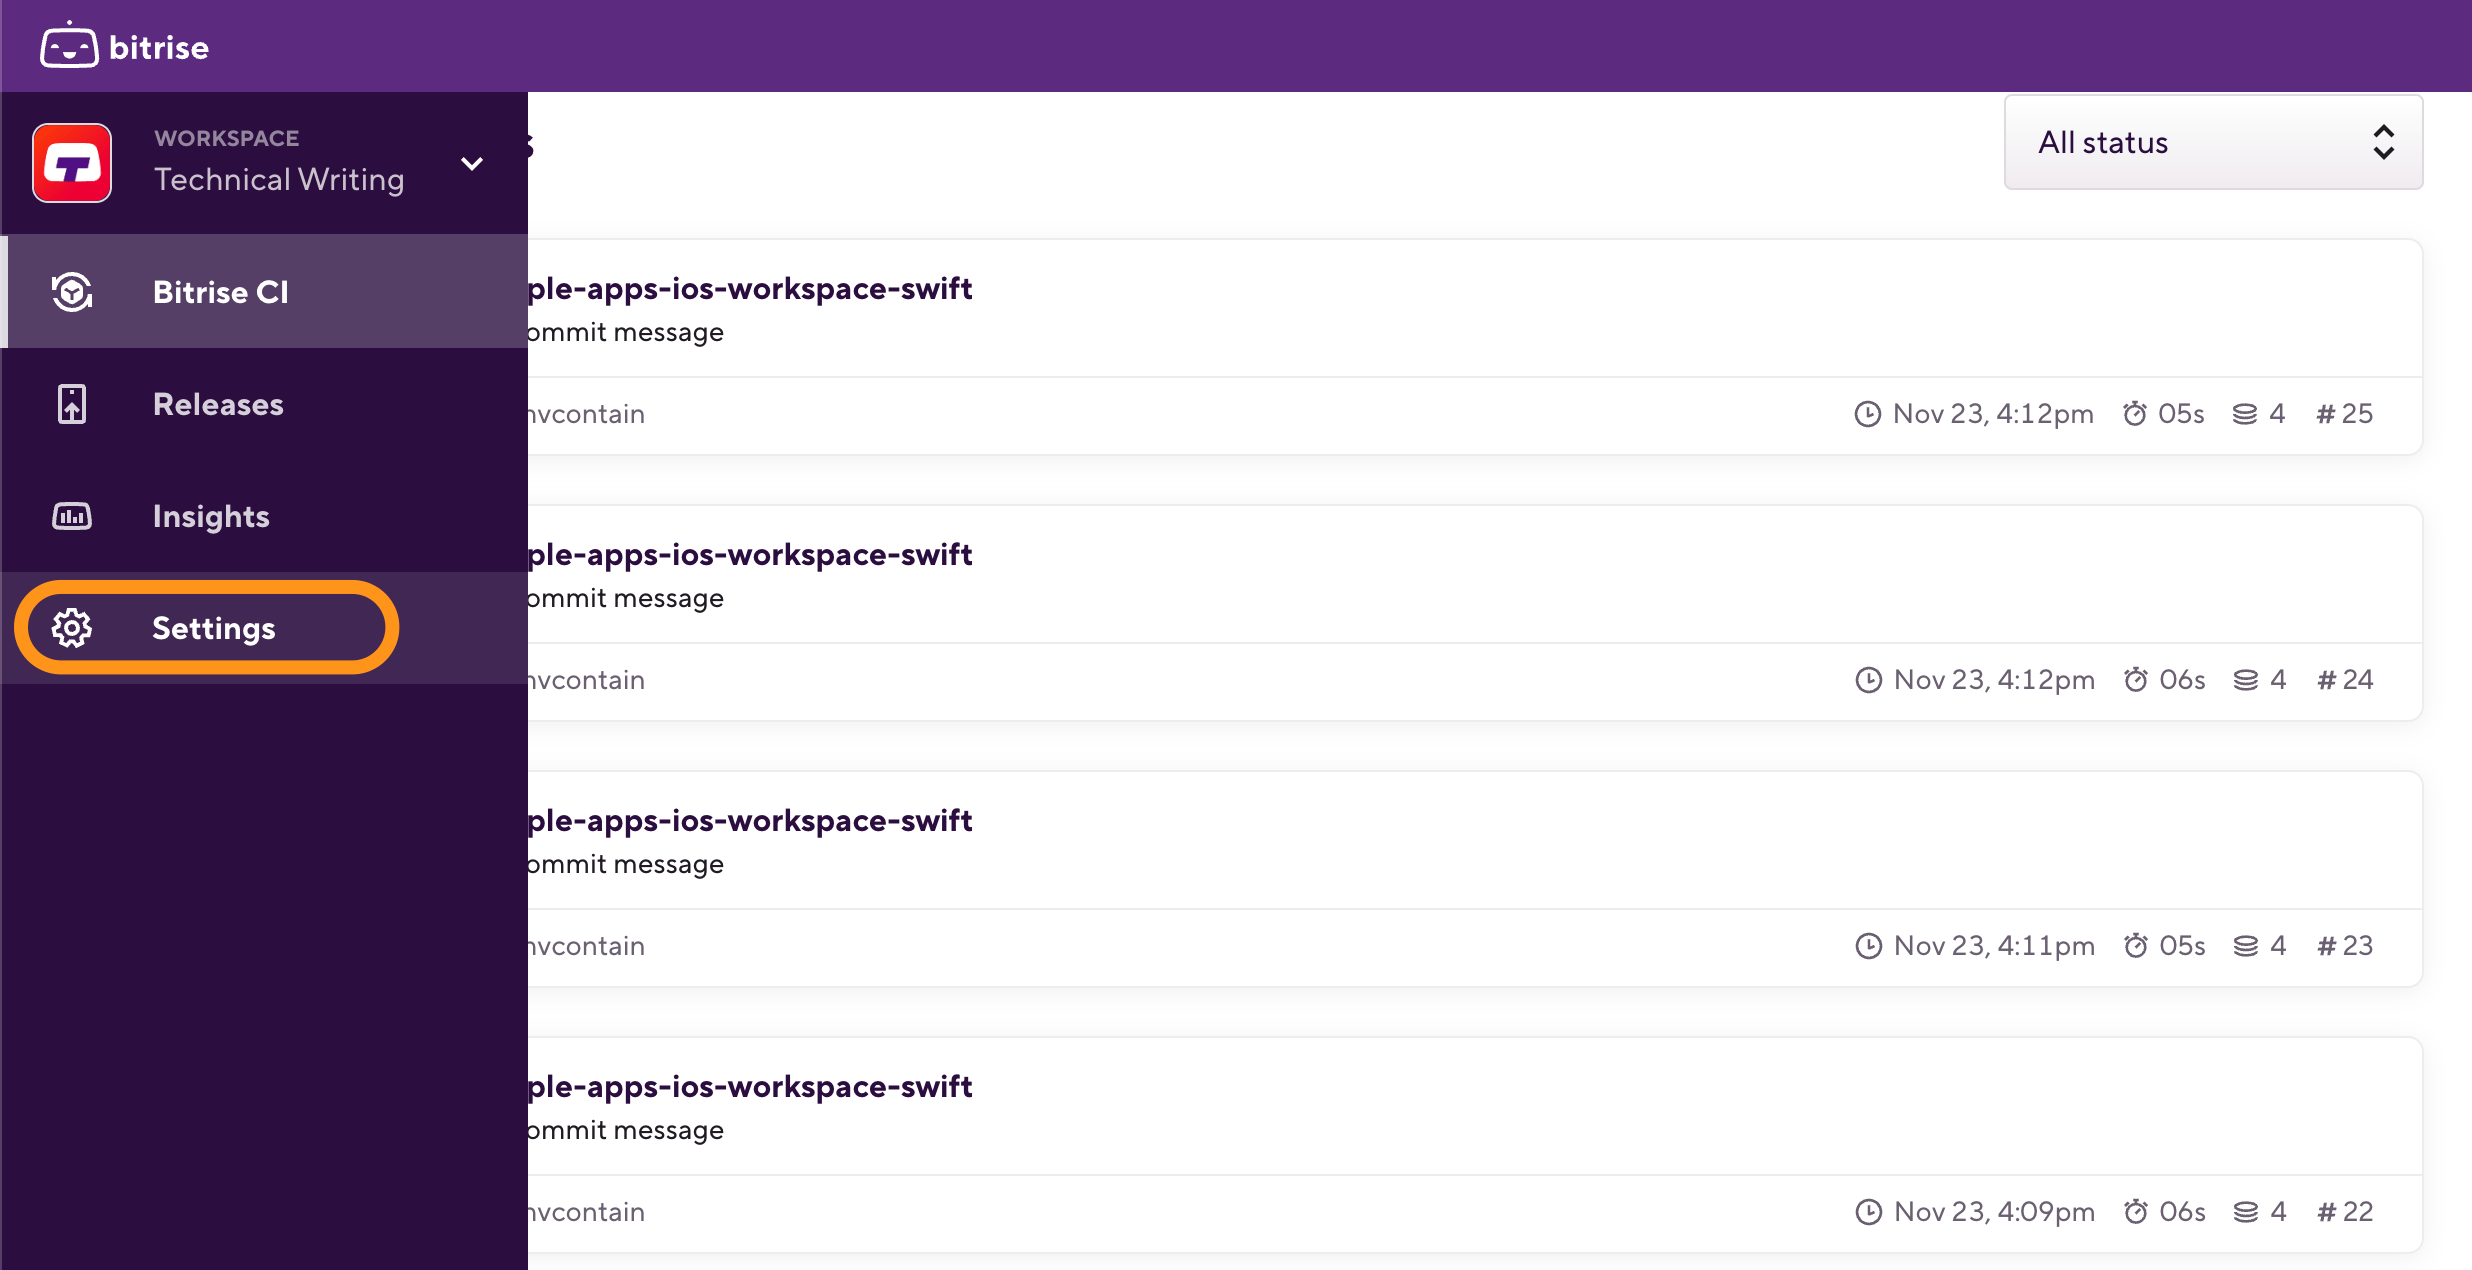
Select Settings.
-
On the left, select Collaboration from the menu options.
-
Select the Groups tab.
-
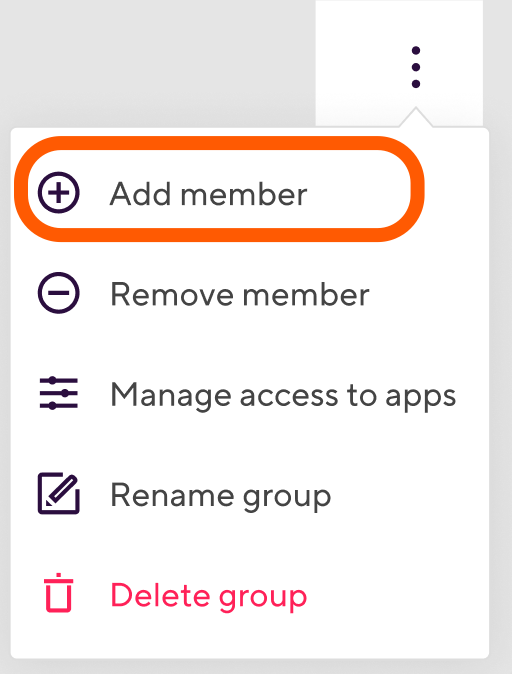
Find the group you need and click the 3 dots to the right of the group to bring up the group dropdown menu.
-
Click on the + Add member button.
-
Enter an email address or add an existing member to the group using the radio buttons in the dialogue box.
- Select Invite a new member to the Workspace and enter an email address. Click Send Invite on the bottom to send the invitation.
- Select Add an existing member and select one of the existing Workspace members from the dropdown menu. Click Add member on the bottom to add the team member to the group.
Adding Workspace groups to a projectClick to copy link
Assigning a workspace group to a project means that all members of that workspace group will have the same role on the project. Roles are different based on product access: both Bitrise CI and Release Management have their own roles.
An project consisting of workspace groups
Let’s say the workspace called TestSpace owns a project called TestProject. TestOrg has the following groups:
- Group Alpha: they are assigned to TestProject with an Admin role. Members of this group can assign other groups to the project or add outside contributors, change project settings, manage roles and Workflows.
- Group Beta: they are assigned to TestProject with a Developer role. Members of this group can run builds, view build logs and view builds.
- Group Gamma: they are assigned to TestProject with a Tester/QA role. They can only view builds.
There are two ways to assign workspace groups to a Bitrise project:
- You can assign it from the Collaboration menu of the Workspace settings page.
- You can assign it on the Project settings page of the project.
Assigning a group from the Workspace settings pageClick to copy link
-
Log in to Bitrise and hover over the left navigation bar.
-
Make sure you have the right workspace selected in the Workspace menu.
-
Select Settings.
-
On the left, select Collaboration then go to the Groups tab.
-
Choose the group you wish to assign, and click the dropdown menu indicated by the
 symbol.
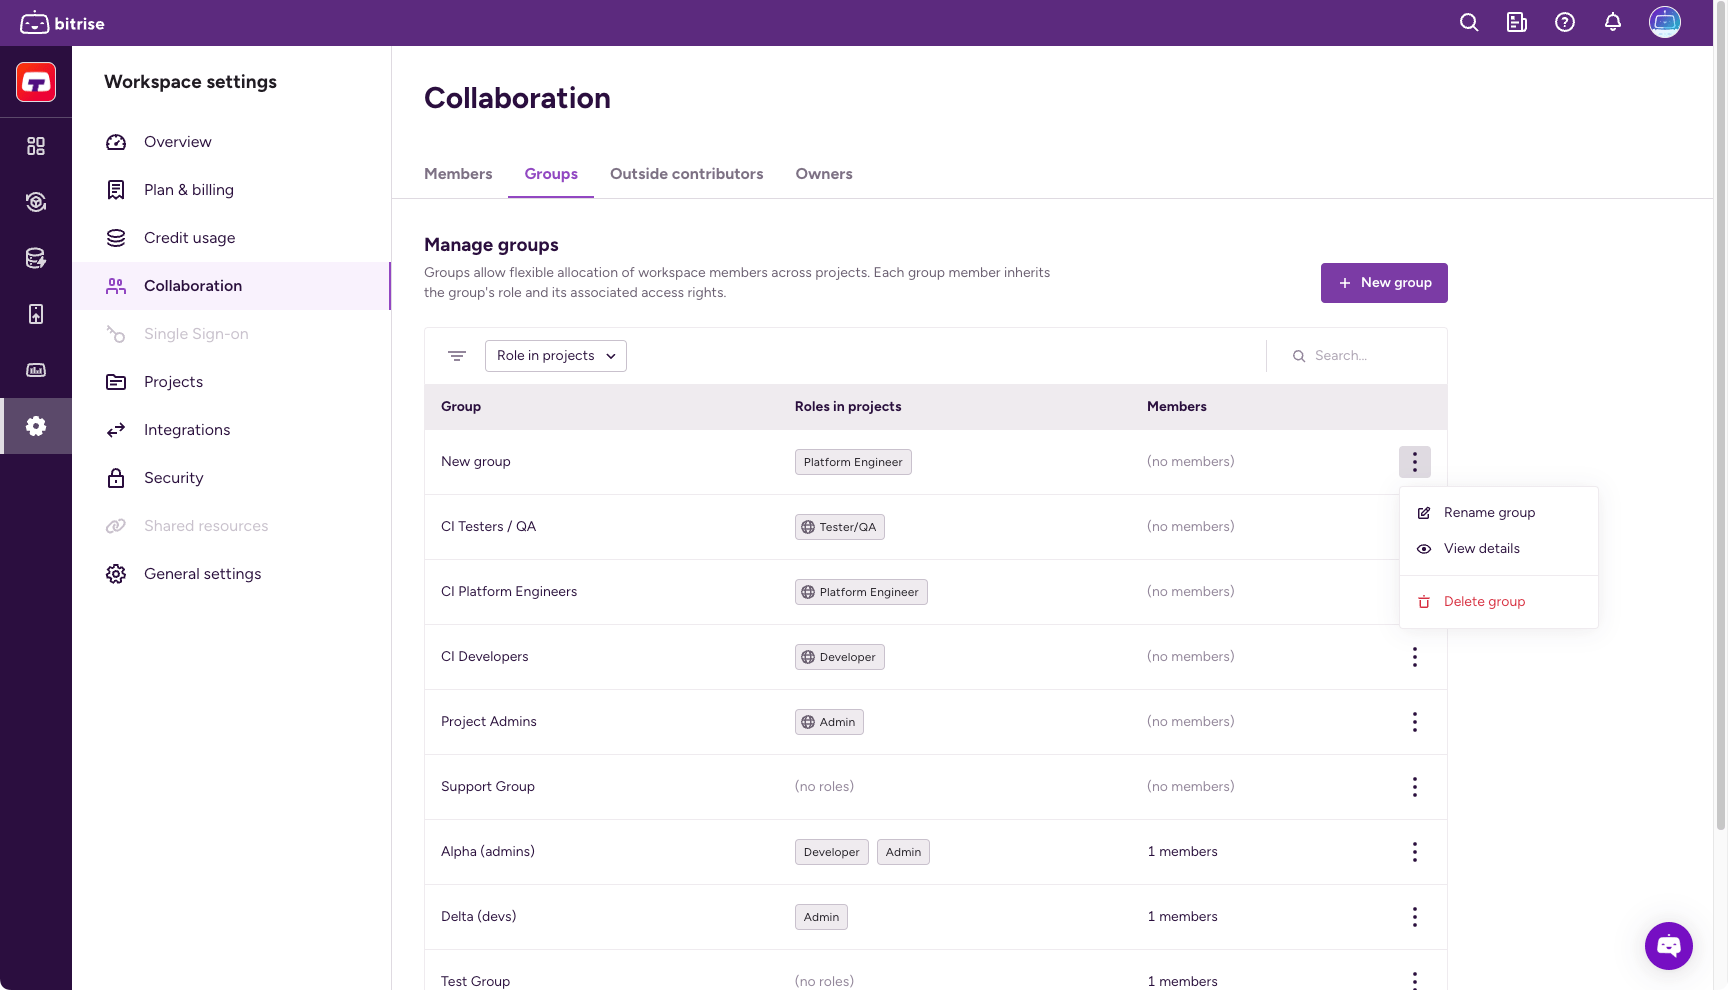
-
Select View details and go to the Projects tab.
-
Click Manage access.
-
Configure product access by enabling one or more toggles and then selecting a role for your project in the dialog. You have the option to grant universal access or to set roles on a product basis:
- Admin access allows the contributor to manage all aspects of the project, including both the Bitrise CI configuration and the Release Management apps. Note that this gives full access to an outside contributor!
- Select a product to assign the group specific roles that only apply to that product. If the project doesn't have a CI configuration or a Release Management app, the respective option won't be available.
 Role cheatsheets
You can check out the role cheatsheets here: .
-
Click Save changes to finalize changes.
Assigning a group from the Project settings pageClick to copy link
-
Open your project on Bitrise with a user that has the Admin role on the project.
-
On the main page of the project, click on the Project settings button.
-
On the left, select Collaboration.
-
Go to the Groups tab.
-
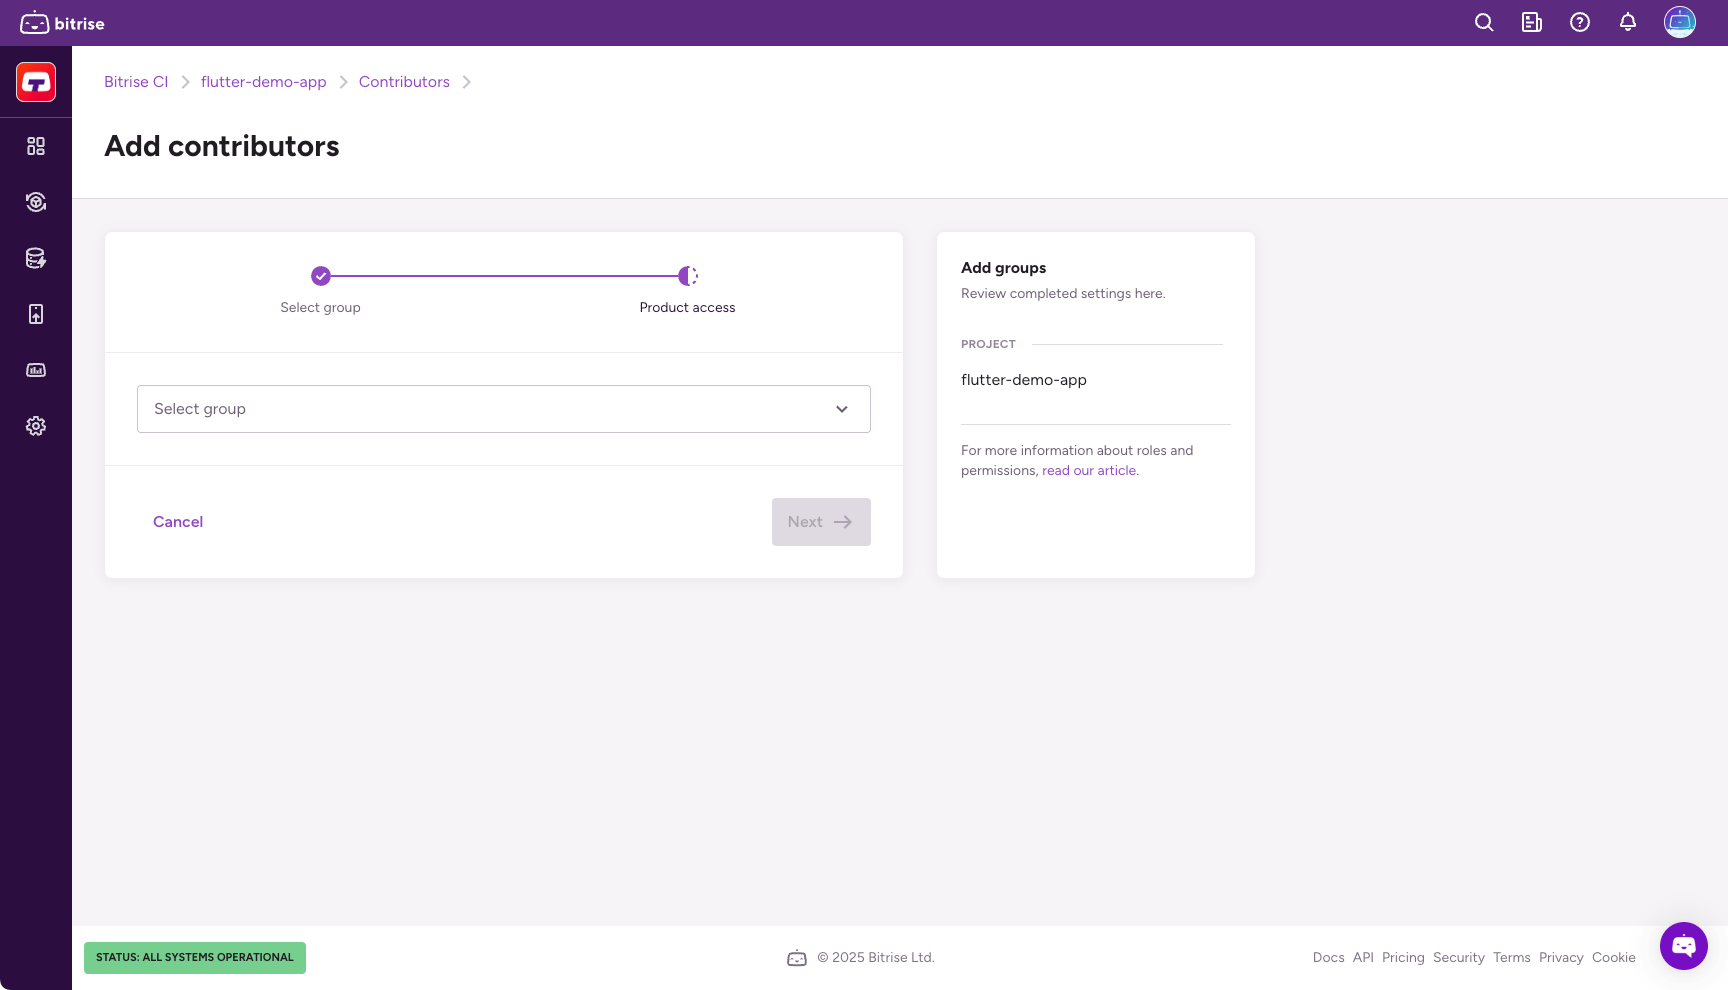
Click on Add group.
-
In the dropdown menu, select the group you need then click Next.
-
Configure product access by enabling one or more toggles and then selecting a role in the dialog. You have the option to grant universal access or to set roles on a product basis:
- Admin access allows the group members to manage all aspects of the project, including both the Bitrise CI configuration and the Release Management apps.
- Select a product to assign the group specific roles that only apply to that product. If the project doesn't have a CI configuration or a Release Management app, the respective option won't be available.
-
Click Confirm access.