Connecting Bitbucket Server instances
Connect your Bitrise workspace to Bitbucket Server to access your privately hosted repositories for CI builds. You need to:
- Create a new Application Link on your server.
- Authorize Bitrise and assign the required permissions.
- Copy the necessary credentials to your workspace settings.
-
Log in to your Bitbucket Server instance with admin privileges.
-
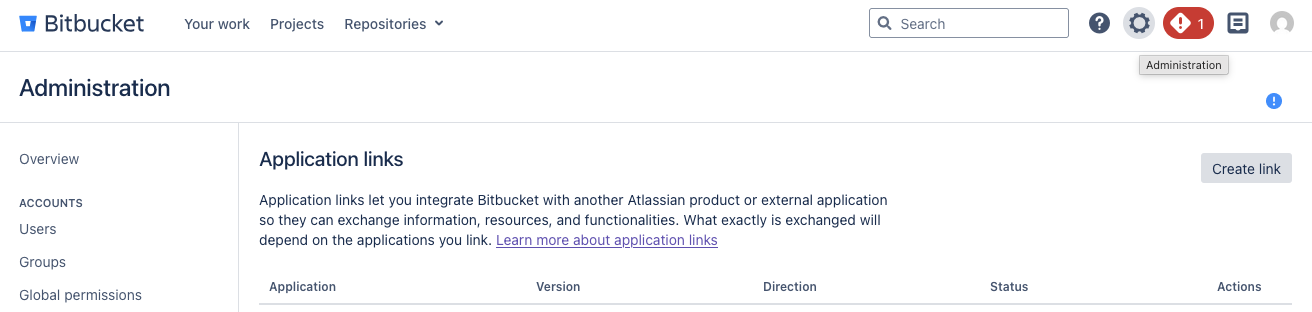
Click the settings icon on the top menu bar to access Administration.
-
On the left menu bar, find the Integrations section, and select Application Links.
-
Click Create link.
-
Select External Application, and Incoming as the direction.
-
In the Name field, enter a name that clearly identifies the application. For the sake of simplicity, we recommend Bitrise.
-
In the Redirect URL field, enter https://app.bitrise.io/users/auth/bitbucket_server/callback.
-
Under Application permissions, find Repositories and select Admin.
-
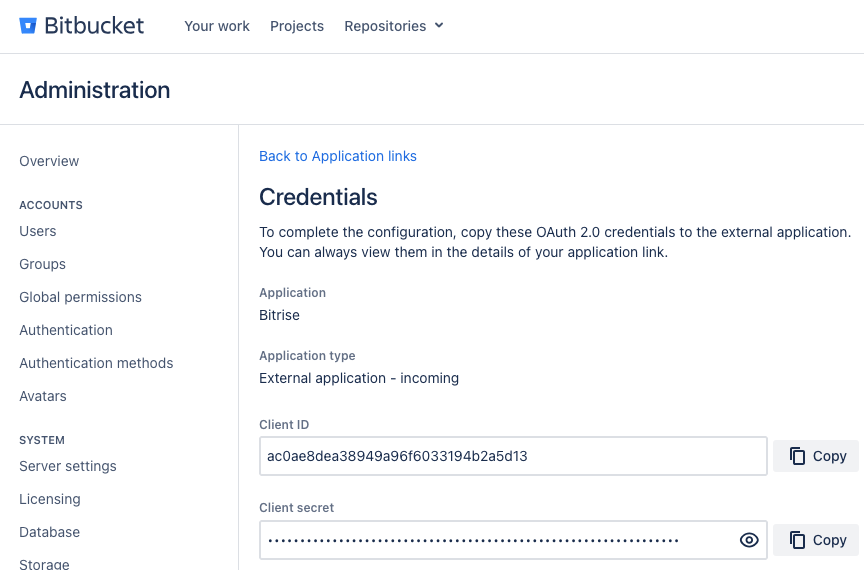
Click Save. You will be taken to the Credentials page.
-
Copy the Client ID and the Client secret.
-
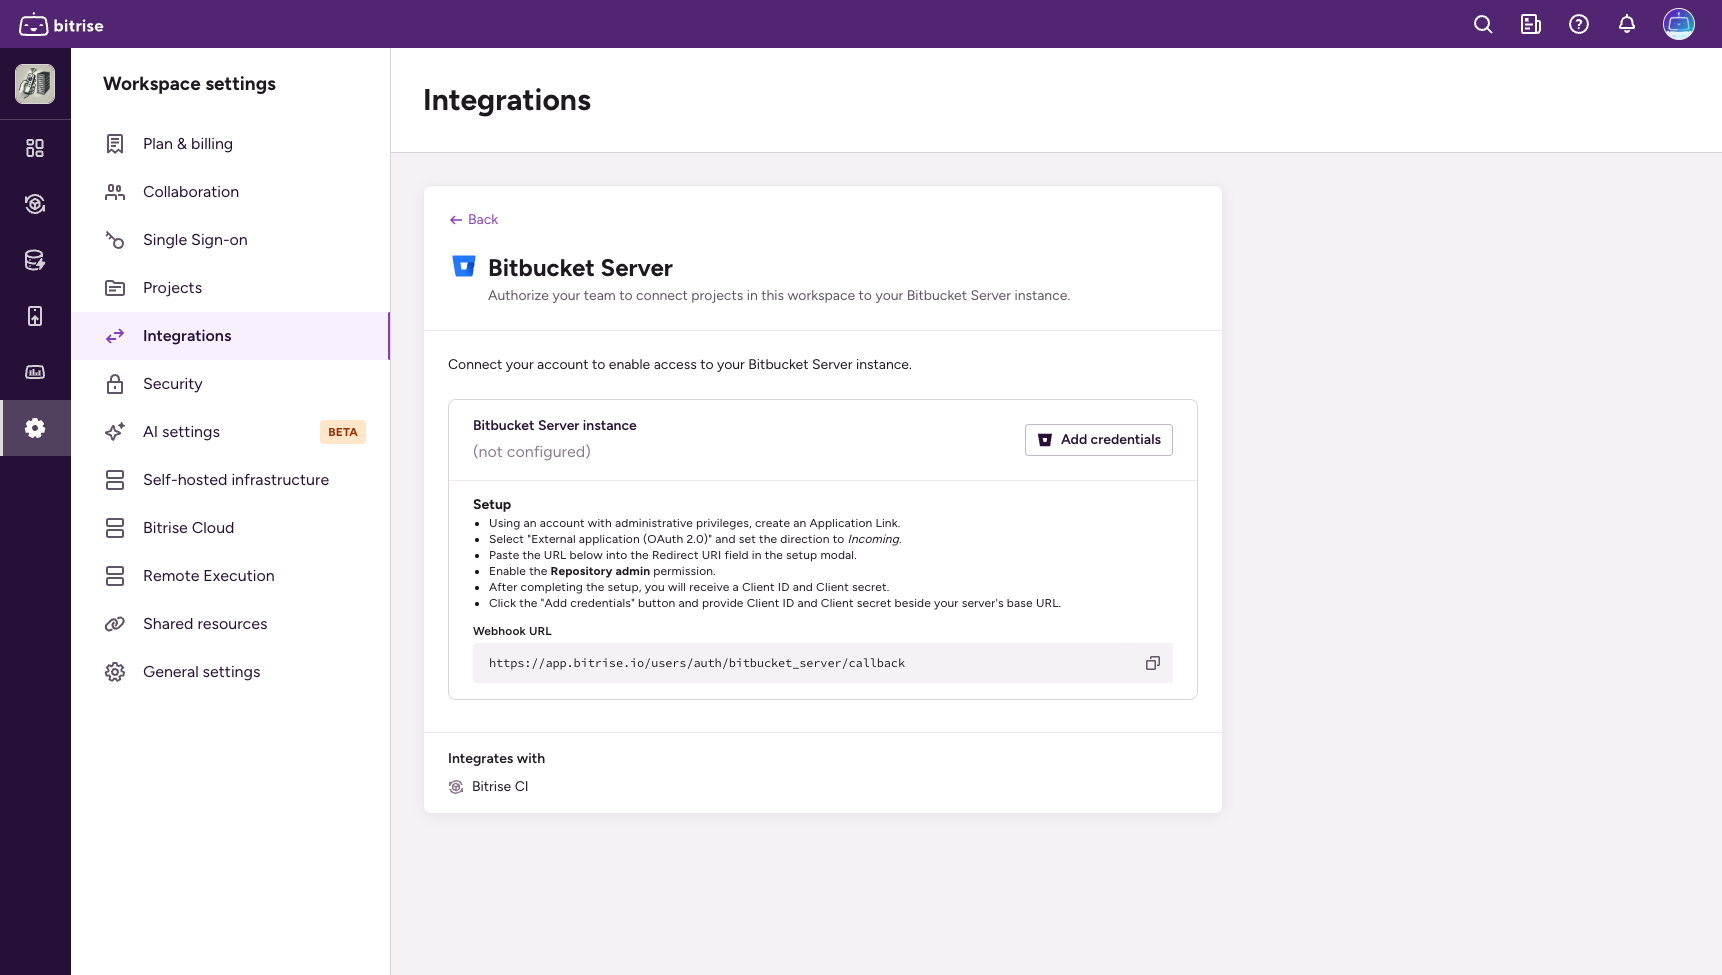
Open the Workspace settings page on Bitrise and select Integrations.
-
Select Bitbucket Server and then click Add credentials.
-
Add your credentials:
- Client ID
- Client secret
- URL: Your server's base URL